Personalizing a Page-Based Email in Kentico
Email marketing is a staple of any digital marketing effort. Allowing companies to target their audience with relevant, personalized information is a surefire way to generate more activity, communication, and (hopefully) profit. With Kentico, emails can be manually created, or leverage an existing page of the site. In this article, I’ll show you how you can personalize page-based emails to your subscribers with a custom macro.
If you want people to open (and read) your newsletters, you need to make it interesting for them. Humor is always a welcomed tone, but nothing quite captures someone’s attention like a personalized message only for them. Luckily, Kentico provides tons of ways to customize a user’s experience, based on their profile and history. Using built-in macros and features, you can use their personal details and behavior to ensure you communicate with them as effectively as possible.
If you are using a page-based email feed, you may be wondering how to take advantage of these features. Let me show you how I used a custom macro within my site to create this functionality.
Create the custom macro
In order to get the functionality I needed, I had to create a custom macro. This macro would be used to access a URL as a specific user (by setting the cookie to their contact). The personalized response would then be passed back from the macro.
        [MacroMethod(typeof(string), "Gets the personalized HTML for the requested contact.", 3)]
        [MacroMethodParam(0, "URL", typeof(string), "URL to personalize.")]
        [MacroMethodParam(1, "ContactGUID", typeof(string), "Contact GUID")]
        [MacroMethodParam(2, "CookieDomain", typeof(string), "Cookie domain name")]
        public static object GetPersonalizedHTML(EvaluationContext context, params object[] parameters)
        {
            // Branches according to the number of the method's parameters
            switch (parameters.Length)
            {
                case 3:
                    // Overload with three parameters
                    HttpWebRequest request = (HttpWebRequest)WebRequest.Create(ValidationHelper.GetString(parameters[0], ""));
                    request.CookieContainer = new CookieContainer();
                    request.CookieContainer.Add(new Cookie("CurrentContact", ValidationHelper.GetString(parameters[1], ""), "", ValidationHelper.GetString(parameters[2], "")));
                    HttpWebResponse response = (HttpWebResponse)request.GetResponse();

                    if (response.StatusCode == HttpStatusCode.OK)
                    {
                        Stream receiveStream = response.GetResponseStream();
                        StreamReader readStream = null;

                        if (response.CharacterSet == null)
                        {
                            readStream = new StreamReader(receiveStream);
                        }
                        else
                        {
                            readStream = new StreamReader(receiveStream, Encoding.GetEncoding(response.CharacterSet));
                        }

                        string data = readStream.ReadToEnd();

                        response.Close();
                        readStream.Close();

                        return data; // the personalized HTML of the page
                    }
                    else
                    {
                        return null;
                    }
                    break;
                default:
                    // No other overloads are supported
                    throw new NotSupportedException();
            }
        }
Noe that the ContactGUID is the identifier to set within the cookie. This allowed me to hit the page in the context of a specific user, which will then return a personalized response.
Create the personalized page
Next, I needed to create a page in my site for my email content. Because I’m such an awesome designer, I made a very boring page as a demonstration.
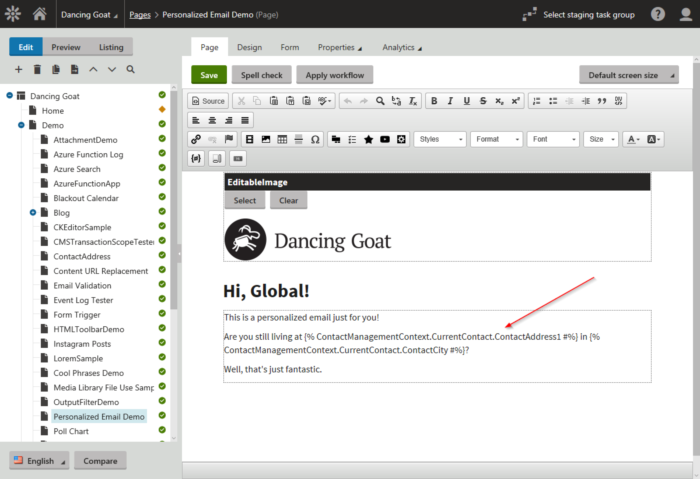
This page is pretty basic, with just a welcome message and a little text. In the editable region, you can see I used the ContactManagementContext.CurrentContact values to populate my personalized text.
For the welcome message, I used a Static HTML web part with the following text:
<h2>Hi, {% ContactManagementContext.CurrentContact.ContactFirstName %}!</h2>
You will probably want a more exciting message for your users. Be sure to check out the full ContactManagementContext namespace to see what’s available.
Create a contact group
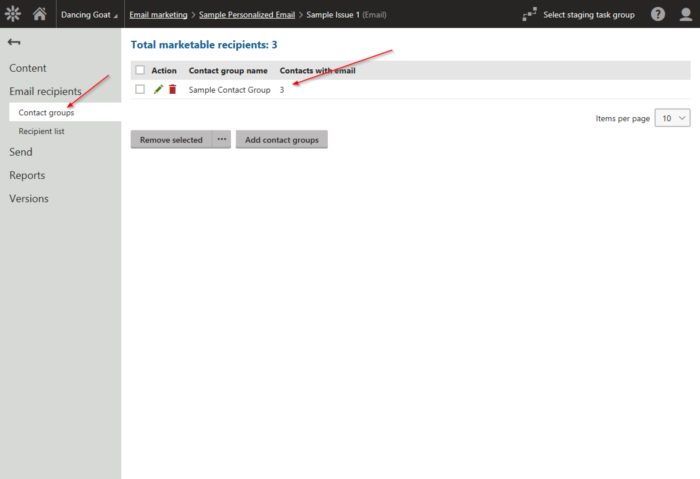
For my demo, I needed to make a Contact Group to send my email to. In the Contact groups application, I created a new group for my users. To limit my list, I used a macro condition to limit the list to 3 users.
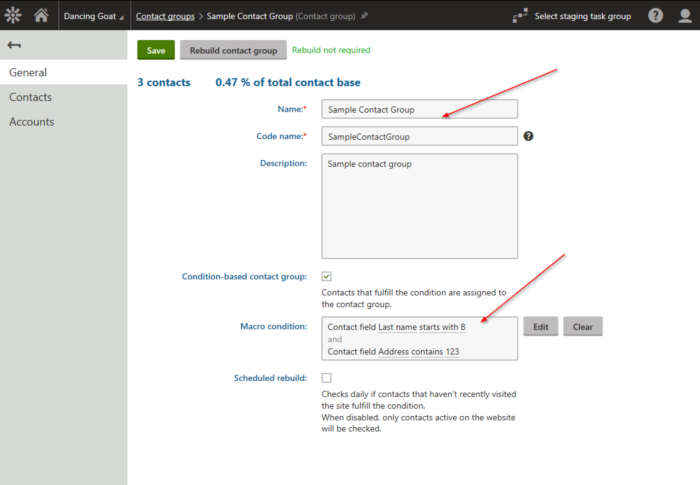
In my demo, I’m using some auto-generated contacts. I updated a few of the contacts with addresses, to ensure my personalized text displayed properly
Create the email template
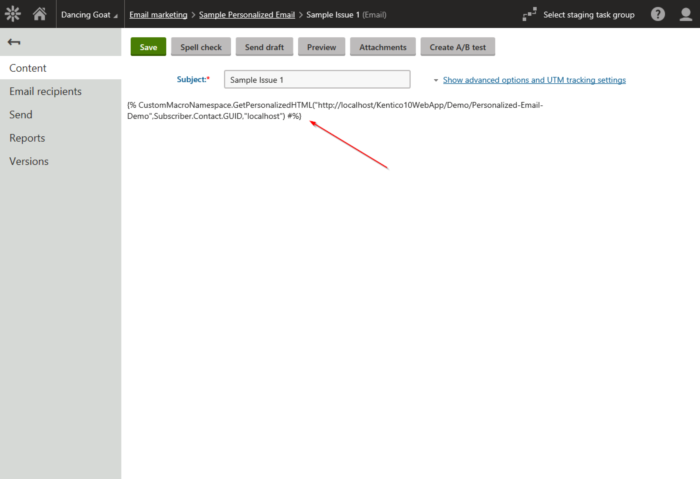
With my page and contact group created, I was ready to make my email template. In the Email marketing application, I selected Template Management and created a new template. For the body, I added a call to my custom macro, specifying the new page url, the Subscriber.Contact.GUID, and the domain for the cookie. Using the Subscriber object can allowed me to access all aspects of the recipient, including their Contact data.
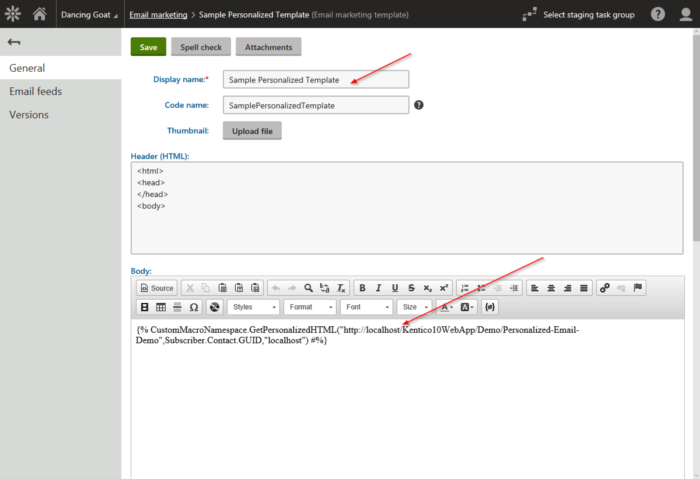
Because the email is using only the page content, no other layout is required. All the text will be generated by the page and sent as the body of the email.
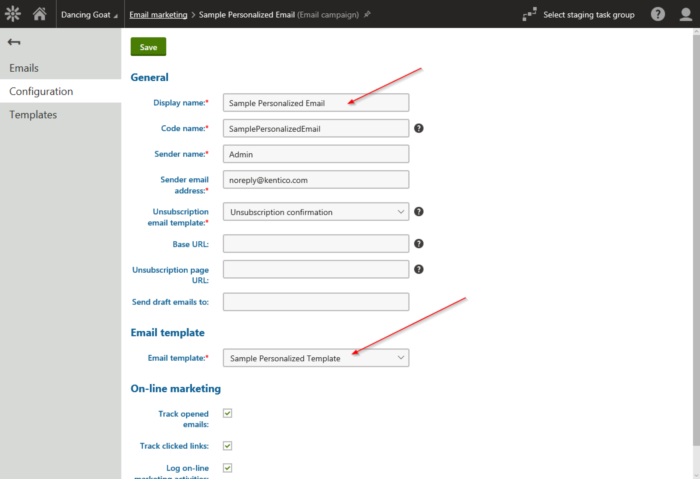
Create the email feed
The last step was to create the Email Feed. In the Email marketing / Email feeds page, I created a new feed. For the template, I selected my new template.
I created a new email in the feed.
For the recipients, I selected my new contact group.
Test!
With all the pieces in place, I was ready to test. In my new email feed, I clicked Send. I then jumped over to my Email queue to confirm the emails were generated.
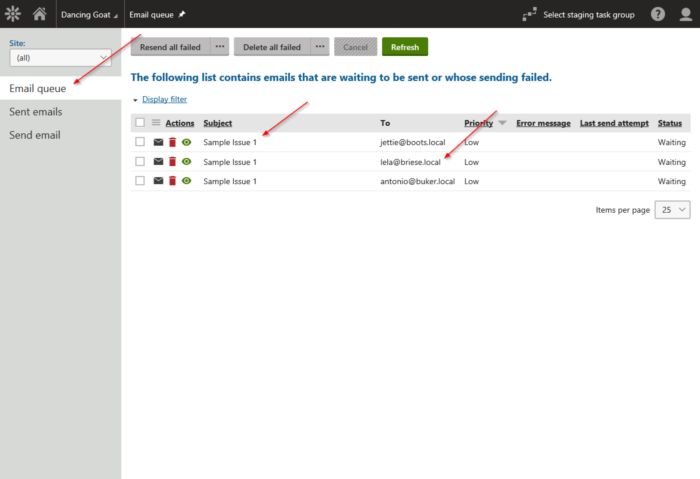
I viewed details of the emails to confirm the text was being personalized correctly.
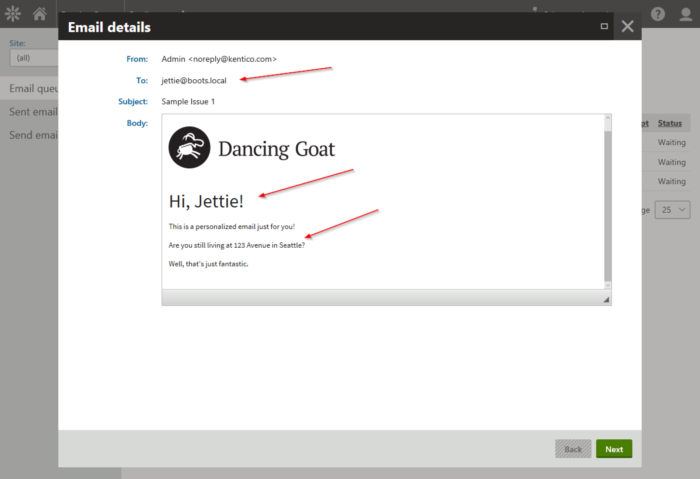
There you have it! A great solution to provide a personalized email to each recipient.
Important Notes
As with most things involving custom code, there are a few important notes you should keep in mind with this solution.
- You need to make sure the page you are using for your email is tuned very well. Because the page will be called for each recipient, you need to ensure that it is following our best practices for dynamic content. This means specifying columns for queries, limited database calls, and just all around good programming techniques.
- In my case, I elected to not use the root master page. This eliminated a lot extra calls / layout that I didn’t need. You will want to do something similar for your emails if you want a minimal layout / design.
- In my demo, I used an Email feed for a simple Email Campaign. This means I must set the recipients for each issue. If you leverage a newsletter, you can use existing subscribers for your recipients.
Moving forward
Hopefully this blog shows you how you can easily get personalized email content for your users. By using a custom macro, you can return the results of the web request to be used as your email content. Combining that with the built-in customization features, you can quickly produce a dynamic, captivating emails for your audience. Good luck!