The REST Testing Interface Module
One of my favorite Kentico 6.0 features is built-in
REST service that allows you to read, create, update and delete any object and document within the system by requesting simple and intuitive URLs. However, development and troubleshooting without proper testing tool can be, let's say, challenging. I have therefore decided to create a simple module that can be imported into existing Kentico instance and used to test your custom REST queries. Check-out this post for more details.
The REST Testing Interface (TI) is a standalone module that allows you to test your REST queries before you use them in a real production environment. The tool can be especially useful when debugging your Kentico REST queries whenever you encounter issues requesting or submitting data from or to Kentico
CMS/EMS.
You can
download module installation package from the Kentico Marketplace. Please read installation instructions included.
Once you install REST TI you can access the module’s interface by going to
CMS Desk -> Tools as shown on the screen below.
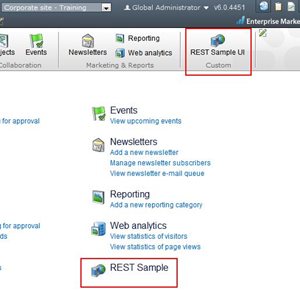
When you enter the module’s UI, you can see two tabs as displayed below.
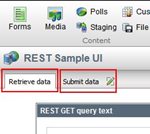 Retrieve data
The
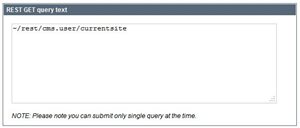
Retrieve data tab allows you to submit your custom REST GET query and review the data returned as result of the query call. To get the data you need to specify
REST GET query text which can be any of the supported
object or
document data retrieval methods. Please note you are expected to enter just a single query.
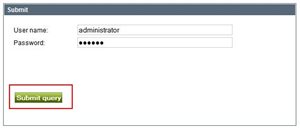
To retrieve data you need to provide authentication details in the
Submit area. The REST TI supports only Basic Authentication mode, so you need to make sure you select the proper authentication method when
configuring REST service in Kentico. Enter the
User name and
Password and click
Submit query as pictured below.
The result of the REST query is displayed in two different formats. The
Raw REST response section displays the content of the response body as retrieved from a server without any additional post-processing.
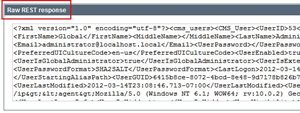
The
REST response section on the other hand tries to convert the response into a more user-friendly form using a simple grid. The REST service response is in XML format, so as long as it can be translated into a set of rows, the grid control is displayed as shown in the example below. The grid is displayed for responses in all supported formats except JSON.
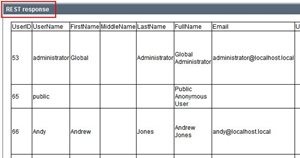
If the query submission fails, an error message with details is displayed in the Submit area as you can see in the example below.
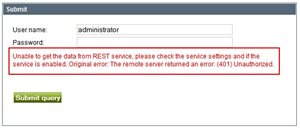 Submit data
On the
Submit data tab you can submit your single custom REST query along with object data and that way create, update or delete objects and documents in Kentico. To submit the data, you need to select
REST header details. You can select the
HTTP method (POST= create, PUT= update, DELETE= delete) which specifies what operation you want to perform with the provided data. You can also choose the
Content type (XML or JSON) to specify what format is used to define data for submission. Please refer to our Developer’s Guide to see examples of using different
object and
document HTTP methods.
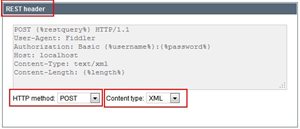
Notice macros in the header text. They are included within the header so you can see how specific information fits into the rest of the request header content.
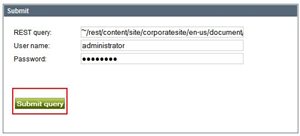
Once you are done with the REST header, you can move on to the
Submit section. You need to provide the
REST query text,
User name and
Password. The
Submit query button can be used to execute the REST query and upload the object data defined in the
REST data section described below.
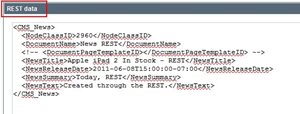
To create (POST) or update (PUT) objects/documents, you also need to supply data used to complete the operation. You can specify data in the
REST data section.
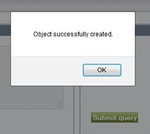
When the operation succeeds, a pop-up dialog is displayed to inform you about the result.
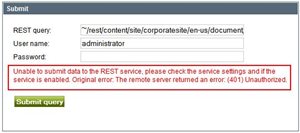
If an error occurs during the query execution, details are displayed in the
Submit area.
You should have pretty solid idea on what you can do with the tool by now, so go ahead and enjoy it. As usual, any feedback and suggestions are greatly appriciated and welcome. Please submit them using the comment section below.
Thank you!
K.J.