Part 1: Building a Kentico CMS Windows Gadget
Windows Vista introduced a new UI feature called Windows Gadgets. Fundamentally, a Gadget is a small, lightweight application that runs in a special pane called the Sidebar or directly on a users desktop. In this series of blog posts we will build a widget that connects with Kentico data. In this part of the series we will introduce gadget development and build a very simple gadget. Well start by creating a barebones gadget that we can use as a template for other gadgets we will build over the series of articles.
Windows ships with a variety of gadgets out of the box. They range from desktop and mail apps to stock ticker and weather apps. There is even a marketplace for gadgets. These kinds of apps have been around for awhile but the real power lies in the fact that you as a developer can create your own gadgets. The power of these is really only limited by your own imagination or that of your marketing department.
In their most basic form gadgets are really nothing more than an HTML script file and an XML file stored in a known directory location. This assortment of files creates a mini-application that can access web services, RSS feeds, images, the file system and respond to user input through mouse clicks or keyboard input. As we get more familiar with gadgets we can start to add in more complex things like custom DLLs to handle complex scripts.
Building a Gadget
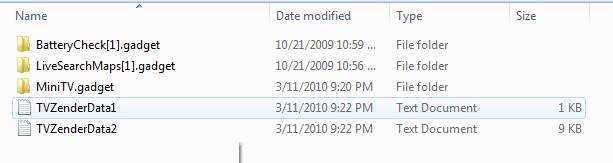
The default installation directory for gadgets is - C:\Users\<your name>\AppData\Local\Microsoft\Windows Sidebar\Gadgets
When you view this directory you will see the installed gadgets as shown below
If we take a look at the Battery Check gadget we can see the files that are included
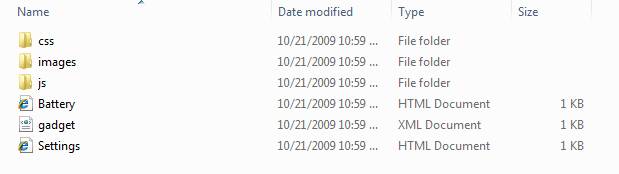
Whats nice about this structure is that you can see all the files and even look at the source.
Lets go ahead and build our sample gadget using the following steps.
1. Create a new folder in C:\Users\<your name>\AppData\Local\Microsoft\Windows Sidebar\Gadgets called simple.gadget as shown below.
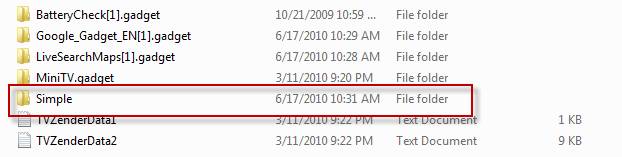
Note: The directory must contain the .gadget extension for the Gadgets dialogue to recognize it. All files will be saved into this directory
2. Create two more directories images and css your directory structure should look like the following

Note: While these arent required directories we will want to include images and css files.
3. Create the XML manifest and save it as Gadget.xml
<?xml version="1.0" encoding="utf-8" ?>
<gadget>
<name>Kentico Gadget</name>
<namespace>Kentico.Simple</namespace>
<version>1.0</version>
<author name="Thom Robbins">
<logo src="images\logo.png" />
<info url="http://www.kentico.com" />
</author>
<copyright>2010</copyright>
<description>Simple gadget</description>
<icons>
<icon width="60" height="80" src="images\kentico.ico" />
</icons>
<hosts>
<host name="sidebar">
<base type="HTML" apiVersion="1.0.0" src="Simple.html" />
<permissions>full</permissions>
<platform minPlatformVersion="0.3" />
</host>
</hosts>
</gadget>
Note: The XML file is always called gadget.xml
4. Create an HTML file with the following code and save it as simple.html
<html xmlns="http://www.w3.org/1999/xhtml">
<head>
<meta http-equiv="MSThemeCompatible" CONTENT="yes">
<meta http-equiv="Content-Type" content="text/html; charset=Unicode">
<title>Kentico CMS Gadget</title>
<link href="/css/kentico.css" rel="stylesheet" type="text/css">
</head>
<body onload="loadMain();">
<a href="http://www.kentico.com" title="Kentico CMS .NET" >
<img border="0" src="kenticopower.png" alt="Kentico CMS for ASP.NET - Content Management System"/></a>
<script language="javascript" type="text/javascript">
function loadMain() {
}
</script>
</body>
</html>
Note: There is a CSS file and some images that I point to. These are included in the download available at the end
Showing the gadget
Thats the basics we need. I have included the images and CSS file as part of the download that is available at the end.
Lets go ahead and load this into the sidebar using the following steps
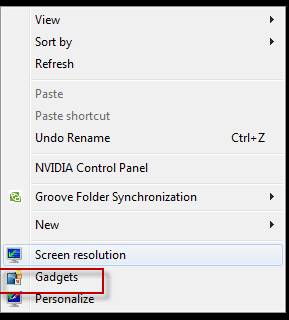
1. On your desktop right click and select Gadgets as shown below
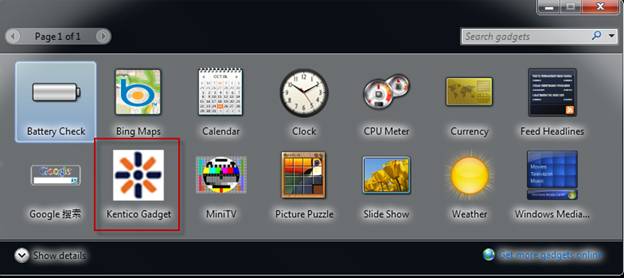
2. In the Gadgets window select the Kentico Gadget as shown below
3. Congratulations! You have the gadget available as shown below

Keep an eye out as we start to build out this sample to connect into Kentico data. The sample project is available here for download.