Options for File Fields in Structured Data
Every website calls for various types of file content, and your CMS helps you work with them. The purpose of this article is to provide an overview of the options that Kentico offers for uploading and managing your files and demonstrate how to work with these files after they are part of your website.
Imagine this scenario: you create a page type, custom table, or module class with a field that should contain a file. Now comes the crucial architectural decision of how to continue from this point. Kentico provides a lot of form controls that, when associated with your data fields, will allow you to upload and reference your files. However, picking the correct one is sometimes not a trivial task as there are a lot of options.
To keep the structure of this article clear, I will very briefly go through the basic Kentico approaches for managing files in Kentico. Each approach has its own pros and cons, and a lot of websites combine all of them to cover all requirements. This overview should help you pick the right control right away.
Files outside of Kentico
As with any other .NET application, you can upload files directly to your server’s physical file folders. Files uploaded in this manner are not manageable from the administration interface, but there are still ways to reference them using out-of-the-box form controls. One example of files added this way would be files from some service that automates uploads to your server.
Now, since these files are already saved on your server, to reference them, you can store a link leading to them. For this purpose, you can use a Text field and either type the link manually or take advantage of URL Selector, which allows you to enter any external or internal URL on its web tab:

Now that you have the link stored, you can refer to the file in the transformation by simply evaluating the field:
ASCX Transformation:<%# Eval(“FileField”) %>
With TXT / XML transformation: {% FileField %}
Media Libraries
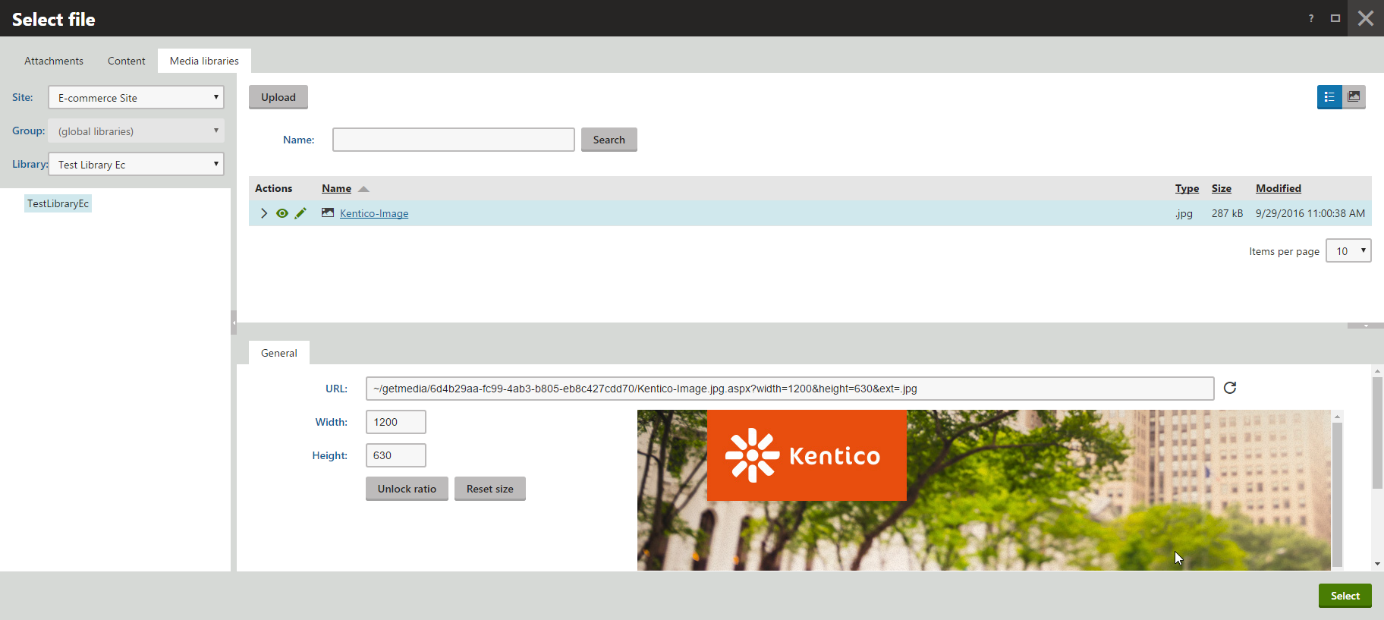
Media libraries are Kentico’s bread and butter for working with media files, but they can also be used to manage documents and other file types. Media libraries store files in your file system by default and handle all the logic in the background for you.
Media Selection is the go to form control for media libraries for a Text field. This control allows you to upload the media file to your media library. By default, it stores a preformatted link in the following format:
~/SiteCodeName/media/MediaLibPath/Filename?ext=.ext
However, if you change the image properties with the control (width or height) or configure the media files to be generated as permanent URLs, the format of the link will always use the get media handler, which allows the system to manipulate the image:
~/getmedia/mediafileguid/filename.ext?parameters
Parameters will have a following format:
width=x&height=y&ext=.ext
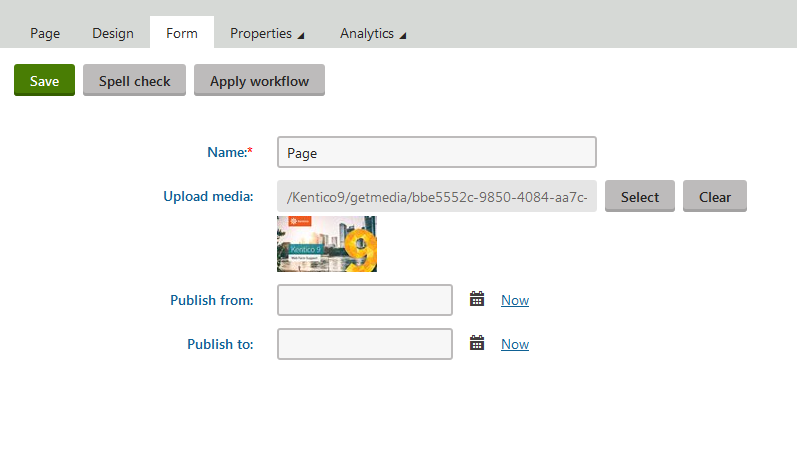
This control also has a built-in preview on the Form tab for easier orientation:
Another option is to use the URL Selector since, for this purpose, it behaves almost identically. This control does not use the image preview, and the stored URL does not have formatting parameters for images. The reason to pick this control is that you can use different control settings that might be convenient for some situations.
With a file selected, it is easy to display your images in a transformation. The prepared ASCX transformation method will create the image tag for you:
<%#GetImageByUrl(Eval("FileField"))%>
With text transformation, you can use the prepared macro method:
{% GetImageByUrl(FileField) %}
Or create the image tag manually:
<img alt="youralt" src="{%FileField%}">
CMS.File page type
Our documentation describes this approach as follows: “These files are uploaded by content editors as new CMS.File pages into the content tree. You will typically use this type for files that are used as part of unstructured pages, such as page links or images inserted into editable regions of pages.”
Generally, the only time you would want to use this option would be if you needed to apply permissions or workflows to the files. To reference files uploaded as a CMS.File page type, it is possible to use Text field with the form controls we used for Media libraries: Media Selection and URL Selector. These form controls will store a relative link to the file again: ~/aliaspath/name.ext?parameters
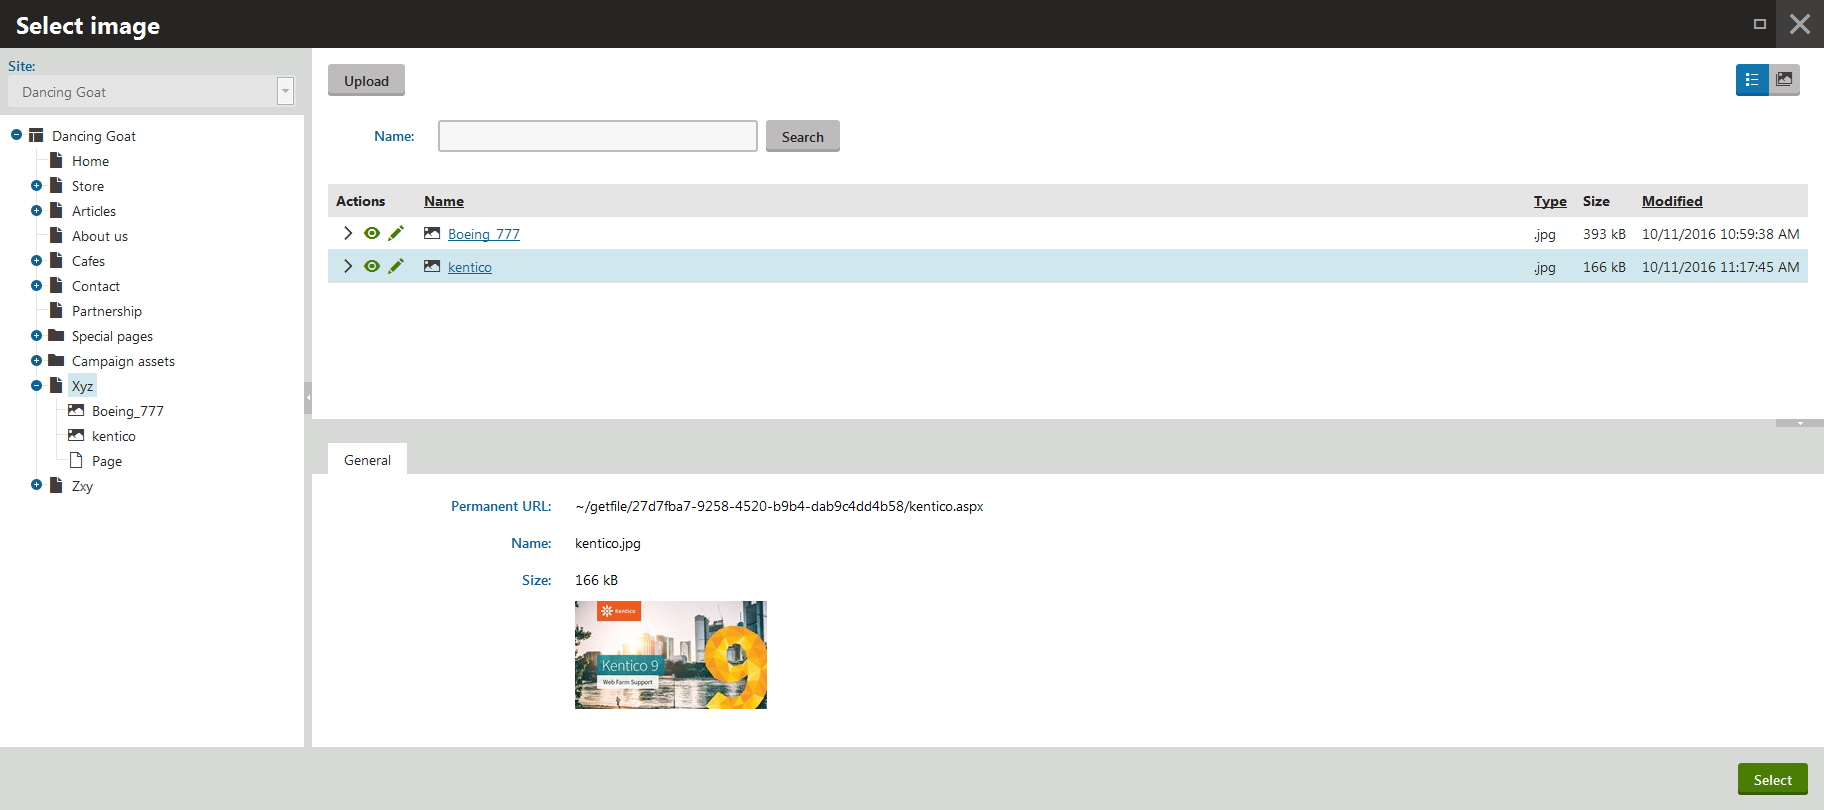
More specialized controls are available for this purpose, as well. Using a Text data type field, you can use either Image Selection or File Selection form controls. Both of these controls let you select a page from the tree menu and store the GUID of the related node. The difference between these two is only that Image selection provides a preview of an image:
Saved Node GUID can be very convenient to use with some API calls. It is little trickier to use with transformations, but it is possible. For your ASCX transformation, you can create a link to your file using the GetDocumentUrl transformation method:
<a href="<%#GetDocumentUrl("FileField ", "kenticopicture")%>">This is the link to the picture</a>
With a TXT transformation, you can construct the link yourself:
<a href="yourapppath/getdoc/{%FileField%}/urlname ", "kenticopicture")%>">This is the link to the picture</a>
Attachments
Generally, you only want to use attachments when you upload files that are directly related to one of your pages and when the existence of this file does not make sense without the existence of the page itself.
When you upload an attachment, a record is created in the CMS_Attachment database table, which points back to the page that is related to the attachment. This has a few implications: for one, attachments stay with the page when you move it elsewhere; for another, it is important to realize is that it is not possible to use the Attachments functionality for anything other than Page Types, even when the controls seem to be available for your data field as the controls will not be able to create a proper record in the attachment table.
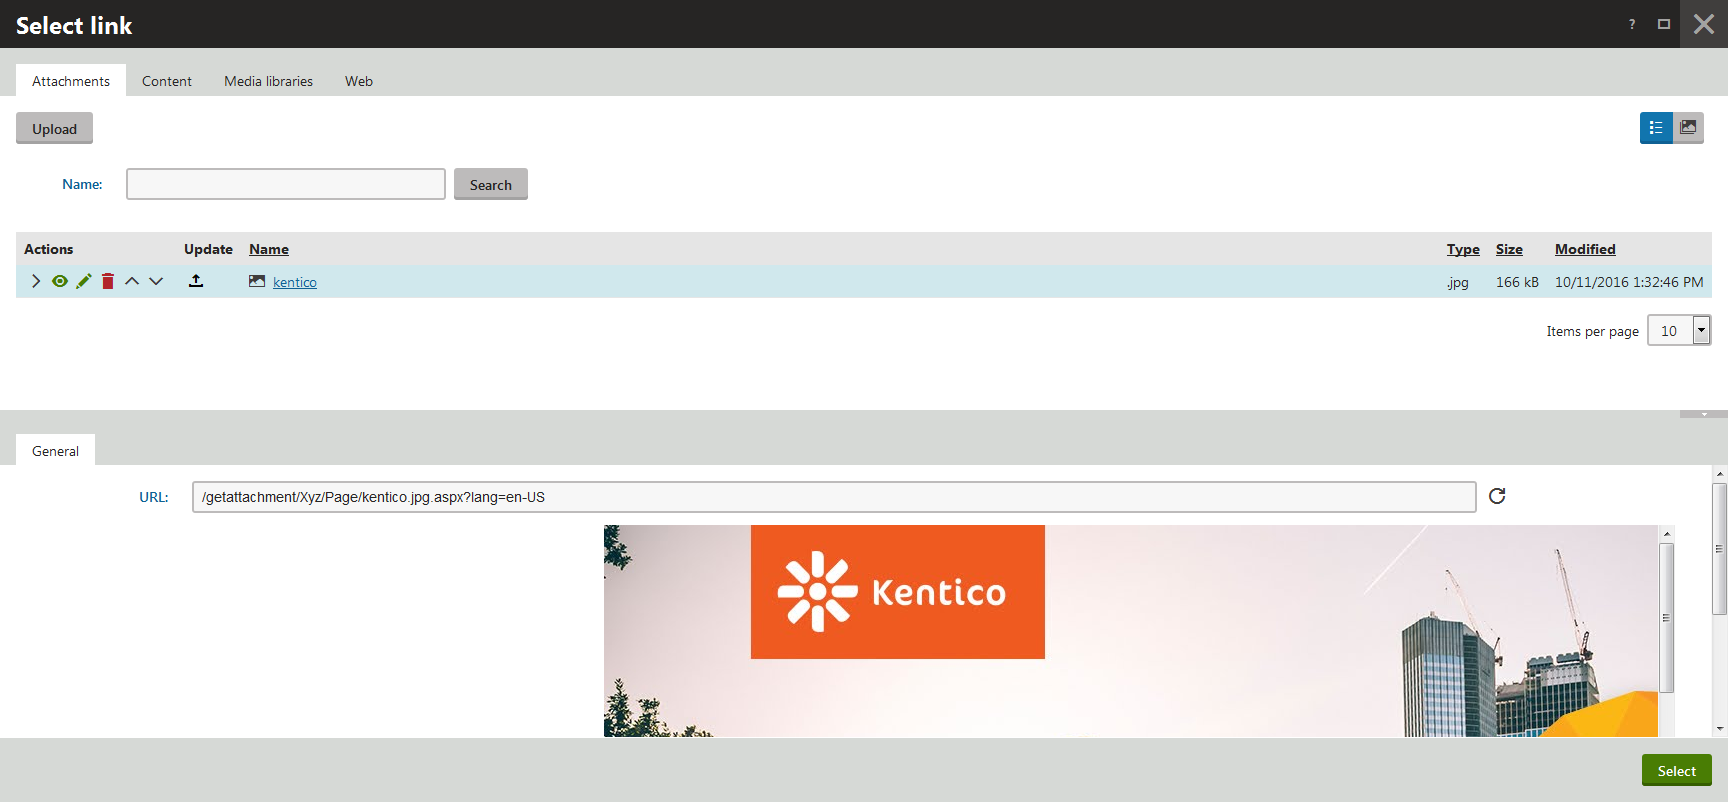
For Page Types, you have the option to use multiple form controls. For your Text data field, you can use URL Selector and Media Selection controls, which will store the text link to the attachment file in the following format: ~/getattachment/aliaspath/name.ext?params=value
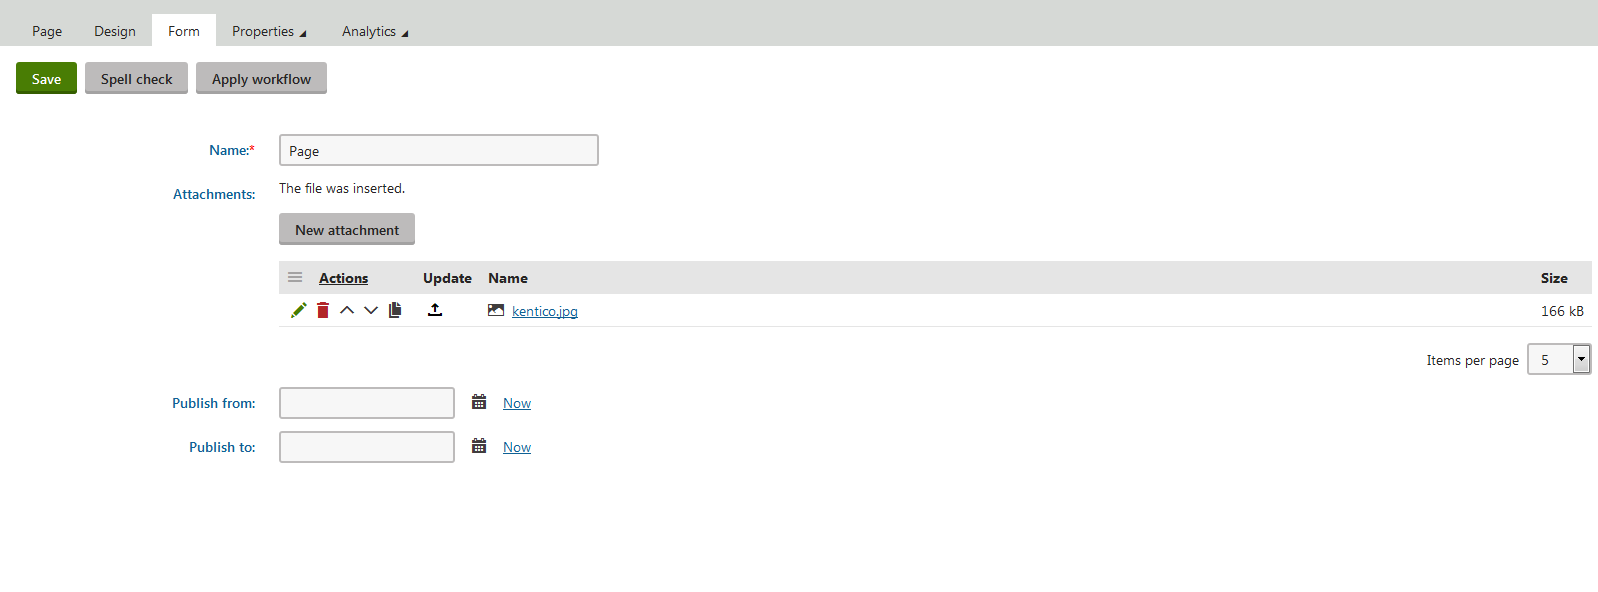
Attachments also have special data types prepared for them, and the Attachments field data type is one of them. The form control by the same name then lets you select a file from your file system and creates a record in the CMS_Attachment table. The actual field in your data stays empty, though!
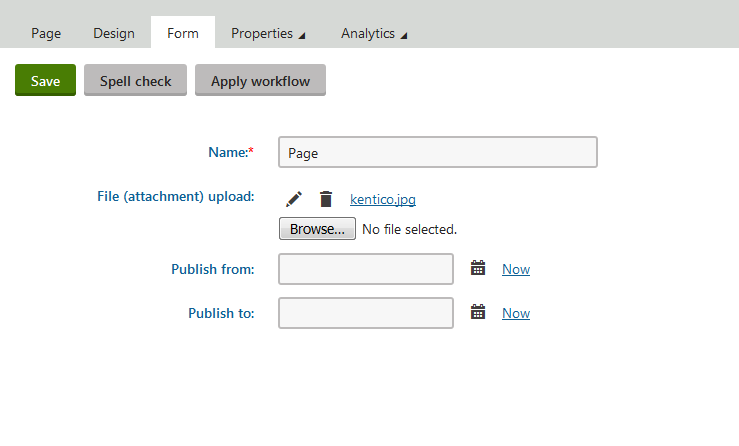
There is a File data type, as well. For this data type, you can choose one of the following controls: Upload File or Direct Uploader. Both of these controls allow you to select one file from your file system and store it in your field. Again, the related record will be created in the CMS_Attachment table, but this time the field actually stores a GUID of a single attachment so you can further reference it in your transformation or work directly with the field in other ways.
If you want to refer to this file in transformation, you need to use a getattachment handler such as this:
<a href="~/getattachment/{%FileField%}/filename">link to the attachment</a>
Form controls overview
Form control
Field type
Works with
Data structure
Stored value
URL Selector
Text
Media Libraries
CMS.File pages
Attachments
External links
Page Types, Custom tables, Class fields
~/getmedia/GUID/name
~/aliaspath/filename
~/getattachment/aliaspath/filename.ext?langparam
External link
Media Selection
Text
Media Libraries
CMS.File pages
Attachments
Page Types, Custom tables, Class fields
~/getmedia/GUID/name.ext?params=value
~/aliaspath/filename.ext?params=value
~/getattachment/page/name.ext?params=value
Image Selection
Text
CMS.File pages
Page Types, Custom tables, Class fields
NodeGUID
File Selection
Text
CMS.File pages
Page Types, Custom tables, Class fields
NodeGUID
Attachments
Attachments
Attachments
Page Types
<blank>
Upload File
File
Attachments
Page Types
AttachmentGUID
Direct Uploader
File
Attachments
Page Types
AttachmentGUID
Conclusion
Picking the right approach and right form control might not be such a simple task. The summary above should help clear up some questions and save you some time testing the options by yourself.
The good thing to note is that each control has its own settings, as well, and these become available once you associate a given control with the field. That way you can actually make some controls resize images upon upload or apply other restrictions.
Unfortunately, scenarios vary greatly, and it is possible that none of the above will perfectly suit your needs. If that is the case, you can always develop a full form control from scratch, which will give you full control over what’s happening in the background. Luckily, you have our documentation to back you up—even with very nice examples!