Kentico Upgrade Utility
In this post I will describe how easily you can upgrade your Kentico CMS instance to version 6.
Hello, first of all, let me introduce myself. I’m Juraj Hrinik, the leader of the development team responsible for the media library module, the WYSIWYG editor, some of the UI controls across the whole system and the hotfix and upgrade processes.
In this post I will describe how easily you can upgrade your
Kentico CMS instance to version 6. After downloading the upgrade procedure from
Kentico.com or launching it from the Kentico Installation Manager, you will see the upgrade wizard with a few steps.
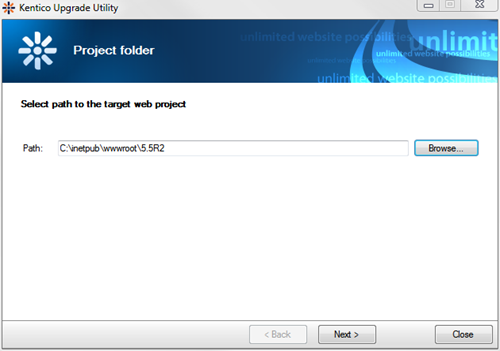
First, you need to select the installation directory, if you don’t run this utility from Kentico Installation Manager. In this step, the target path will be validated and your.NET version will be detected.
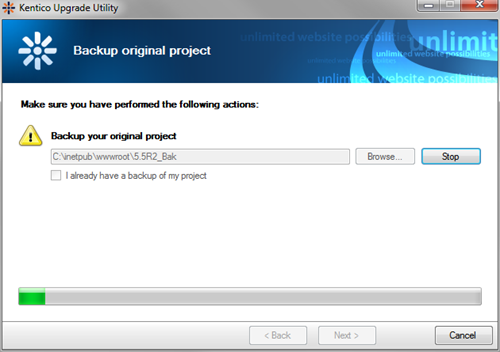
After this step, you will be asked to back up your project files, but if you already have your own backup, you may skip the backup process.
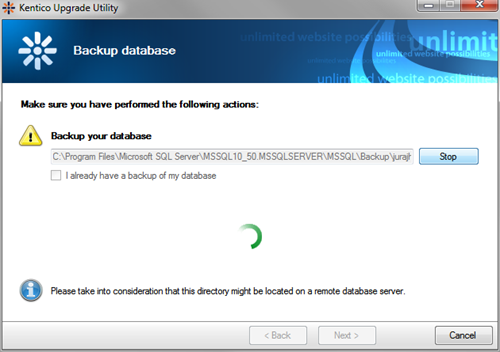
Next step is database backup, which can be skipped as well if you already have your database backed up.
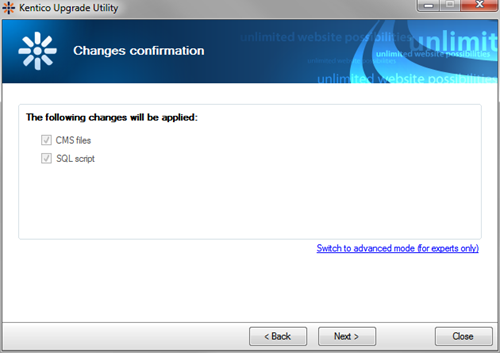
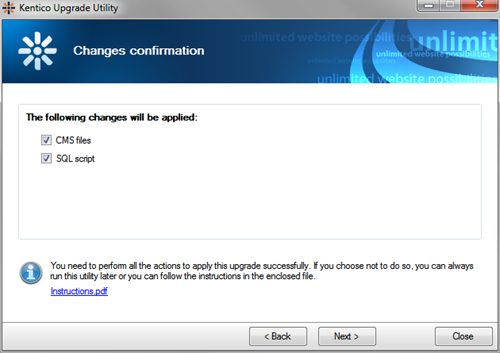
After all the backups, you will be asked to choose which changes you want to apply. The default behavior is updating CMS files and running SQL scripts, but if you want to apply for example only the SQL script, manually switch to advanced mode and select only the part you want to apply automatically.
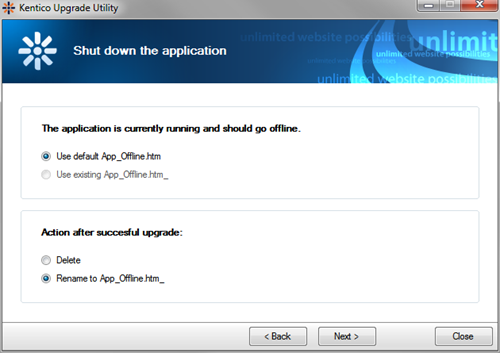
The final step before applying the upgrade is the selection of an App_Offline.htm file to stop your instance. You can select the default offline file from the upgrade package or, if you have your own App_Offline.htm file, you can use it if you rename it to App_Offline.htm_ and place it into the root directory of your instance. After that, you can choose to use your custom offline file.
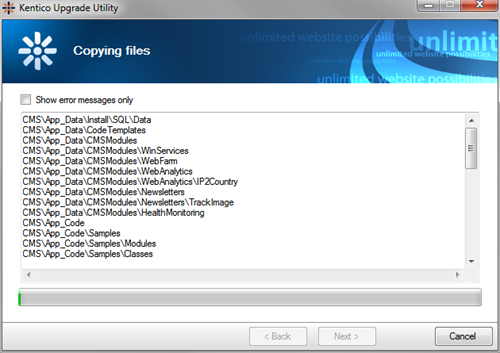
In the next step, the utility copies the files and applies the SQL script, if both choices were selected. This step may take a while because the upgrade contains almost 20k files and each file has to be checked for customization. This process removes obsolete files if no customization was made in them. Then it copies new and changed files into your instance, including the DLLs, and runs the SQL script on the database defined in your web.config file. The web.config is then adjusted to match the version 6 web.config. Finally, the utility removes the App_Offline.htm file to bring your application back on-line. Additionally, if you run this utility from the Kentico Installation Manager, it also makes an HTTP request to the defined URL to start your application.
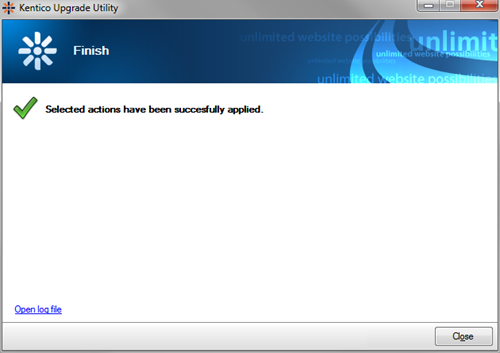
After the process finishes, there are two scenarios that can happen. The first is that everything finished successfully, no customization was detected and you will see this screen:
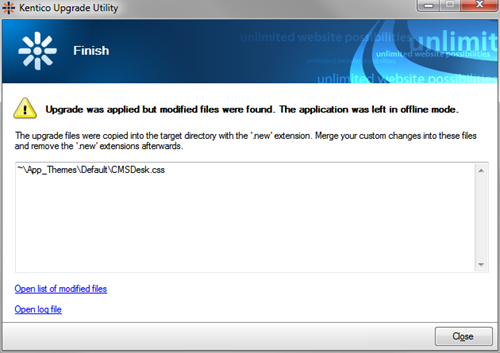
Or, if any customization was detected (files that don’t match our default installed or hotfixed files), a step with a list of changed files will be displayed along with a link to the log file, where all changed files are listed. You will need to manually merge your custom changes into the new files from version 6. In this case, I made some custom changes to the default CMSDesk.css file and the upgrade utility detected this. The new file was copied with the ‘.new‘ extension for easy coparing and merging custom changes.
One last thing - this upgrade utility also automatically detects a customized installation, so if you chose not to install for example the
E-commerce module to version 5.5.R2, this module with all its files will not be copied to your installation during the upgrade.