Kentico CMS 5.5 Import Toolkit
Here is a brand new application for importing data to Kentico CMS projects. Try it and give us some feedback.
Hi there,
Kentico CMS SQL Import utility isn't very powerful tool, in fact, I don't think it is usable anymore. That is the reason why it had to be replaced by something else. And by replaced, I literally mean replaced. There is no single line of code that was copied over, this is a brand new project and can do a lot.
How it started
If you do not care, just skip this paragraph.
Few months ago, I was planning to migrate a web site I developed in my student's years to Kentico. To be honest, I didn't do it yet, I am too busy so I still plan that :-)
What is important aspect of this is that this web site is basically made something between ad-hoc
ASP.NET CMS targeted to specific purpose, and regular ASP.NET web site.
What is the key thing about it is it's main part doesn't come anything close to what you can find in out of the box standard CMSes, well you can, but not with these exact needs and simplicity. It is basically a motorcycle community web site with things specific to that which includes Forum that isn't really a forum in a standard way, but more Question -> Answers, they are interconnected. There are profiles with motorcycles where users can do pretty much anything with the content from live site, and all that in a tree structured UI. Advertising section, Chat, Events, Journey reports, and much more.
Simply said, lot of custom tables, custom bussiness layer code, and customized UI. At the time I did that, Kentico wasn't exactly a good fit for it.
What changed from that time is that with Custom tables, Smart search indexes over them and User contributions + few other smaller things, it can be all done, and the web site can really evolve into something much better.
For obvious reasons, I won't publish the URL, it is Czech only anyway and it is quite old now, the redesign will come with migration to Kentico .
Need for import
One way or another, I needed to migrate the data from the old DB to the Kentico. That was the time when I found out that Kentico CMS SQL Import Utility doesn't help much. And I am sure you get the same impression. So I sat down going for the new solution with main goals of importing existing data to Custom tables and Documents.
The new import tool
When I start something, I typically tend to make it as complete as it can be, and for that reason, I extended that first simple version to a much larger application, that is currently planned to be included into next versions of Kentico CMS. Because each project is different and I bet each of you need to struggle with different data to migrate, I am presenting you with the Alpha version of the new
Kentico CMS Import Toolkit, and expect nothing less from you than try it and give me some feedback so we can finish it according everyone's expectations.
I would be especially happy if you could try it to check how easy it would be to migrate data from other CMSes you know to Kentico and what we could do to make it easier.
Since this is a very first preview, there is no general documentation on this, and this post will so far be the only documentation that you will get to try it. And it will be very brief. However, I believe the UI is intuitive enough that you may not even need it.
Import wizard steps
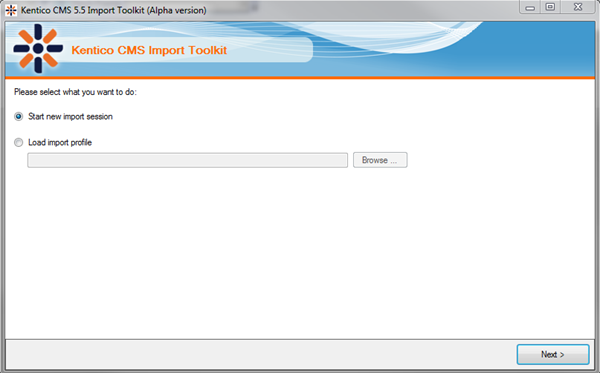
In the very first step you can see there is a possibility to load existing profile. This is one of the major differences, you can actually prepare your import settings, even simulate the import at first time and then rerun it with prepared settings. But we will go there later and select
New session for start.
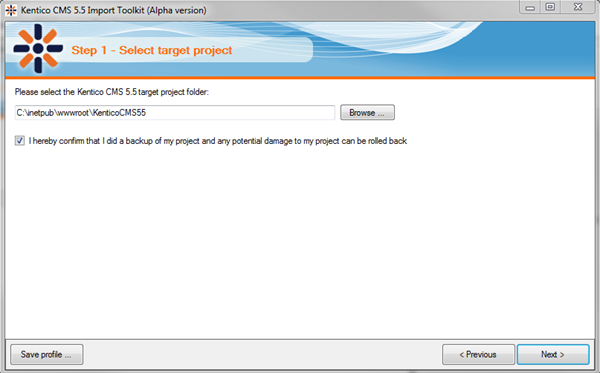
The next obvious step is to select where we want to import the data. I took the liberty to include the checkbox that you need to check to confirm that you did backup of your project since this is an Alpha version and may still contain some serious issues. So definitely BACKUP before you try anything!
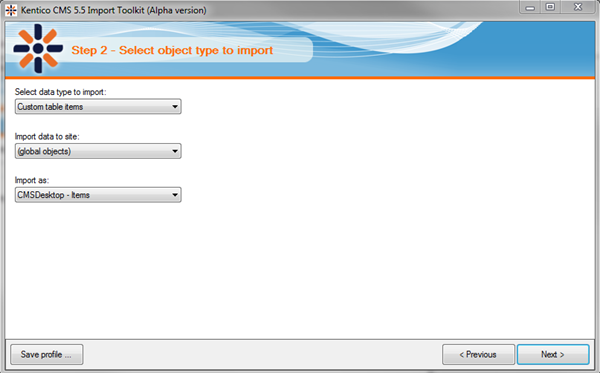
The step with choice of what you want to import is now much more interesting. Unlike the SQL import utility where you can just import documents, you have following options:
-
Custom table items - Imports the data to specific custom table
-
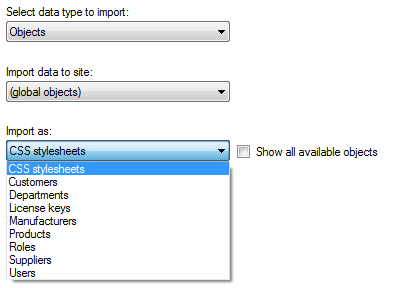
Objects - There are numerous objects that you can import, the most used are in the default view, you can display all available by checking the box:
-
Documents - You can import the documents either regularly, or as products, in that case, you will get more columns to attach to define the products data and the products will be automatically created as well. You just select the document type you import:
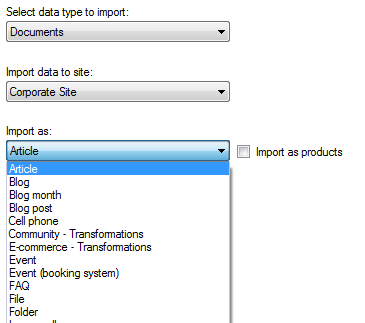
-
Resource strings - Based on some preliminary feedback, we included also the option to import the resource strings, you just select the target UI culture:
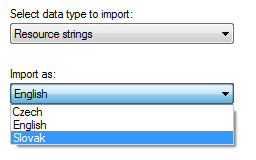
With the options where it makes sense, you always select also the site to which you import.
The next logical step is to select the source of the data, which can be SQL server or an XML file. With these two different options, the next step will be a little different.
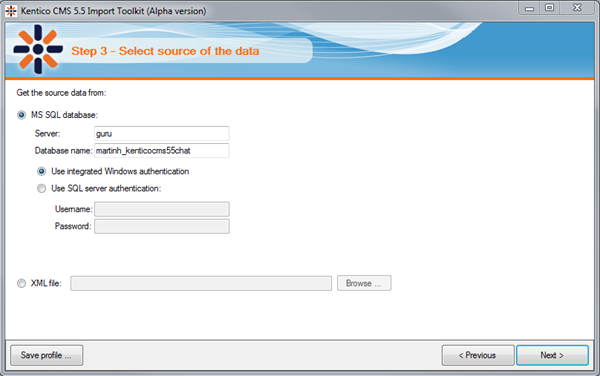
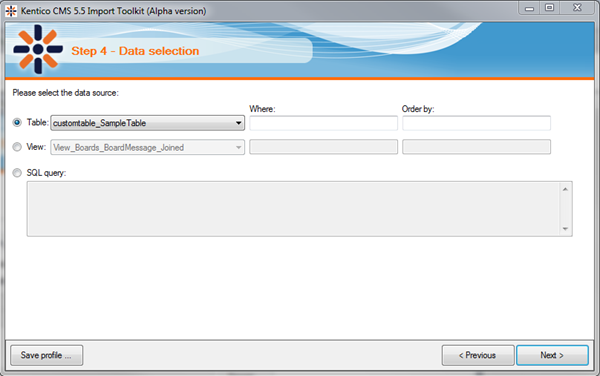
If you select the SQL server, you basically either choose the table as the source, view, or some specific query:
If you choose an XML file, it provides you with the preview of the file content and choice of the "Table" node name. It basically analyzes the source data and offers anything that looks like:
<table>
<column1>Value</column1>
<column2>Value</column2>
..
</table>
Offering the table parts. If you put in the serialized DataSet XML file, it can find the tables for sure.
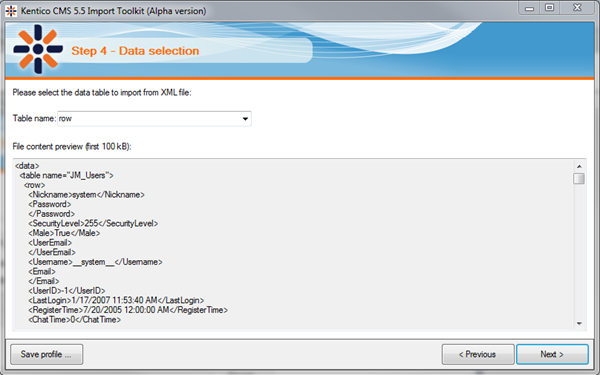
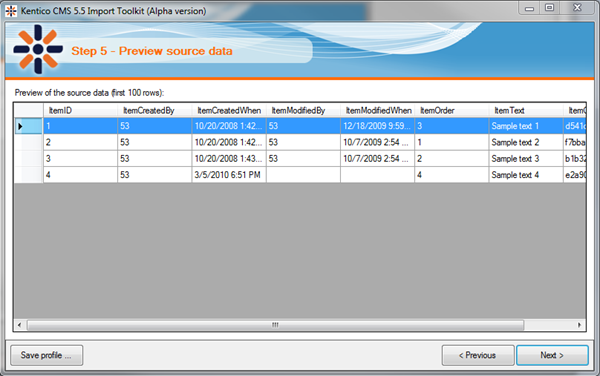
The next step is just preview of the source data to make sure it is what we really wanted:
Once we are ready, we can go for the hardest part which is mapping of the fields from source to target. That is done via grid where you select what source will be used for the given target field. It is pretty smart and matches the fields that look alike by default together by default, so if you preserved the names of the fields or at least their suffixes, it can do almost all automatically:
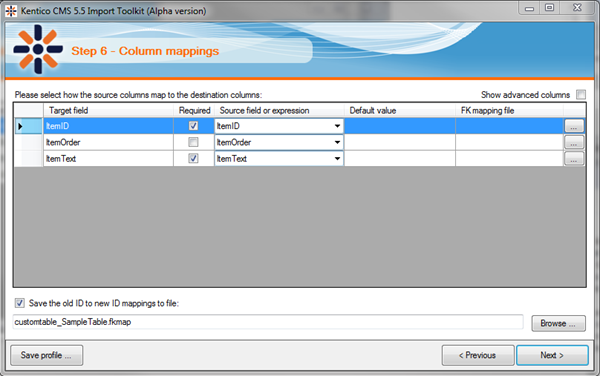
What you can set in the grid is:
-
Source field or expression - This is the most important part here, and has several options:
-
columnname - e.g. "ItemText" will use the value from specific source column
-
=macroexpression - e.g. "={%ItemText%} - {%ItemOrder%}" will evaluate the macro expression using the source data and put there the resulting value
-
#<source>query - e.g. "#<source>SELECT TOP 1 UserID FROM CMS_User WHERE UserName ='{%SourceUserName%}' " executes the query against source database and puts the result to the field
-
#<target>query - e.g. "#<target>SELECT TOP 1 ... " evaluates the query against the target database
-
Default value - Value that will be used if the source field is NULL
-
FK mapping file - This is a file saved from a previous export that if you provide, it converts the ID field to the new value, I will elaborate on this later.
Then in addition for documents you need to set the
target parent path, which supports also all the above expressions so you can make it macro or query based and basically import a tree of documents, not only a flat list.
The last thing on this step is the availability to save the ID mappings. ID mapping is the lookup table [OldID] -> [NewID] that is created by the import from the ID field of the target. The left side is the configured and evaluated source field, the right side is ID of the object after insertion. If you specify the file location and enable to save the mapping, the file will contain such lookup table. Just try that and look at it if it is not yet clear.
What you can do with such file is you can use it for import of the next set of data, to provide it with some reference values that need to be converted somehow, let's see some example:
-
Imagine you have the list of question and list of answers where the answer is bound to the question with a foreign key
-
You want to import both and preserve this binding
-
You first import the questions, and save the ID mapping to the file questions.fkmap
-
Then you import the answers, and use the file questions.fkmap for the FK mapping file of the field that is containing the foreign key
Now it should be clear to you what the FK mapping serves for. It basically provides you a mechanism to translate the foreign keys to the new values so the data remain consistent.
The next step is checking the data and choosing how you want your import to proceed:
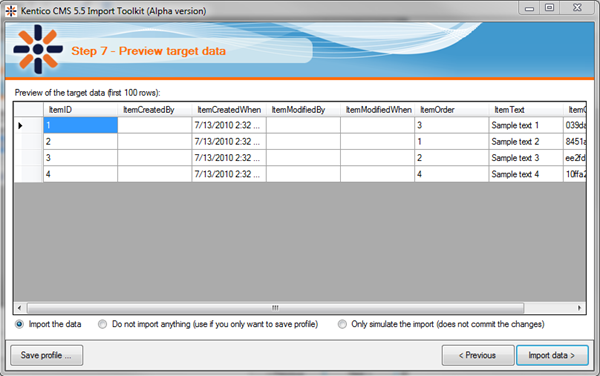
You have following options:
-
Import the data - Will do the import
-
Do not import anything - Basically skips the import, this is meant so you can just save the profile without actually importing. Note that you can save the current state of the session to the profile any time by clicking the Save profile ... button
-
Only simulate the import - This is a very useful option that basically does the import to validate the data is correct but doesn't commit any changes so the target DB stays intact.
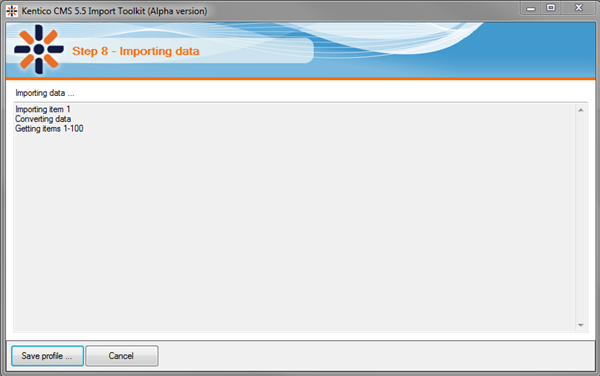
When you hit import data, you just see the log how it progresses:
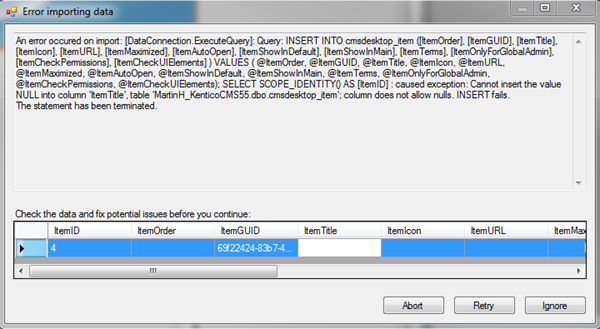
Now one of the best things. If anything goes wrong, you can fix it and continue. You just get the dialog with the error message where you can edit the data to the correct values and continue with the import with the fixed data:
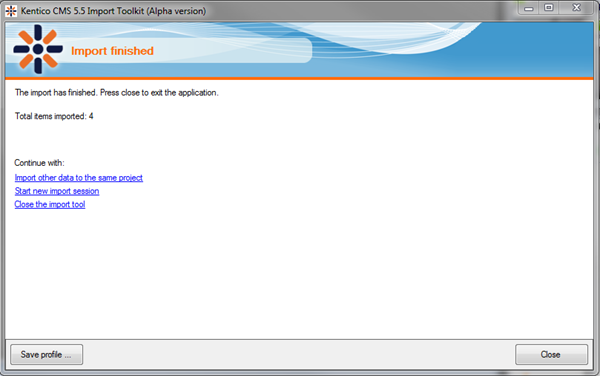
Once the import is done, you just have few options how you can continue, including importing next data:
And that is all, no more screens for today!
Download
Here is the Alpha version of Kentico CMS Import Toolkit for downloading:
ImportToolkit.zip (1.4 MB)
Next steps
The next step is yours, go ahead, try it, give us feedback, and then you can expect to have this part of the default installation, if possible, it will cover all your needs.
Enjoy and see you next time ...