How to handle IIS errors on the Azure cloud hosting environment
This article describes how to handle IIS errors on the Microsoft Azure cloud hosting environment and to get more details about the problem. The article demonstrates it in a real example, the “500 – Internal server error,” but can be used with any other IIS error message hosted on Azure.
When you deploy your web project on Azure cloud hosting, you may encounter the following IIS error even though you followed our instructions for deployment to the Azure environment:
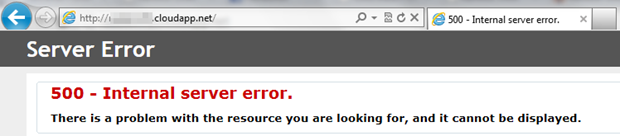
Unfortunately, from the client’s perspective, the error message gives no clue as to what is wrong or what you can focus on. These details are usually provided on the server’s side. On Azure cloud hosting, we need to enable, configure and use a remote desktop connection and access our web application via remote desktop connection available in the Azure Management Portal (Windows Azure Platform user interface).
As this option is not enabled by default, the following steps must be taken in order to enable Remote desktop connection on the Azure platform:
1. Open your Azure project in Visual Studio.
2. In the Solution explorer, choose the
CMSAzure project and click the
Publish… option in the context menu.
3. Navigate to the “
Settings” section and check the “
Enable Remote Desktop for all roles” checkbox.
4. In the “
Remote Desktop Configuration” dialog, fill in the user name and password that will be used to connect remotely.
5. Then, check the “
Enable Web Deploy for all web roles (requires Remote Desktop)”checkbox.
6. Publish the application.
Now you can log into the Azure Management Portal and investigate the problem via the
Connect button in the
Remote Access box in the “
Hosted Services” section.
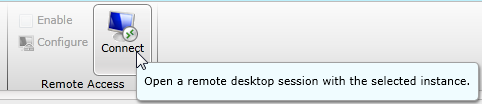
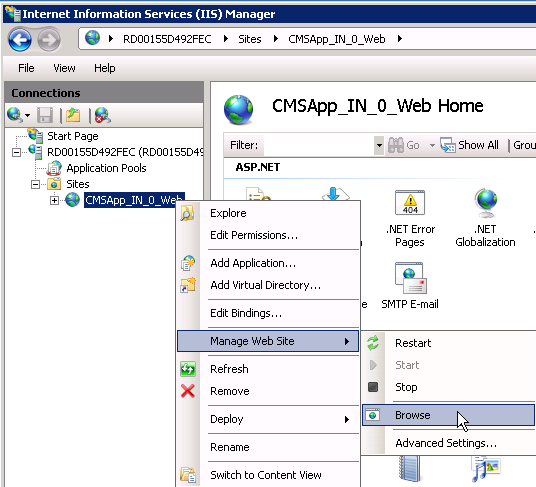
It will connect you to a virtual machine where your web application is installed on IIS and you can investigate its settings and try to open it locally. You should see more details about the problem then, including a stack-trace. To browse the site, please open your IIS, find the web application and click the Browse button from the context menu:
When the site is loaded like this, it will provide detailed error information and config source in additional to the original error’s summary.
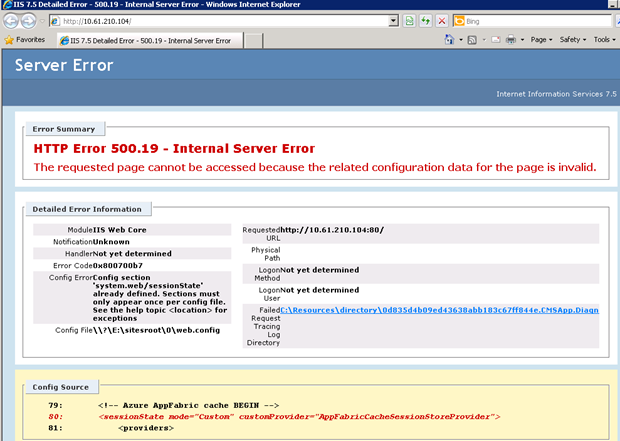
With these details, you can then follow a hint in the error message, google it for more details and common solutions or e-mail it to
support@kentico.com.
-rm-
See also: Kentico CMS 7 Windows Azure Deployment Guide
Diagnostics and Debugging in Windows AzureApplies to: Kentico CMS 6 and 7