5 - Data communication - ADO.NET Data Services
ADO.NET Data Services allows applications to expose data over the internet via standard HTTP protocol.
ADO.NET Data Services is a new part of the .NET 3.5 framework where data resources are defined as entities and relationships according to the specification of the Entity Data Model. Data communication uses mappings between the data verb and HTTP verb:
Crate == POST
Read == GET
Update == PUT
Delete == DELETE
Then you can run asynchronous LINQ queries that are translated into the URI syntax. This translation happens automatically. It means that the data collection is addressable with the URIs using the HTTP verbs. Simple, isn't it? Before you can consume a data service in Silverlight, you will need to create a model and service:
Creating ADO.NET Entity Data Model
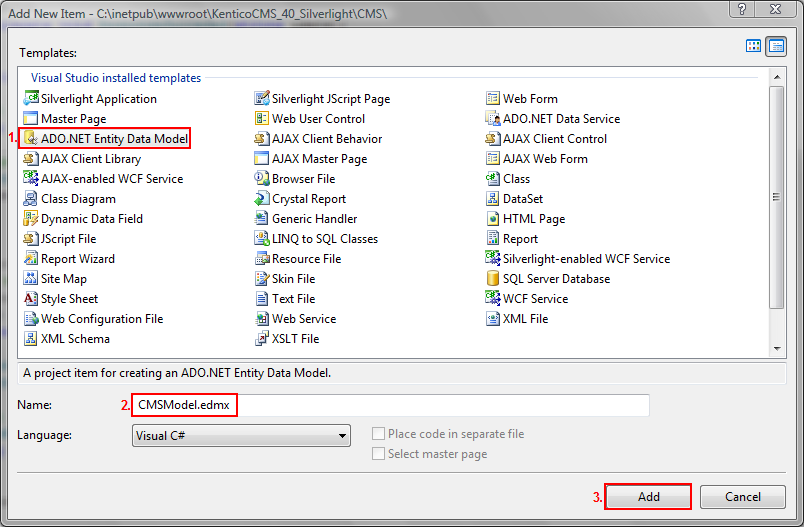
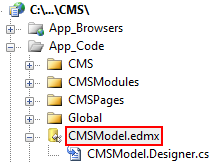
1) Right click on App_Code folder in your web project and choose Add New Item option. Choose ADO.NET Entity Data Model and name it as CMSModel.edmx:
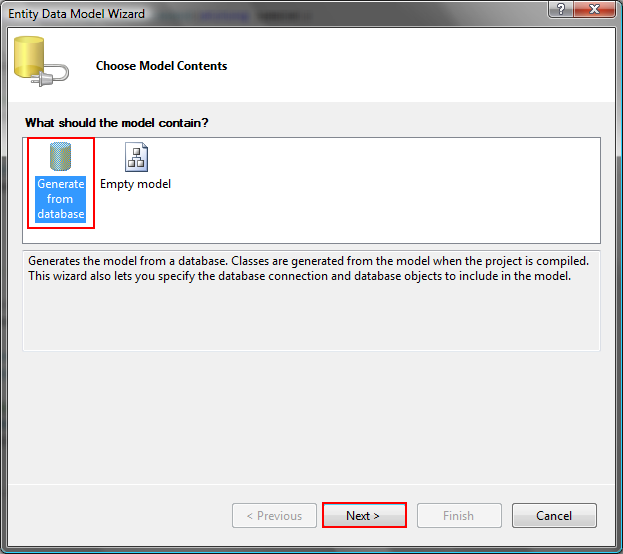
2) In Entity Data Model Wizard select Generate from database:
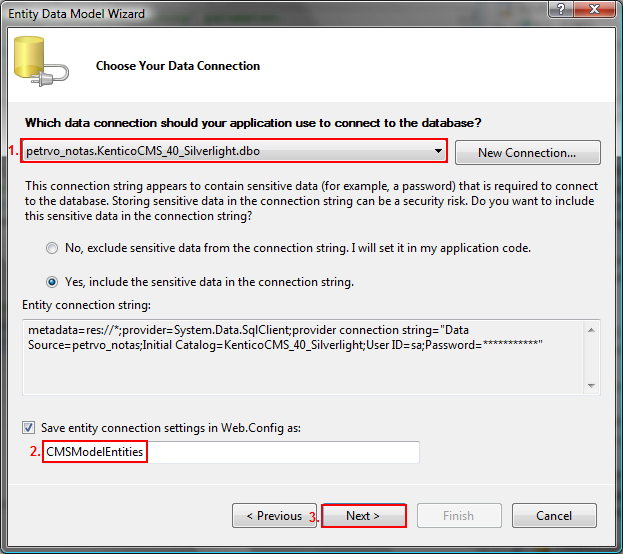
3) Choose a data connection or create new connection. Then enter CMSModelEntities as name for the entity connection settings in web.config file:
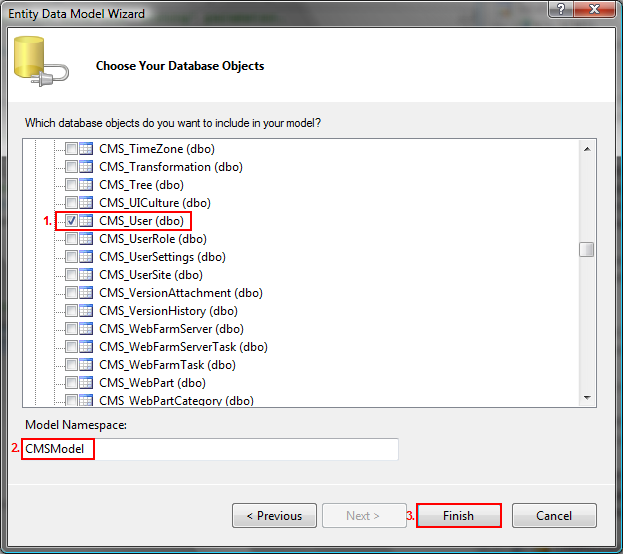
4) Choose database objects which will be included in your data model. You can choose from Tables, Views and Stored Procedures. Our demo application is using only CMS_User table, other objects are not necessary. Then you will need to specify some model namespace, enter CMSModel for now:
5) Data model is created. Click CMSModel.asmx to see related entities in your data model (there is no relationship in our example since we have chosen only CMS_User table). You can also change the entity name from CMS_User to another name:
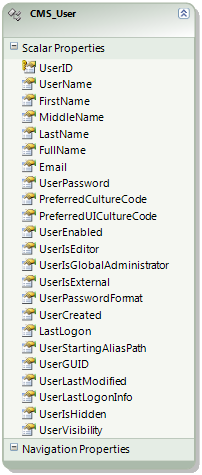
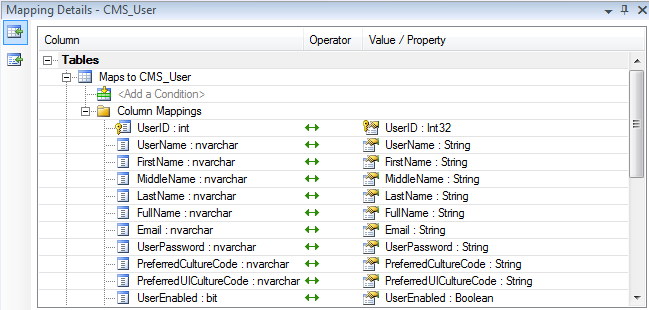
6) When you click the CMS_User entity in your model you can see database table columns mappings to the entity columns:
7) Later, if you would like to update your data model, you can do so from the Model Browser. There you can find all generated entities as well:

Creating ADO.NET Data Service
1) Right click on your web project root folder and choose Add New Item option. Choose ADO.NET Data Service and name it as CMSDataService.cs::

2) Edit CMSDataService.cs and define access rights to data which are deployed by the ADO.NET Data Service. Using to following setting all entity sets are visible:

3) Ensure your service is enabled by typing its full URL into your web browser:

4) Add /CMS_User to your service URL to get all data from the entity CMS_User. If you add /CMS_User(X) where X is identifier of the user, you will get that user data only.

5) Now we know our service is working as expected. It's time to implement it to our demo application. First, add reference to our CMSDataService:

6) Locate CMSDataService within your solution and specify namespace for its proxy class. Again, it's very simple. Notice that also reference to the System.Data.Services.Client.dll is added after the dialog is submitted.

7) Everything is ready for the integration into our demo application. There will be a little much more work because you can't use ServiceHelper class to get the users. You will need to create LINQ query which is equivalent of that SQL query which is called within the ServiceHelper.GetUsers(string searchExpression) method. Finally, an asynchronous network operation is started to get the data:

This article is part of the
Data communication in Silverlight 2.0 tutorial.