|
Workgroups overview |

|

|

|

|
Workgroups are organizational units composed of users that are created for the purpose of completing a certain task or overseeing some activity. They are usually only temporary and deleted once their goal is accomplished. A workgroup provides many tools that allow its members to communicate, share data and keep track of work.
To try out the features of workgroups, log in as Brad Summers (user name BradS with a blank password), one of the sample users, who has permissions to access and manage all workgroups on the portal. Now select the Workgroups section of the portal in the main navigation menu.
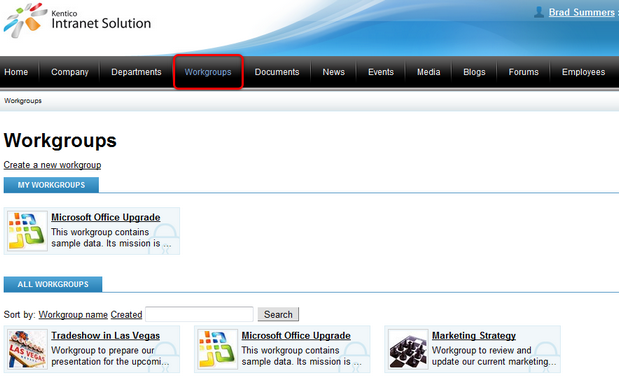
The displayed page contains two lists of workgroups. The My workgroups list shows the workgroups that the current user is a member of, while the All workgroups list displays all active (approved) workgroups. The order in which workgroups are displayed can be changed by clicking on one of the Sort by links. Workgroup name causes alphabetical sorting and Created uses the chronological order in which the workgroups were created. If there is a large amount of workgroups in the list, specific workgroups can be found by entering their name into the Search box.
The Create a new workgroup link above the lists can be used to add a workgroup. This process is described in the Creating a new workgroup topic.
You may have noticed that there is a lock in the background image of every workgroup. This indicates that a given workgroup may only be accessed by its members. If a workgroup is set to allow all portal users to view it, its background will be clear like in the following image.
![]()
Right‑clicking a workgroup opens a context menu that offers several possible actions:

| • |
| • |
| • |
| • |
When a workgroup is accessed, the main menu changes to display links to the various sections offered by the workgroup instead of showing the structure of the main portal. In some cases, the workgroup may also use a different color theme than the rest of the portal. This is because a specific theme can be set for every workgroup separately by workgroup administrators.
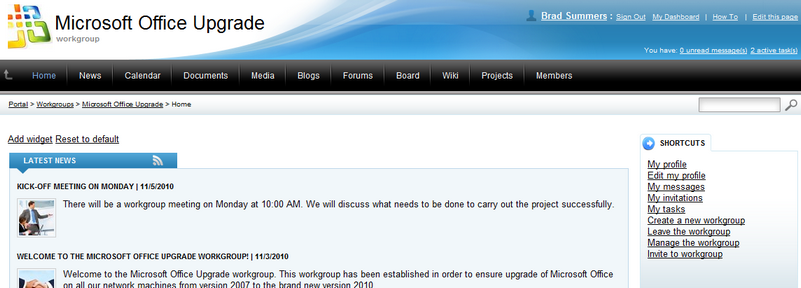
It is possible to leave the workgroup and return to the main portal at any time either by clicking the Back to Main Portal arrow on the left side of the menu or using the breadcrumbs navigation tool located below the menu.
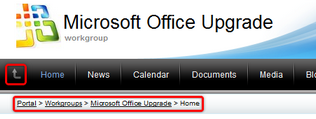
Each workgroup has a structure similar to that of the main portal (as described in Getting started -> Intranet Portal overview) and is separated into sections, where the workgroup's tools and features are available. Information about individual sections can be found below:
| • | Home |
| • | News |
| • | Wiki |
The Home section is displayed by default when a user accesses the workgroup. Administrators of the workgroup may customize the design of the Home section (as described in the Modifying a workgroup home page topic) so its exact appearance is variable, but it usually contains general information and updates on recent activity in the workgroup.
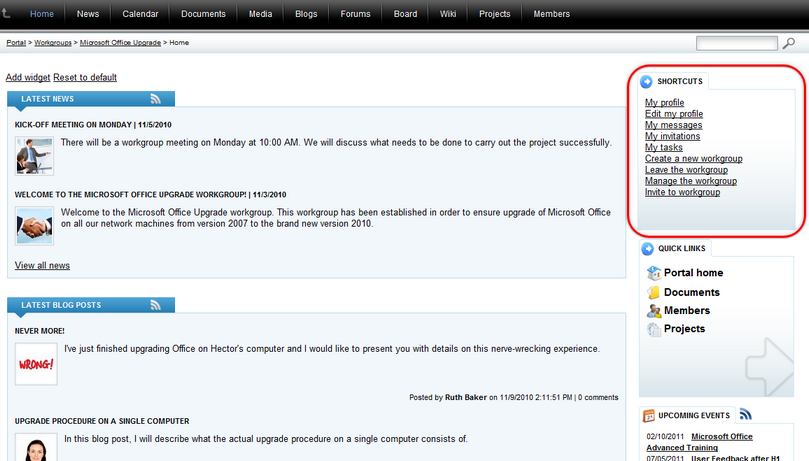
An important section that is always present on the this page is the Shortcuts menu on the top right, which is a list of convenient links that allow users to easily reach various parts of their employee profile, as well as perform workgroup related activities. The following links are available in the list:
| • | My profile - links to the employee profile of the current user. |
| • | Edit my profile - links to the editing page of the current user's employee profile. |
| • | My messages - links to the messages page of the current user's employee profile. |
| • | My invitations - links to the invitations page of the current user's employee profile. |
| • | My tasks - links to the part of the current user's employee profile that contains a list of assigned tasks and related projects. Please refer to the Project management overview topic for more information. |
| • | Create a new workgroup - allows a new workgroup to be created. This process is described in the Creating a new workgroup topic. |
| • | Join the workgroup - allows users to become members of the workgroup. In some cases, the approval of a workgroup administrator will be required before the membership becomes valid. |
| • | Leave the workgroup - members of the workgroup can use this action to leave it (cancel their membership). |
| • | Manage the workgroup - accesses the management interface of the workgroup. This link is only available to workgroup administrators. The interface is described in the Managing workgroups topic. |
| • | Invite to workgroup - opens a window that allows the invitation of users to the workgroup.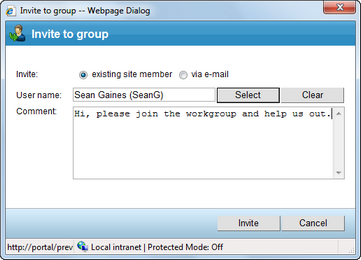 There are two ways to invite a new member: |
| • | Invite existing site member - allows the selection of an existing portal user into the User name field. When the Invite button is clicked, a notification e‑mail is sent to the user's e‑mail address and any text entered into the Comment field is included in the e‑mail. The user can join the workgroup either by clicking a link in the e‑mail, or via the My invitations link in the Shortcuts menu found on their employee profile page. |
| • | Invite via e-mail - allows the sending of an invitation e‑mail to any address specified in the E‑mail field. In this case, the user will be required to register on the portal after clicking the join link in the e‑mail. Any text entered into the Comment field will be included in the e‑mail. |
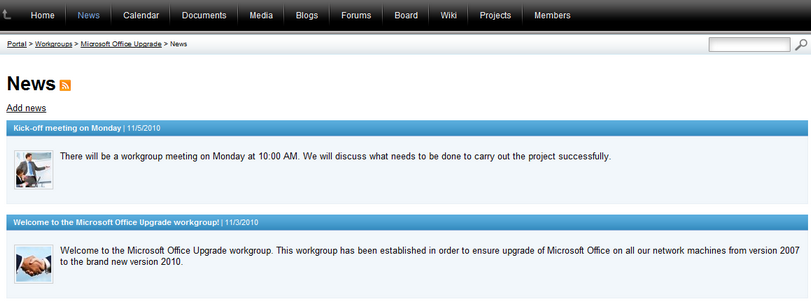
This section contains a list of news items related to the workgroup, and allows news to be viewed, added or modified by users with the appropriate workgroup permissions. It is very similar to the News section of the main portal, but the news items here are workgroup specific. Please refer to the News chapter of this guide for more information.
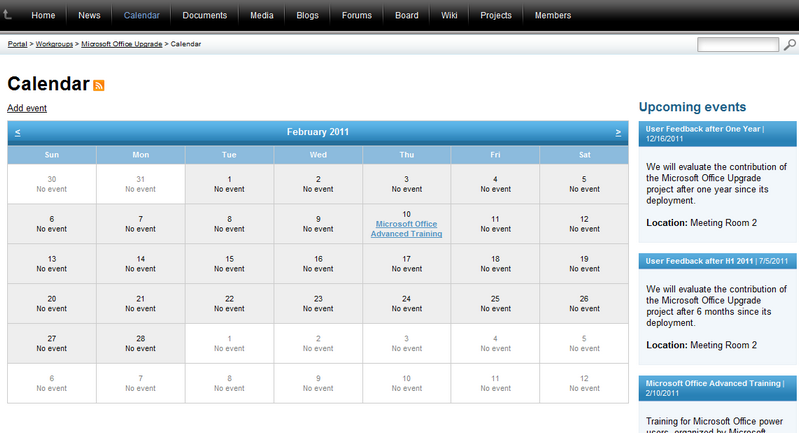
This section contains information about scheduled events relevant to the workgroup and allows them to be viewed, created and modified by users with the appropriate workgroup permissions. It is very similar to the Events section of the main portal, but the events here are workgroup specific and it is not possible to register for workgroup events. Workgroups usually represent a relatively small team of users, so a registration system is not really necessary. Please refer to the Events chapter of this guide for more information.
This section contains a document library that can be used to store or access files within the context of the workgroup. Please refer to the Document libraries chapter of this guide for detailed information on the use and management of document libraries.

This section contains a list of media libraries that may contain various types of files. A library can be selected by clicking on its title or associated image.
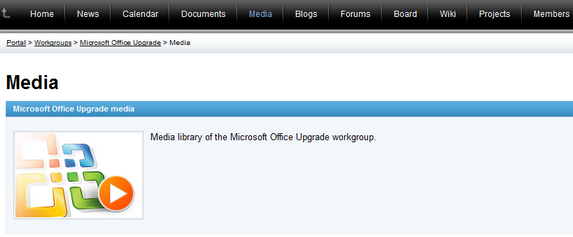
When a browsing a selected library, individual media files can be viewed or downloaded. Each library functions exactly as the Media section of the main portal. Please refer to the Media libraries chapter of this guide for more information on the use of media libraries.

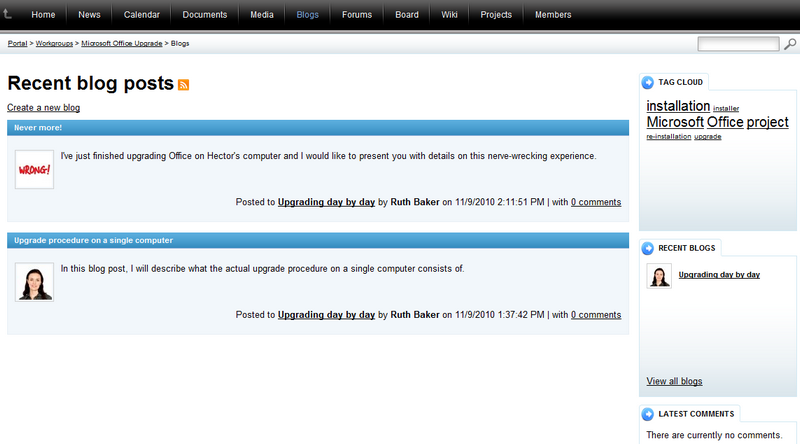
This section displays blog posts related to the activity of the workgroup, and allows new blogs, posts and comments to be added or modified. It is nearly identical to the Blogs section of the main portal, but set into the context of the given workgroup. Please refer to the Blogs chapter of this guide for detailed information.
This section contains the forums of the workgroup, which function in exactly the same way as the forums on the main section of the portal. The difference is that their content is separate and unique for the given workgroup. Please refer to the Forums chapter of this guide for detailed information.

This section contains a message board that allows users to view and post text messages. It is usually used to make quick announcements related to the activity of the workgroup. Please see the Other features -> Using message boards topic for details on using the message board.
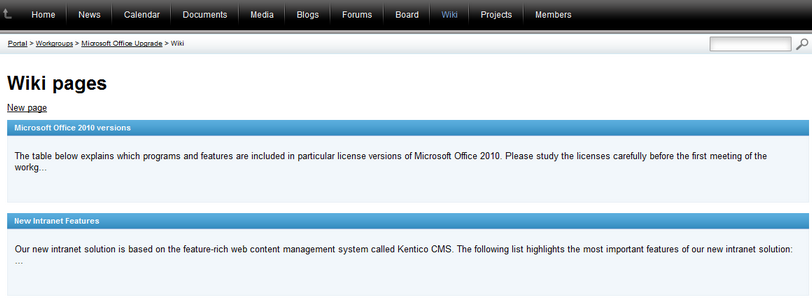
This section contains a list of articles related to various aspects of the workgroup, and allows them to be viewed, added or modified by users with the appropriate workgroup permissions. More details on this feature, which is only available in department and workgroup sections (not in the global section), can be found in Other features -> Using Wikis.
This section is where the projects belonging under the workgroup can be monitored and managed. Please see the Project management chapter of this guide to learn more about this feature.

The Members section displays a list of all the users that are members of the workgroup and information about them. If there is a large amount of members, the Search member by name filter above the list can be used to find users by their name. Clicking a member's name displays their employee profile.
The functionality provided by this section is similar to the Employees section of the main portal. Please refer to the Employees chapter of this guide for more information on user profiles and their management.

Page url: http://devnet.kentico.com/docs/5_5r2/intranetusersguide/index.html?workgroups_overview.htm