Quick Tip: Adding a custom form control to the Kentico Form Builder
The Kentico Form Builder is a simple, intuitive interface for editors to create and design their custom forms on a site. Often, developers will create custom form controls to accomplish a specific task. In this article, I will show you how to add these custom controls to the Form Builder UI.
Create Your Control
The first step is to create your custom form control. In my example, I will be adding the TeamUp Sync Control I created in a previous blog.
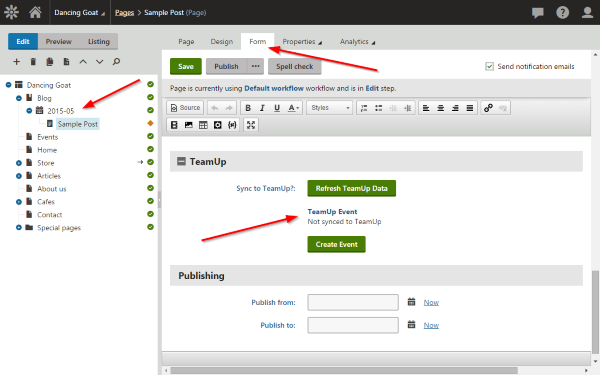
Here you can see when the control is assigned to a Page Type field and displayed on the Form tab of the site.
Field Type

Form Tab
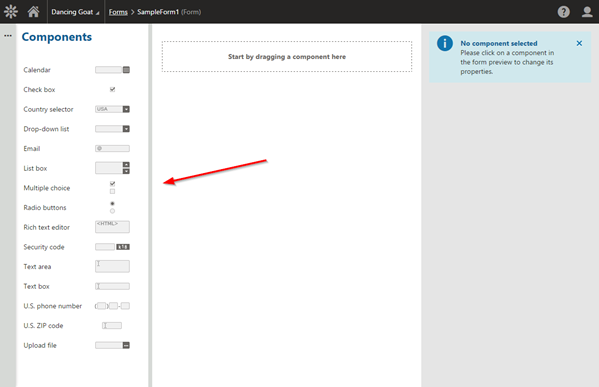
If we check the Form Builder UI, we can see that the control is not listed.
Form Builder Without Control
Update the form control
To display the control in the Form Builder UI, we will need to update a few settings on the control. This includes setting the Show control in value to include Forms and setting the High priority setting to enabled.
Show Control In Forms
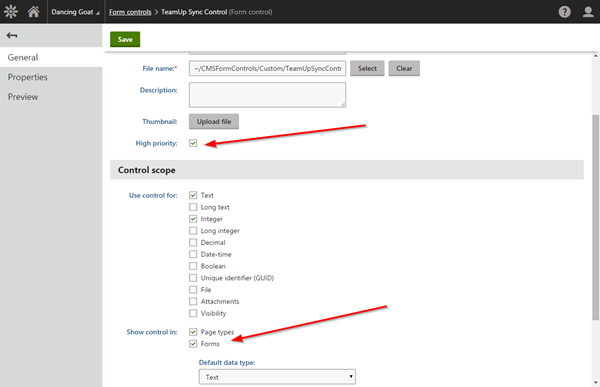
These two settings will enable the control to be used for form fields, as well as displayed in the Form Builder UI.
Note
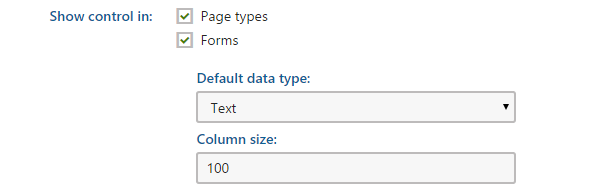
Be sure you set your Default data type values for the control after you enabled Show control in: Forms.
Data Type
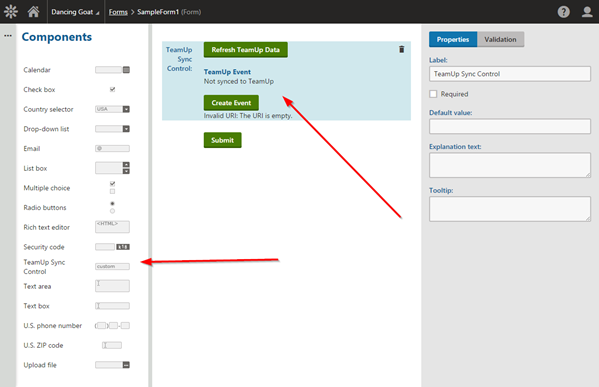
Confirm the control is listed in the Form Builder
In the Form Builder UI, you should see your custom control listed and available to add to your forms.
Form Builder With Control
Pretty simple, right? Like most things with Kentico, it’s usually pretty easy to achieve what you want. Good luck!