Modifying the Dashboard Styling in Kentico 10
Everyone enjoys when an application is familiar to them. Whether it’s the styling or imagery, providing a consistent and familiar experience for your users is a critical step in developing a site. Kentico has long provided developers ways to customize the interface and in Kentico 10 we made it even easier. In this blog, I’ll show you how you can easily modify the admin dashboard using your own styling.
Ever since the release of Version 8, longtime users of Kentico have loved the “new” interface. It was a tremendous improvement over the previous design and provided a sleek, intuitive experience for editors and admins.
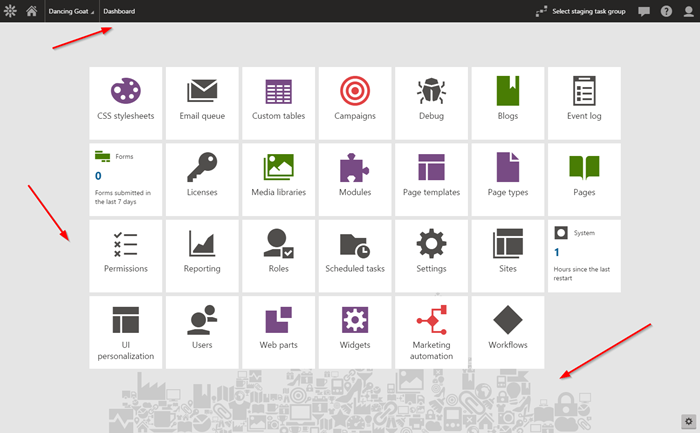
While this design is very usable, many companies often want to modify the styling to match the brand of their company or client. In previous versions, this meant updating core Kentico files and keeping track of the changes from version to version. In Kentico 10, we have included a great new way to simplify these modifications and ensure your changes will always be safe from updates.
You can find more about updating the default styling here.
Understanding How the Styling Works
Before you start editing the layout, you should understand how the styling is applied within the administration interface. Since version 8, Kentico has incorporated Bootstrap throughout the site to ensure the interface is consistent and clean. This is especially true when it comes to the Dashboard, as there are many UI elements that need to be displayed to the user.
Along with Bootstrap, LESS is used to pre-compile and simplify the CSS for faster delivery. All the LESS files are stored in the /App_Themes/Default/Bootstrap folder.
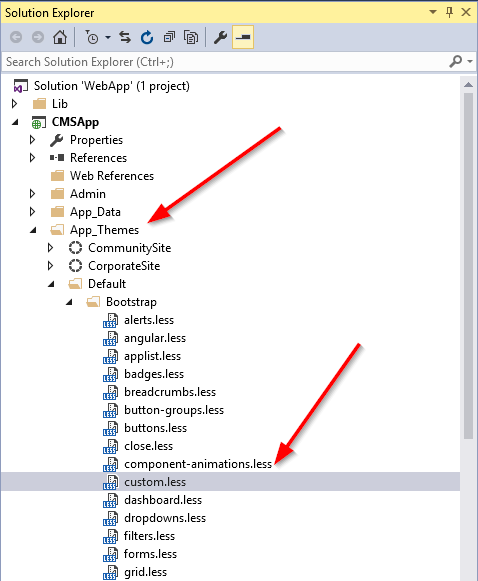
One big addition in Kentico 10 is the custom.less file. This is a new file where you can store all of your custom layout code. As the notes state, it will never be updated during an upgrade or hotfix, so it’s the perfect place to store your custom styles. This is where I will be adding my custom CSS to make my dashboard look amazing.
Adding Gruntfile.js and package.json Files
The default Kentico installation does not auto-compile .less file changes. This is because many companies may not want this additional processing as part of their project. Therefore, if you want to use it, you need to add a Gruntfile.js and a package.json file to your project.
Grunt file
package.json
These files tell your Visual Studio project to recompile your LESS code every time a .less file is updated.
After adding these files, right-click your package.json and select Restore packages. This tells Visual Studio to go get the necessary libraries to enable the real-time LESS compilation.
Adding Custom Styles
With the LESS compilation in place, you will be ready to add your custom code. In your custom.less file, add in the custom styles. Most styles that you add here will be loaded last in the DOM, overwriting any default styles that may be applied. Because I spend so much time there, I decided to update my dashboard to look like DevNet with the following styles. I also updated the background image, to show how that is possible.
//Top navigation styles
.cms-bootstrap .navbar-inverse, .cms-bootstrap .breadcrumb.cms-nav-breadcrumb
{
  background-color: #EF5A22;
}

.cms-navbar-chat
{
    background-color: #403e3d !important;
}


//Dashboard styles
.cms-bootstrap .cms-nav-icon-large, .cms-bootstrap .cms-nav-icon-medium,.cms-bootstrap .navbar-inverse .navbar-nav>li>a>i, .cms-bootstrap .breadcrumb.cms-nav-breadcrumb>li:before
{
    color: #fff;
}

.cms-bootstrap .dashboard {

    background: #c6c6c6 url(/Kentico10WebApp/CMSPages/GetResource.ashx?image=KenticoLogoFlower.png) no-repeat right bottom fixed
}


//App List Styles
.cms-bootstrap .applist-panel, .cms-bootstrap .applist-panel .panel, .cms-bootstrap .applist-panel .btn-livesite-wrapper
{
    background-color: #42388C;
}
Note: I found one exception in my demo (.cms-navbar-chat) that I had to add !important to because of the way CSS is being applied.
Because of the Grunt file and new packages, saving the custom.less file now triggers the CSS to be compiled so the changes are applied.

Testing
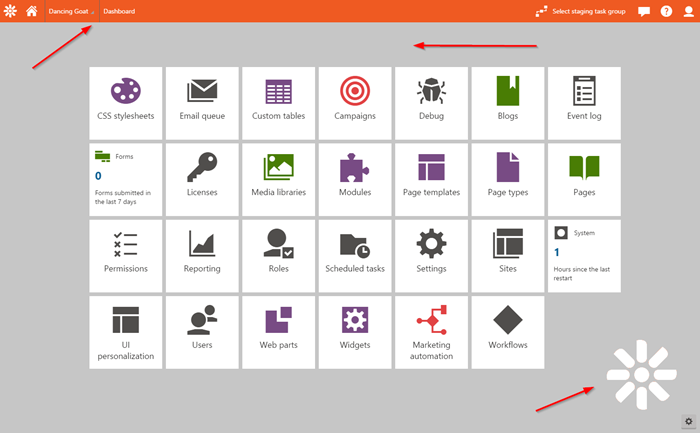
With the changes in place, I can now see my changes on the dashboard.
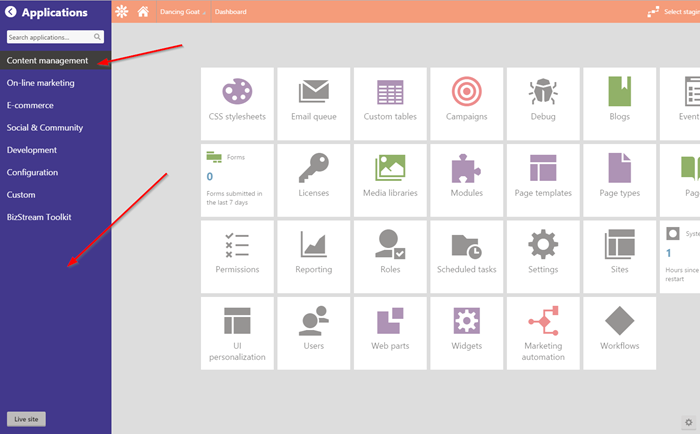
I also updated the Application List styling. Here’s what that looks like now.
And here is the Chat toolbar, with the new styling.

Moving Forward
Customizing the administration interface is a great way to personalize the experience for your users. By leveraging the built-in styling capabilities, you can easily update your images, colors, and formatting to match your branding guidelines and ensure your site is a familiar interface for your users. Because the custom.less file will never be updated by Kentico, you can be sure your styles will be safe as you upgrade the site moving forward. Good luck!