Displaying Feedback Within Your Kentico Modules
Developing custom modules is a key part to many Kentico projects. Whether it’s integrating with a backend system or extending the capabilities of the platform, developers often create these interfaces to expose new functionality to their users. As with any UI, providing accurate and relevant feedback is just as important as the module itself. In this blog, I’ll show you how you can leverage a standard method in Kentico to keep your users informed.
When creating custom modules, many companies use the provided templates to build out their interfaces. These are great for displaying data and working with classes, however, many projects require a much more customized user experience. In order to accomplish this, developers often opt to create their own .ASPX pages for the functionality. Because these pages inherit from the CMSPage class, there are many helpful functions and methods that you can use within your code.
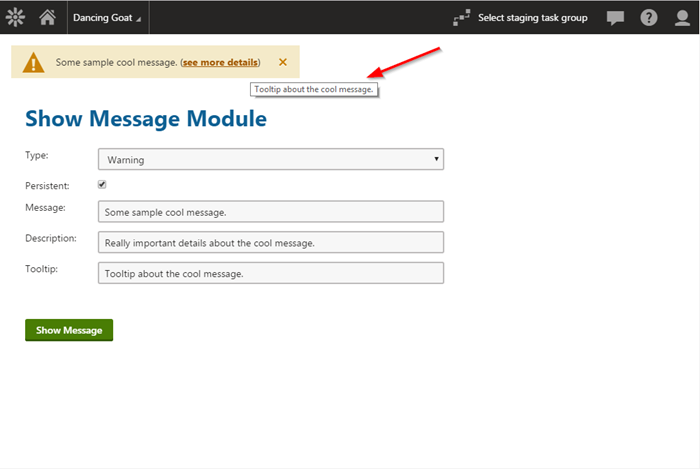
One of the most helpful methods is ShowMessage. This built-in feature allows you to display messages to the user in a way consistent with other Kentico messages. This method accepts a number of parameters to customize the message, as well as the ability to provide as much detail as necessary. And the best part? It only takes a single line of code to implement.
ShowMessage(CMS.ExtendedControls.MessageTypeEnum.Confirmation, txtMessage.Text, txtDescription.Text, txtTooltip.Text, cbPersistent.Checked);
Let’s take a closer look at the parameters.
MessageType
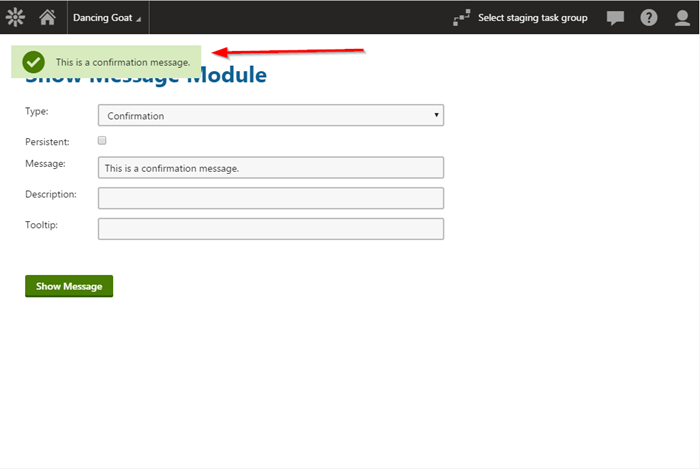
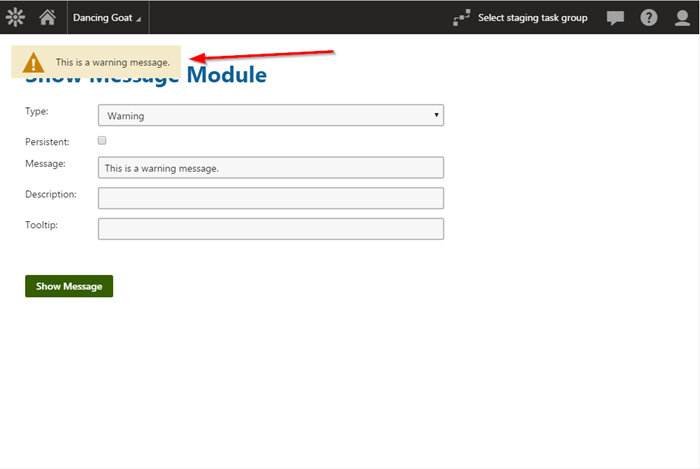
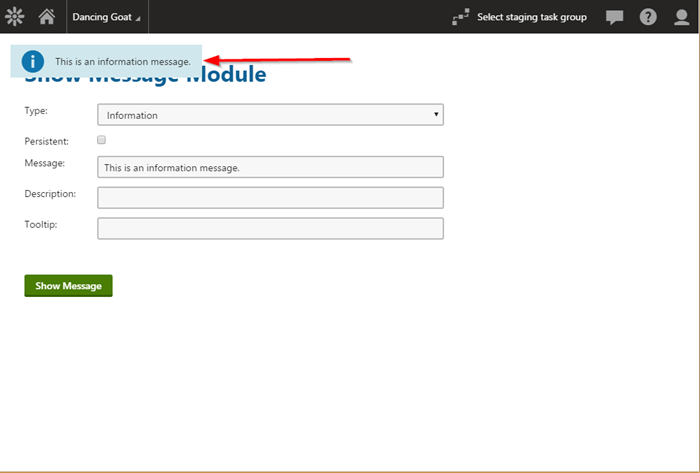
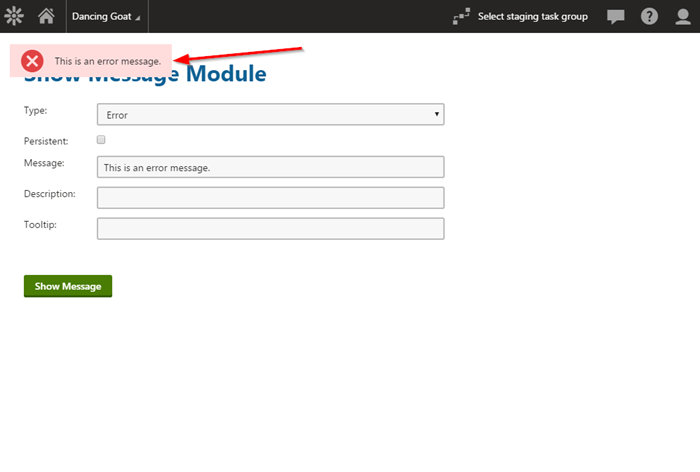
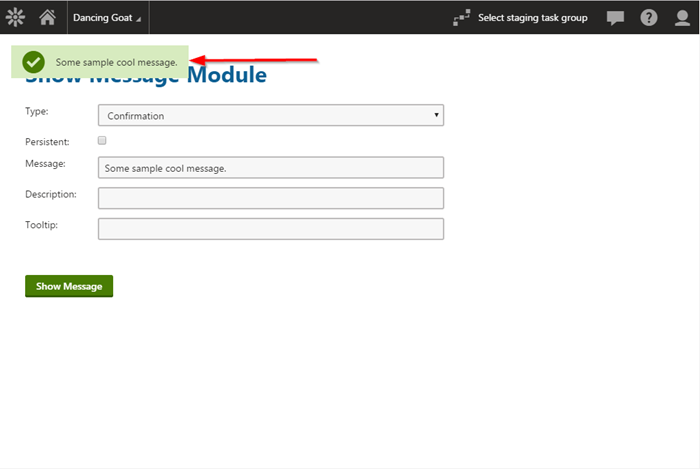
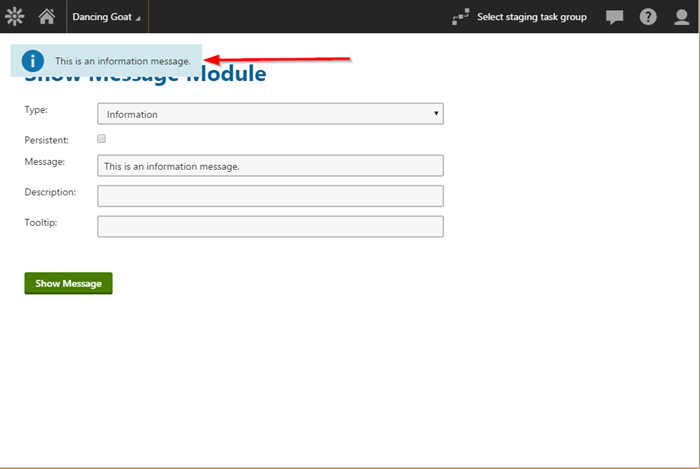
The ShowMessage method accepts a MessageTypeEnum parameter which determines the type of message to display. You can select Confirmation, Information, Warning, or Error. Each option is formatted a little differently and makes it very apparent to the user the type of information you are providing.
Here are some samples of the different message type.
Persistent
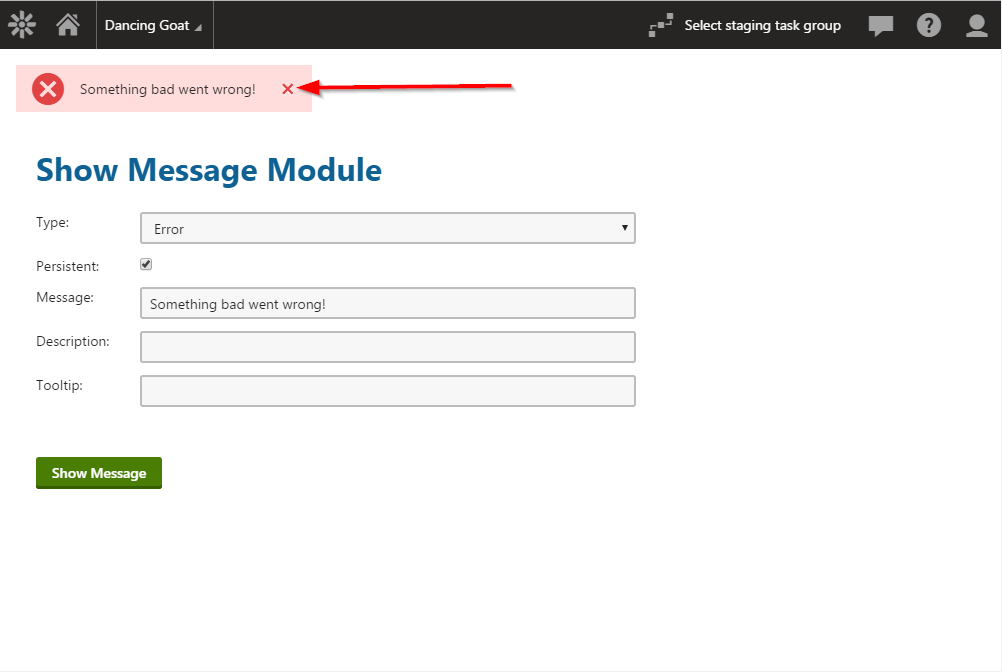
Another parameter you can use is the persistent flag. This option determines whether or not the message will stay displayed until the user dismisses it. If false, the message will disappear after a few moments. If true, the user will have to manually dismiss the message. Typically, confirmation and information messages will go away on their own, but you may want to keep errors and warnings visible to make sure the user sees them.
Text, Description, and Tooltip
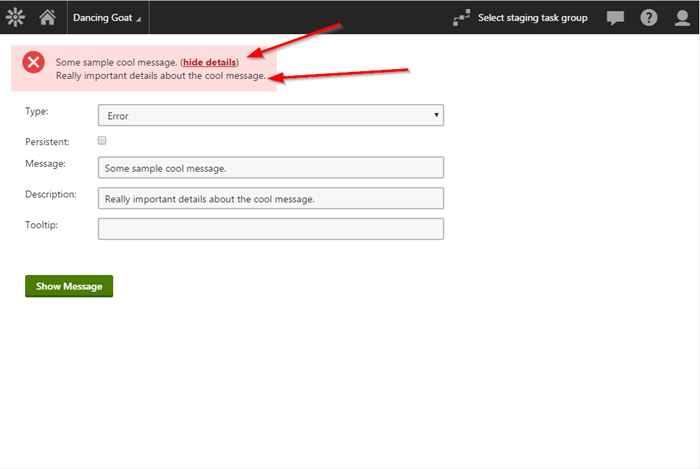
The remaining parameters deal with the actual message you want to display. These include the message text, description, and the tooltip text. Depending on the message you are showing, you may opt to only use the text value. For an error message, you may leverage the description value, enabling you to post a generic “There was a problem” message and provide the details in the description.
Moving Forward
Developing good interfaces for your users is a critical part of any custom development. Developers need to provide a consistent, intuitive experience, while ensuring the correct information is displayed. By leveraging the ShowMessage method, you can ensure your custom modules look and feel the same as other Kentico pages. Good luck!
Here's my super awesome demo code, if you are interested.
            switch (ddlMessageType.SelectedValue.ToLower())
            {
                case "confirmation":
                    ShowMessage(CMS.ExtendedControls.MessageTypeEnum.Confirmation, txtMessage.Text, txtDescription.Text, txtTooltip.Text, cbPersistent.Checked);
                    break;
                case "information":
                    ShowMessage(CMS.ExtendedControls.MessageTypeEnum.Information, txtMessage.Text, txtDescription.Text, txtTooltip.Text, cbPersistent.Checked);
                    break;
                case "warning":
                    ShowMessage(CMS.ExtendedControls.MessageTypeEnum.Warning, txtMessage.Text, txtDescription.Text, txtTooltip.Text, cbPersistent.Checked);
                    break;
                case "error":
                    ShowMessage(CMS.ExtendedControls.MessageTypeEnum.Error, txtMessage.Text, txtDescription.Text, txtTooltip.Text, cbPersistent.Checked);
                    break;
            }