Adding the Kentico Draft Import Module to Kentico
Kentico Draft is a cloud-based service that gives companies a single location for web content production. Powered by a robust API and sleek interface, the service gives you the ability to enter content even before your site is complete, allowing projects to end on schedule and save development costs. One of the best advantages to Kentico developers is the free Kentico Draft Import module for versions 9 and 8.2 sites. In this blog, I’ll you how to add this free module to your Kentico 9 installation.
Here at Kentico we have some amazing developers working on many different projects. While the majority of team focuses on our core product, we have several smaller teams working on some very cool applications to help the content creation and management industry. One of these projects is a great tool called Kentico Draft. This service allows companies to create content long before a site is completed, allowing editors to get a jump start on their content management sooner. Because Content Types can be defined in Kentico Draft to match Kentico objects, developers can rest easy knowing all of the content can easily imported into the site once it’s ready.
The Kentico Draft Import module is a free utility offered with the service that allows companies to import their content into their Kentico installations quickly. This module is supported in versions 9 and 8.2, although the later will require a little more configuration o get it up and running. In this blog, I’ll show you how you can quickly add the module to a version 9 installation and get your content flowing smoothly.
You can find documentation on the module on the Kentico Draft documentation page here.
Adding the NuGet Package
The first step of the integration process is to add the KentidoDraftIntegration NuGet package to your application. This will work whether you are using a web site or a web application. It’s important to remember that if you are using a web application, you will need to rebuild after the installation is complete to see the changes.
In the Manage NuGet Packages utility, search for Kentico Draft and select the KentcoDraftIntegration package. This package will install the necessary module files, as well as the necessary dependencies into your project.
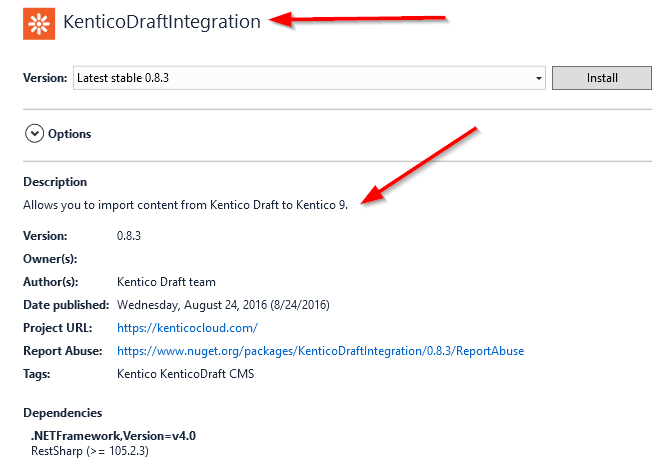
Note that if you are using Kentico version 8.2, you will need to select the KenticoDraftIntegration82 package.
Verifying the Module Installation
Once the NuGet installation is complete, a ReadMe file will be opened with some instructions on how to verify the installation was successful. The message will be similar to following:
You have installed or updated the module's files in the Kentico project. If you are using a web application project, you need to build the Kentico solution.

To finish the installation or update, open your Kentico application in a browser. During the processing of the first request after the module installation or
update, the system automatically imports database objects from the module installation package to the Kentico database.

You can verify that the module was installed or updated successfully in the Event log application - check that the log contains no errors and the following event:

Source = ModuleInstaller, Event code = MODULEINSTALLED
 -or-
Source = ModuleInstaller, Event code = MODULEUPDATED
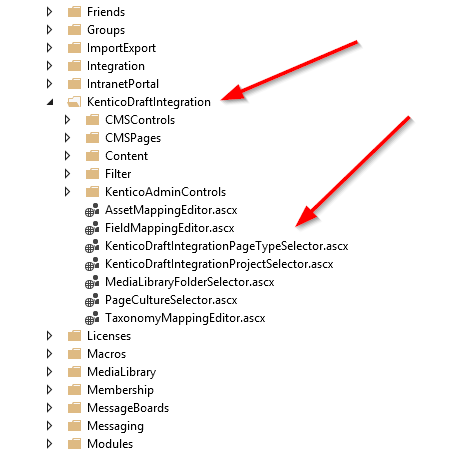
In your project, you should see the KenticoDraftIntegration folder created under the CMSModules section.
After rebuilding (if using a web application project), access your site to complete the module installation. With Version 9, Kentico will automatically register the module on the first page request. In the Event Log you should see a message similar to the following:
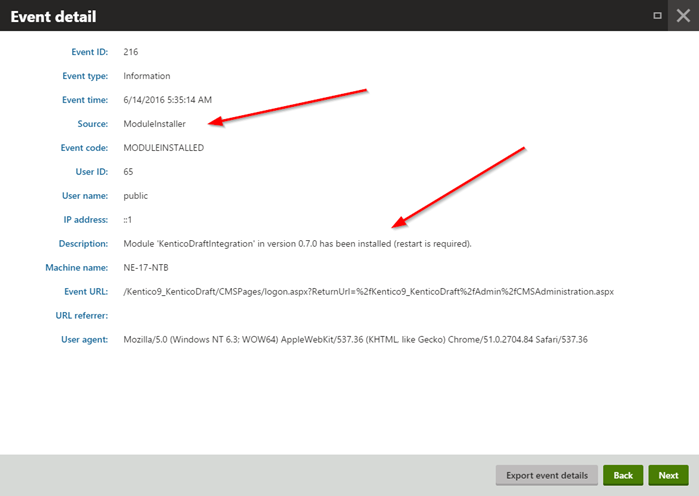
If you had the module installed previously, you will see a MODULEUPDATED message instead.
Kentico Draft Settings
Now that your module is installed, it’s time to do some configuration to get everything working. Under Settings / Integration you will see a new element for Kentico Draft. In that section, set the username and password for your Kentico Draft account. Once this authenticates, select the appropriate project.
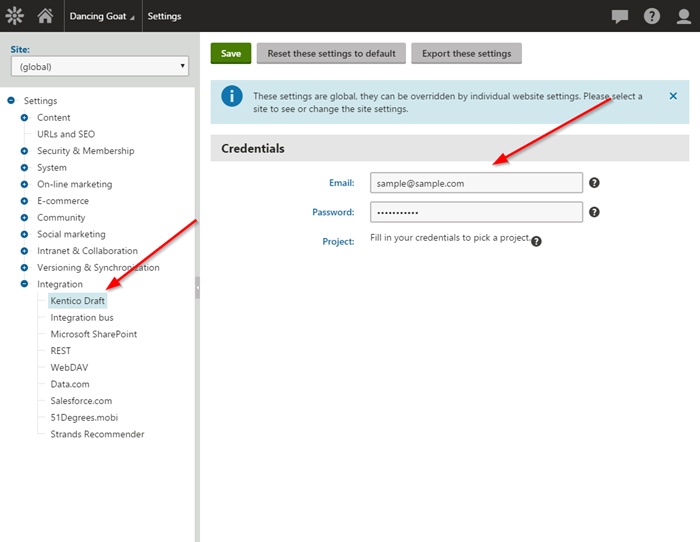
If you are hosting multiple sites within your installation, you can set a different Kentico Draft configuration for each one. This will help you keep your content separated and organized.
Importing Content
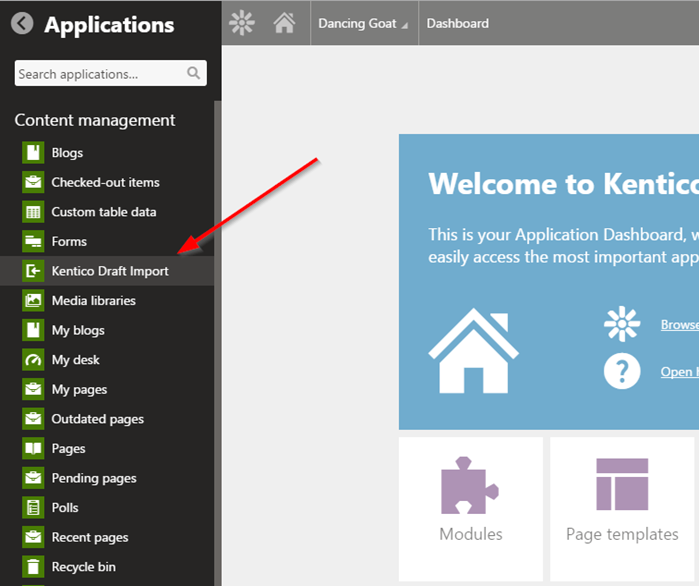
With everything configured, you’re ready to import your content. In your left navigation, expand Content management and select the new Kentico Draft Import option.
In the utility, you will see all of the content from your Kentico Draft project and the status for each record. You can use the options on the left to filter the results. This can be very helpful if you have a large amount of content in different phases and only want to select particular entries.
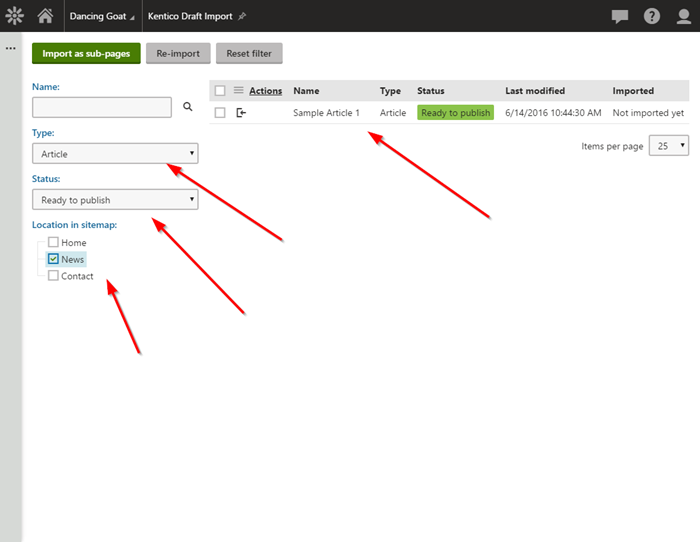
Once you select your items, click Import as sub-pages. This will bring you to the Import page where you can set the following options:
- Where in the content tree the content will be imported
- Page culture
- The Page Type to import the content in as

Once you select a Page Type for the content, you will map the fields between the two entities. Kentico will save these mappings for the selected Content Type and Page Type so you will not have to remap them in the future.
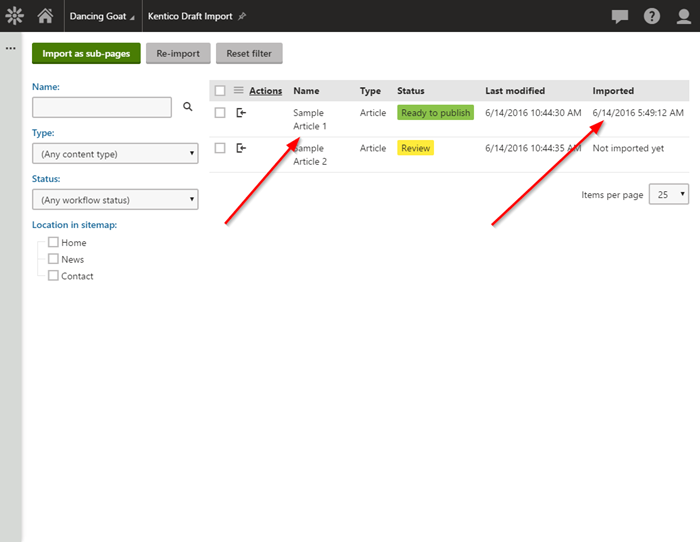
After importing, you will see the selected content has been updated with a new Imported date added. This allows you quickly see what has been imported and what has not.
Finally, in your Content Tree, you will see the new page listed. On the Form tab, you will see y our content mapped to the selected fields.
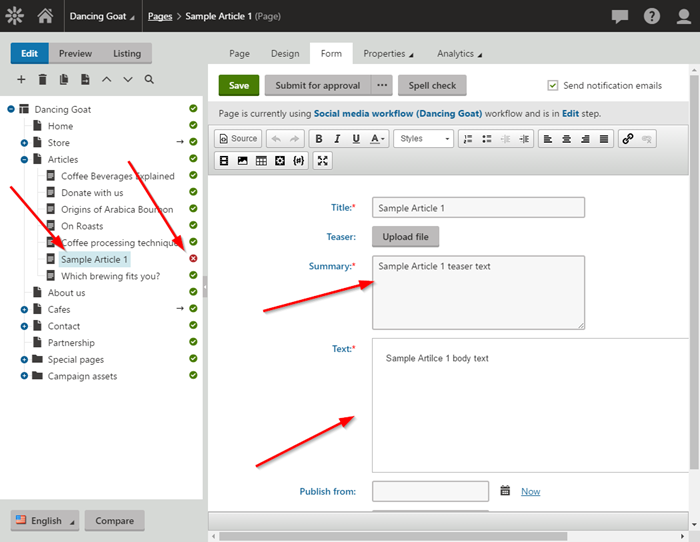
Note that if you are using workflow, the page will not be published and you will need to approve the changes in order to display it on your site.
Learn More
Kentico Draft is designed to help you expedite your content creation and delivery. By defining your Content Types to match your Page Types within your site, you can allow you content editors to start content production before you site is complete. Once your site is ready, you can use the Kentico Draft Import module to bring the content into your site quickly and map it to the correct areas of the content tree.
If you want to know more about Kentico Draft, check out the product page here. And why not sign up for a free trial? It may be a great fit for your organization and allow you expedite and streamline your project development. Good luck!
This blog is intended for informational purposes only and provides an example of one of the many ways to accomplish the described task. Always consult Kentico Documentation for the best practices and additional examples that may be more effective in your specific situation.