|
|

WYSIWYG editor |

|

|

|

|
|
WYSIWYG editor |
|
|

|
|
|
|
WYSIWYG editor |
|
|
|
|
|
WYSIWYG editor |
|
|
|
|
|
|
||
The Intranet Portal comes with a built-in WYSIWYG editor. You can come across the editor in many parts of the portal, usually in dialogs used for adding or editing objects that contain blocks of text, for example when working with news items, events, Wiki pages and blogs or blog posts. Apart from other useful features described below, the main advantage of the WYSIWYG editor is that the content displayed while editing is nearly identical to the end result. The options offered by the editor can be accessed via a toolbar located above the given editing region.
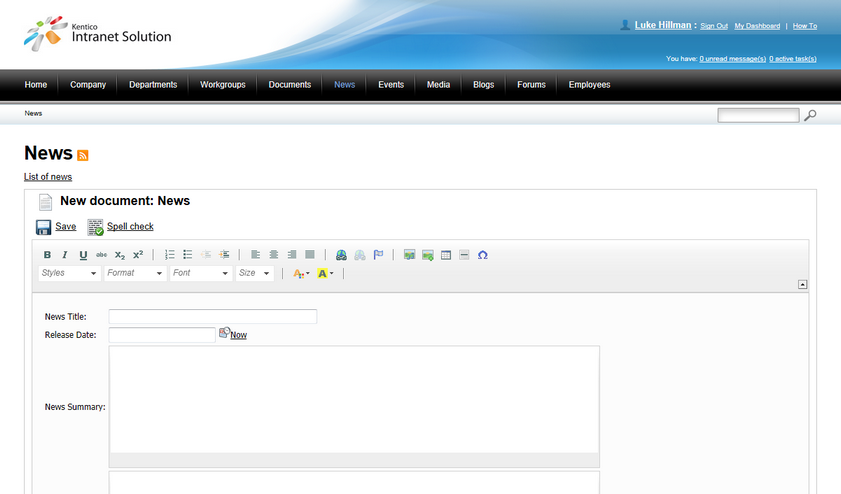
The following actions are available on the WYSIWYG editor toolbar:

1. Text formatting - these buttons are used for text formatting. They include font adjustment, underlining, paragraph alignment, listing, indentation etc.
2. Text styling - these drop‑down lists and buttons are used for text styling. They include style, format, font, size, text color and background color.
The remaining action buttons each have a specific purpose:
•![]() Insert/Edit link - converts selected text into a link or inserts a link to the location of the cursor. Using this button opens a modal dialog (described in the Inserting a link section below), which can be used to configure the properties of the link. If the button is clicked while the cursor is placed within the text of an existing link, the properties of the given link can be modified through the editing dialog.
Insert/Edit link - converts selected text into a link or inserts a link to the location of the cursor. Using this button opens a modal dialog (described in the Inserting a link section below), which can be used to configure the properties of the link. If the button is clicked while the cursor is placed within the text of an existing link, the properties of the given link can be modified through the editing dialog.
•![]() Remove link - disables the selected link, converting it to plain text.
Remove link - disables the selected link, converting it to plain text.
•![]() Insert/Edit anchor - edits a selected anchor or adds a new one to the location of the cursor. An anchor is used to mark a specific place in the text that can serve as the target of a link.
Insert/Edit anchor - edits a selected anchor or adds a new one to the location of the cursor. An anchor is used to mark a specific place in the text that can serve as the target of a link.
•![]() Insert/Edit image or media - allows an image or other type of media to be inserted into the text. Using this button opens a modal dialog (described in the Inserting an image or media file section below), which can be used to configure the properties of the object. An existing image or media file can have its properties modified through the editing dialog by selecting it and using this button (or by double clicking it).
Insert/Edit image or media - allows an image or other type of media to be inserted into the text. Using this button opens a modal dialog (described in the Inserting an image or media file section below), which can be used to configure the properties of the object. An existing image or media file can have its properties modified through the editing dialog by selecting it and using this button (or by double clicking it).
•![]() Quickly insert image - allows the selection of an image from your local disk to be inserted into the text without any additional configuration.
Quickly insert image - allows the selection of an image from your local disk to be inserted into the text without any additional configuration.
•![]() Insert/Edit table - opens a dialog where a new table can be defined or an existing one can be modified. Once complete, the table is then placed into the text. An existing table can be modified by selecting it and using this button.
Insert/Edit table - opens a dialog where a new table can be defined or an existing one can be modified. Once complete, the table is then placed into the text. An existing table can be modified by selecting it and using this button.
•![]() Insert horizontal line - adds a horizontal line into the text.
Insert horizontal line - adds a horizontal line into the text.
•![]() Insert smiley - allows the selection of an emoticon to be added into the text.
Insert smiley - allows the selection of an emoticon to be added into the text.
•![]() Insert special character - inserts a special character to the location of the cursor, like for example an arrow, currency symbol, etc.
Insert special character - inserts a special character to the location of the cursor, like for example an arrow, currency symbol, etc.
•![]() Insert page break - inserts a page break into the text.
Insert page break - inserts a page break into the text.
•![]() Maximize the editor size - can be used to expand the text editing area and the toolbar across the entire page. Clicking it again returns the editor to its original size. This action is not available for all text editing dialogs.
Maximize the editor size - can be used to expand the text editing area and the toolbar across the entire page. Clicking it again returns the editor to its original size. This action is not available for all text editing dialogs.
Please note that the actions available on the WYSIWYG editor toolbar may vary based on the settings specified by the portal administrators.
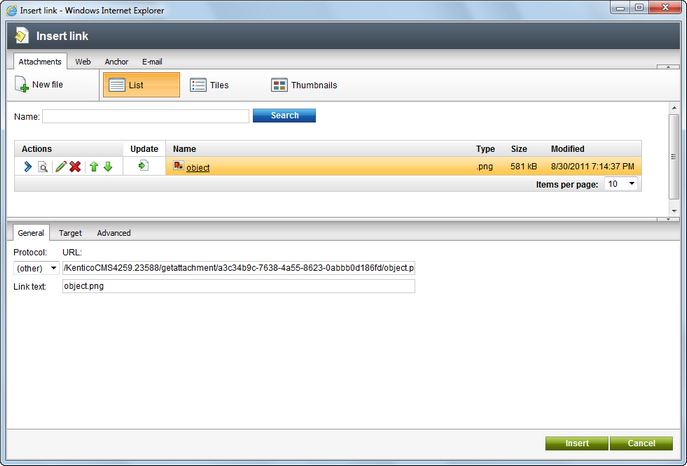
There are four possible types of links that can be made using the different tabs of the dialog.
The Attachments tab allows the creation of links to files attached to the currently edited document. An existing file attachment can either be selected from the list or a new one can be added to the document using the New file button. The List, Tiles and Thumbnails buttons may be used to change the view mode used for the attachment list. The attachments can also be managed by using the various available action buttons.
When an attachment is selected, its URL can be found on the General tab on the lower part of the dialog. Here, the Target tab can be used to select where and how the target object should be displayed when the link is clicked and the Advanced tab allows certain HTML attributes of the link to be set.
The Web tab is where standard hyperlinks can be made simply by entering a URL. The Target and Advanced tabs in the lower part of the dialog have the same purpose as described above for Attachment links.
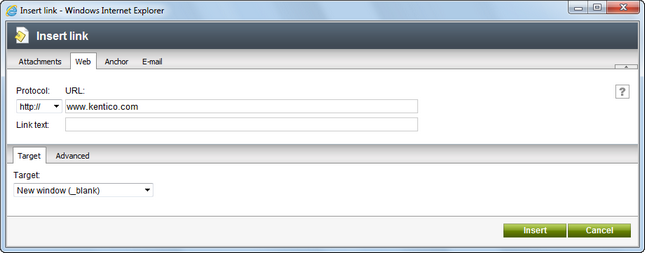
The Anchor tab can be used to create links to anchors placed into the text
Standard "mailto" links can be defined on the E-mail tab. When this type of link is clicked by a user, a new mailing window is opened in the user's e‑mail program (e.g. Outlook) with the values specified on this tab filled into the appropriate e‑mail fields.
The tabs at the top of dialog window determine the type of source that will be used for the image or media file. The Attachments tab can be used to select a file that is attached to the currently edited document. The listed attachments can be managed using the procedures described above for the Insert link dialog. On the Web tab, any web file can be specified as the source by entering its URL and Media type.
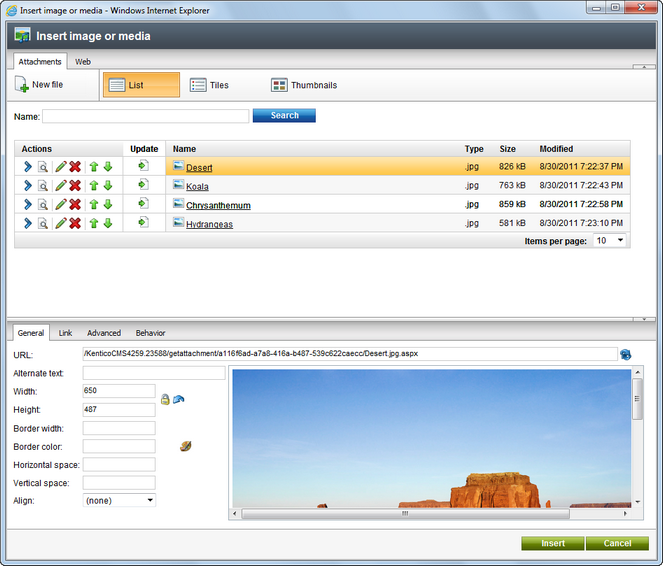
Once a file is selected by either one of the mentioned methods, the tabs on the lower part of the dialog can be used for further configuration, depending on the type of the file. The General tab contains basic options such as size and alignment, or autoplay settings for video/audio files. The Link tab can be used to set image files to work as links by specifying a URL and how the target page should be displayed. On the Advanced tab, certain HTML attributes of image files can be configured. The Behaviour tab allows special actions to be defined for image files. These actions, like for example opening the image in full size, are performed when a user clicks or hovers over the displayed image.