|
|

Creating a new page |

|

|

|

|
|
Creating a new page |
|
|

|
|
|
|
Creating a new page |
|
|
|
|
|
Creating a new page |
|
|
|
|
|
|
||
Now we will create a new page under the Services section. Click Edit in the main toolbar to switch back to the editing mode. Click Services in the content tree. Click New in the main toolbar. You will see the following dialog that allows you to select the type of document you want to create under the currently selected document:
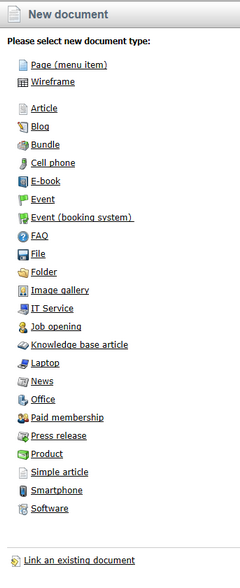
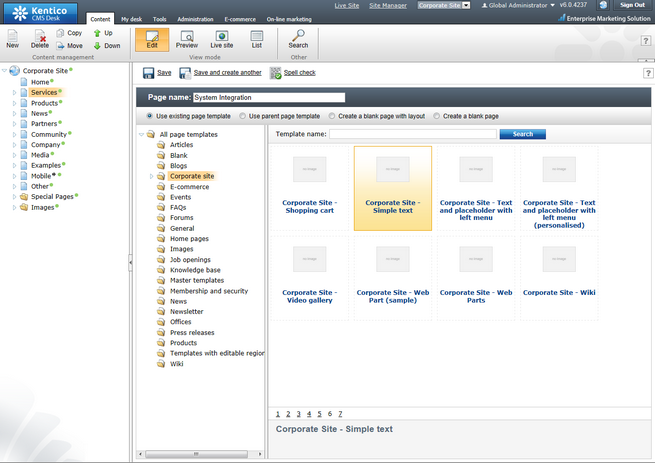
Click the Page (menu item) option. You will be redirected to the new page properties dialog. Enter System Integration in the Page name field and choose the Corporate Site -> Corporate Site - Simple text template:
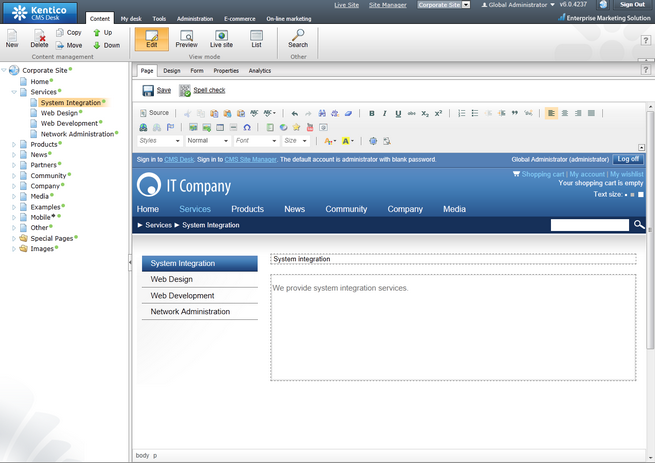
Click ![]() Save to create the new page. The page is now created in the content tree and you can edit page content on the right. Enter some text in the editable regions and click
Save to create the new page. The page is now created in the content tree and you can edit page content on the right. Enter some text in the editable regions and click ![]() Save again.
Save again.
Now you may want to change the order of the items in the content tree on the left. Click the ![]() Down button in the main toolbar three times. The System Integration item will be moved to the bottom of the section.
Down button in the main toolbar three times. The System Integration item will be moved to the bottom of the section.
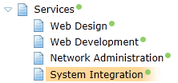
Click Live site in the main toolbar. You will see your new page as it is displayed to site visitors. Please note that the System Integration item is placed at the end of the left menu as you specified.
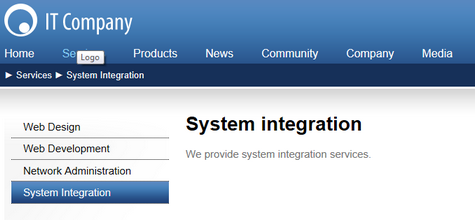
You have learned how to create a new page based on a pre-defined page template.