|
|

Master page |

|

|

|

|
|
Master page |
|
|

|
|
|
|
Master page |
|
|
|
|
|
Master page |
|
|
|
|
|
|
||
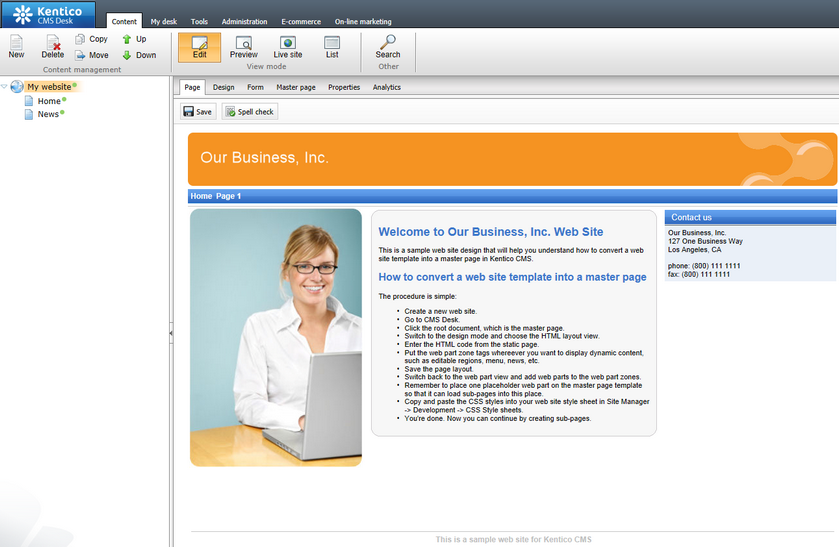
The master page allows you to define content that can be shared by all pages on the website, such as a header, navigation menu and footer. The site's root document represents the main master page.
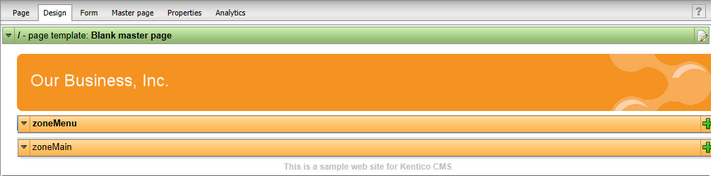
1. Open CMS Desk, select the root of the content tree (My website) and switch to the Design tab. The default design uses a blank page template with two web part zones.
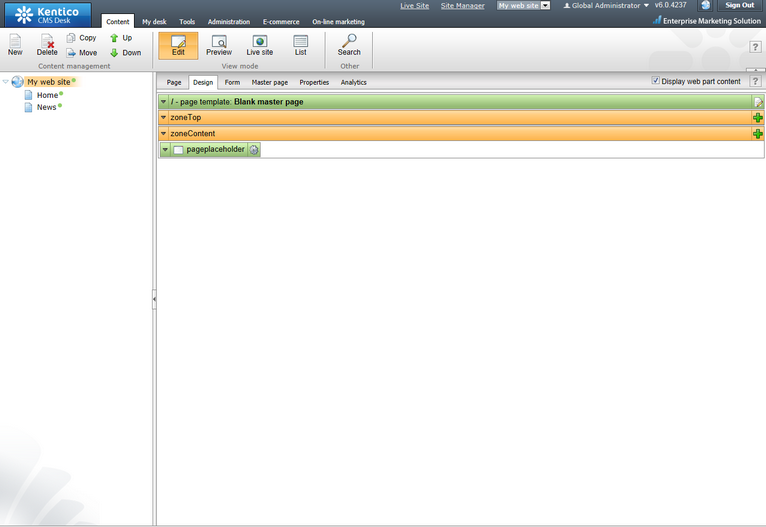
2. Right-click the pageplaceholder web part in the bottom zone and select ![]() Remove. The Page placeholder is an important master page component, but we will add it again once the final page layout of the master page is prepared.
Remove. The Page placeholder is an important master page component, but we will add it again once the final page layout of the master page is prepared.
3. Click Edit layout (![]() ) in the page template header (green box) to modify the template's page layout.
) in the page template header (green box) to modify the template's page layout.
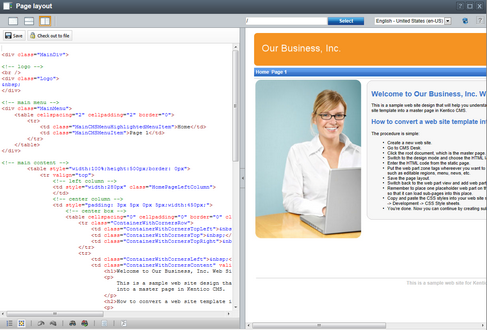
4. Clear the default layout content. Open the sample home.htm file (in C:\Program Files\Kentico CMS\<version>\CodeSamples\SampleWebTemplate) and copy the HTML code from inside the <body>...</body> tags. Paste this code into the page layout editor.
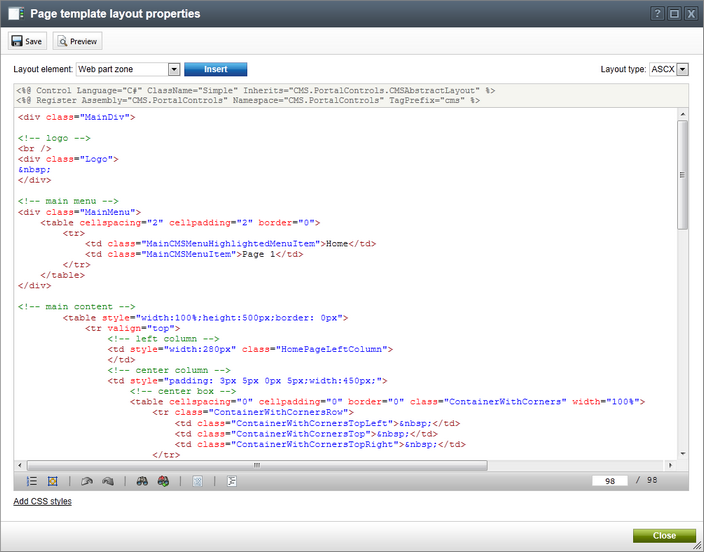
5. Click ![]() Save and Close the window.
Save and Close the window.
|
Using CSS-based layout instead of tables
If you prefer using a CSS-based layout, you can modify the HTML code here and replace the tables with other elements (<div>, <span>, etc.). The examples use a table-based layout by default since it is easier to understand.
|
6. Switch to the Page tab.
Here you can view the new website design. For now, all content is entirely static and determined by the page layout code.
To make the master page editable through the portal engine, you need to replace the static HTML code in the page layout with web part zones.
1. Return to the Design tab and click Edit layout (![]() ).
).
2. Locate the <!-- main menu --> section in the layout code and delete the entire table inside the <div class="MainMenu"> element.
3. Place your cursor inside the <div class="MainMenu"> element and click the Insert button above the editor. This adds a web part zone control into the layout.
4. Change the value of the web part zone's ZoneID property to zoneMenu. The main menu section should now match the following code:
<!-- main menu --> |
5. Delete the entire content section between the <!-- main content --> and <!-- /main content --> lines and Insert another web part zone instead.
6. Set the second web part zone's ZoneID to zoneMain:
<!-- main content --> |
7. Click ![]() Save and Close the window.
Save and Close the window.
The Design tab now shows the new layout with web part zones.
|
Tip 1: Previewing the layout
By clicking the
|
|
Tip 2: Master page tab
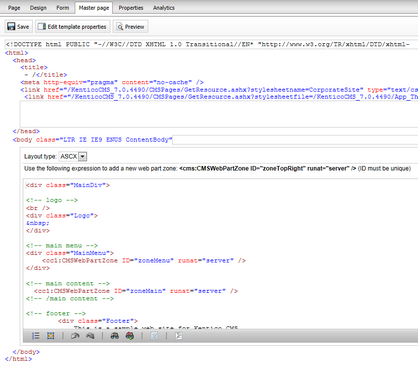
The Master page tab allows you to add a custom DOCTYPE directive, custom HEAD section elements and custom BODY attributes. It also allows you to edit the master page's layout (this is the same code that you edited on the Design tab).
|