Contact roles |

|

|

|

|
|
Contact roles |

|

|

|

|
|
|
||
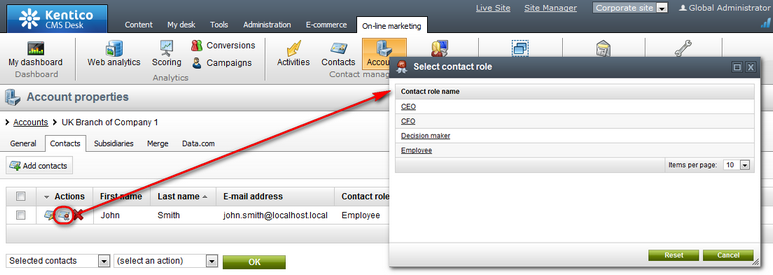
Contact roles enable you to specify the role of a contact in an account. It is typically a job position or a type of competence which a person has in the organization, e.g. CEO, CFO, Decision maker, etc. The role of a contact in an account can be specified after clicking the Select contact role (![]() ) icon on the Contacts tab of each account's editing interface. One contact can only have one role in one account.
) icon on the Contacts tab of each account's editing interface. One contact can only have one role in one account.

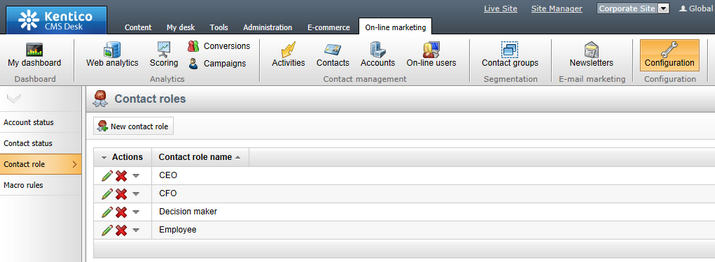
There is a pre‑defined set of contact roles for each website. The sets of roles can be managed in the following sections of the system's user interface:
•CMS Desk -> On-line marketing -> Configuration -> Contact role
•Site Manger -> Tools -> Contact management -> Configuration -> Contact role
The user interface in CMS Desk allows management of contact roles pre‑defined for the currently edited website. The one in Site Manager allows management of contact roles for all websites running in the system. If global contact roles are enabled, they can be managed in both sections.
Properties of contact roles listed in the mentioned sections of the user interface can be edited after clicking the Edit (![]() ) icon in a respective contact role's row. By clicking the Delete (
) icon in a respective contact role's row. By clicking the Delete (![]() ) icon, you can delete the contact role so that it is no longer present and available in the system. The Export (
) icon, you can delete the contact role so that it is no longer present and available in the system. The Export (![]() ) action available in the drop-down menu (
) action available in the drop-down menu (![]() ) in each row enables you to export the respective status into a file and subsequently import it on another Kentico CMS instance.
) in each row enables you to export the respective status into a file and subsequently import it on another Kentico CMS instance.

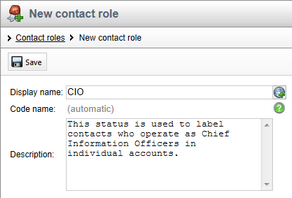
If you want to add a new contact role to the set of listed roles, click the ![]() New contact role button above the list. After doing so, you need to specify the following properties in the New contact role dialog:
New contact role button above the list. After doing so, you need to specify the following properties in the New contact role dialog:
•Display name - name of the contact role used in the system's user interface.
•Code name - name of the contact role used as an identifier, for example in the API. You can leave the (automatic) option to have the system generate an appropriate code name based on the display name.
•Description - text describing the contact role.
Once you have the properties specified, click ![]() Save to create the new contact role.
Save to create the new contact role.
