|
|

Overview |

|

|

|

|
|
Overview |
|
|

|
|
|
|
Overview |
|
|
|
|
|
Overview |
|
|
|
|
|
|
||
|
New Kentico Installer
This section describes the installation of Kentico released before 5/2013. If you are looking for the new installation type documentation, see the Kentico CMS 7 Installer Documentation.
|
Kentico Web Installer allows you to create a new project and (optionally) configure the Microsoft IIS web server.
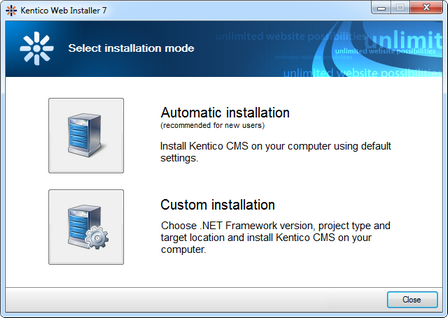
You have two ways to proceed with the installation:
•Automatic installation - uses default settings. Recommended if you are new to Kentico and want to, e.g., evaluate the functionality.
•Custom installation - allows you to choose the .NET framework, as well as the type of the project and the installation location folder.
Note that Automatic installation chooses .NET framework based on the framework that is available in your system, first checking for .NET 4.0, .NET 4.5 and finally 3.5. Web site project and default IIS inetpub\wwwroot installation folder are selected.
If you clicked Automatic installation, the installer copies the necessary files to the default folder and displays a link to view your website.
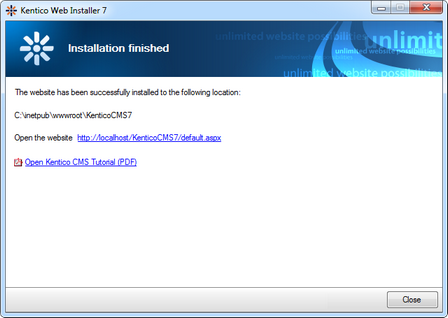
Continue to the Database setup topic.
If you clicked Custom installation, the wizard continues through the following steps.
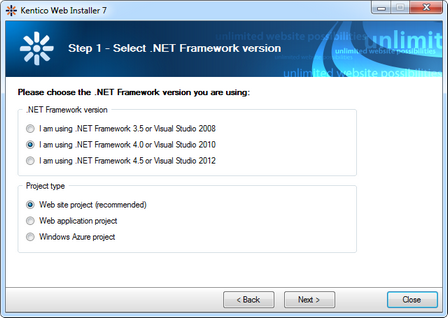
First, you need to choose whether you use:
•.NET Framework 3.5 and Visual Studio 2008
•.NET Framework 4.0 and Visual Studio 2010
•.NET Framework 4.5 and Visual Studio 2012
Depending on your choice, the installer will use appropriate web.config and webproject.sln files. The binaries and code are the same for both options; they are compiled for .NET 3.5 SP1 and can be used with .NET 4.0 as well.
Then, you need to select from the following options:
•Web site project (recommended)
•Web application project
•Windows Azure project
This determines which Visual Studio project type the web installer will create. The name of the solution file will be WebProject.sln for a web site project or WebApp.sln for a web application.
The last option creates a web application suitable for deployment to the Windows Azure Platform. For more information about this type of installation, please refer to the Windows Azure Deployment Guide.
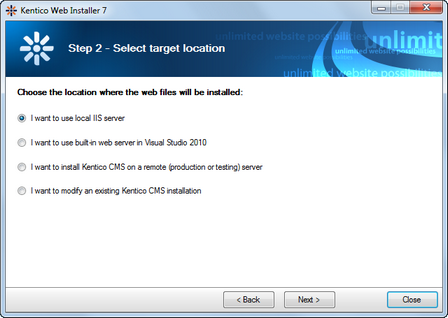
Choose one of the options. Click the link to view instructions for the selected option.
•I want to use local IIS server - you must have local IIS server installed, running and configured for the version of ASP.NET which you chose in the previous step
•I want to use built-in web server in Visual Studio - you must have Visual Studio or Visual Web Developer Express Edition installed on your local machine
•I want to install Kentico CMS on a remote (production or testing) server - this option only copies the project files to a temporary folder on your disk and you need to copy the files to your production server manually (e.g., over FTP)
•I want to modify existing Kentico CMS installation - this option modifies (adds or removes components) an existing installation on a local machine