|
|

Remote (production or testing) server |

|

|

|

|
|
Remote (production or testing) server |
|
|

|
|
|
|
Remote (production or testing) server |
|
|
|
|
|
Remote (production or testing) server |
|
|
|
|
|
|
||
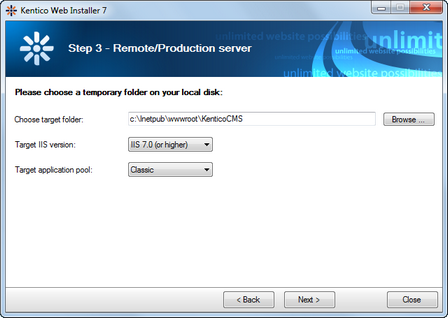
If you need to install Kentico CMS on a remote web server where you cannot run the setup directly (e.g., a shared hosting server), you need to choose the I want to install Kentico CMS on a remote (production or testing) server option in Step 2 of the Web installer.
Specify the following:
•Choose target folder - a temporary folder on your local disk where the web project will be created
•Target IIS version - version of IIS installed on the remote server where you want to deploy the CMS
•Target application pool - type of the target application pool on the remote server where the CMS should be running
Click Next to proceed through the rest of the wizard.
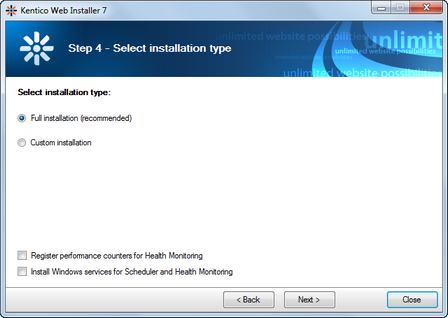
Decide between the following options:
•Full installation - performs full installation using all optional components
•Custom installation - lets you choose which components will be installed
Enabling the Register performance counters for Health Monitoring option registers performance counters for the currently installed instance of Kentico CMS in Windows. The counters can be used for monitoring of system load and performance in an external application. Please note that by enabling this option in installation to a remote server, the counters will be registered on the current machine, not the remote one.
Checking the Install Windows services for Scheduler and Health Monitoring option installs the Kentico CMS Scheduler and Kentico CMS Health Monitor services.
More details on these features can be found in Modules -> Health monitoring.
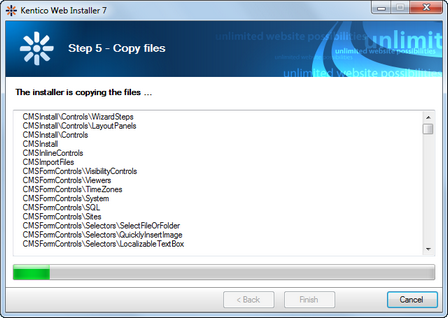
The installer copies the project files to the specified folder:
The system creates the web project on your disk and displays a confirmation message:
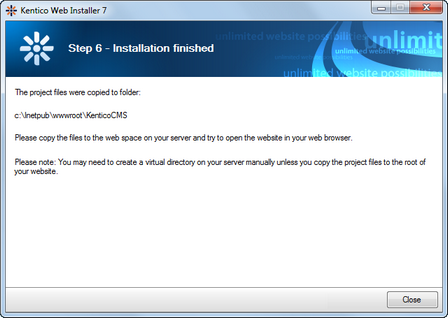
Now you need to copy the website to your server (e.g., over FTP). If your web project isn't placed in the root of the remote website, you may need to create a virtual directory as described in Creating a virtual directory.
Continue to the Database setup topic.