|
|

Quick example |

|

|

|

|
|
Quick example |
|
|

|
|
|
|
Quick example |
|
|
|
|
|
Quick example |
|
|
|
|
|
|
||
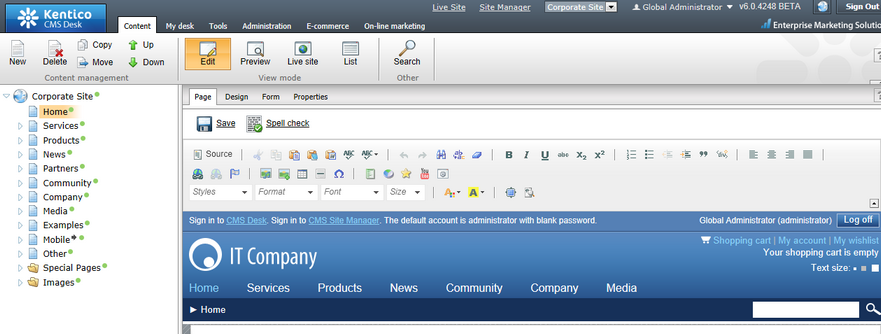
To see UI personalization in practice, first enable UI personalization as described here. Install one of the sample sites (e.g. Corporate Site) and try logging in to CMS Desk as the Global Administrator (login administrator with blank password). You will see the full-featured user interface as in the screenshot below.
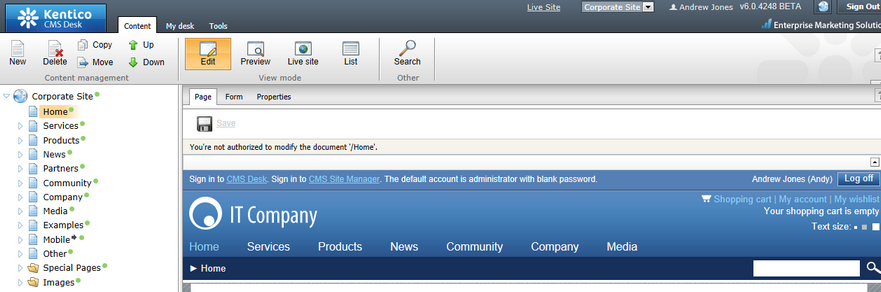
Now log out and try logging in as Andrew Jones (login andy with blank password). Andy is a member of the CMS Basic users role only. This is a role which was added to Kentico CMS to demonstrate the capabilities of UI personalization and its members see a simplified user interface.
As you can see in the screenshot below, the Administration tab in the top menu is not present. The Design tab in Edit mode is missing too. You can also notice the WYSIWYG editor, which offers only a limited number of actions.
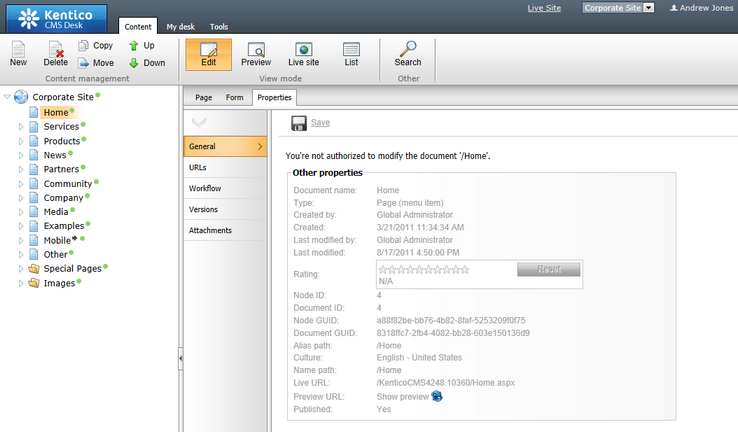
If you switch to the Properties tab, you can notice the limited number of items in the left menu. Particular sections accessible via the menu also do not contain all the options available for administrators.
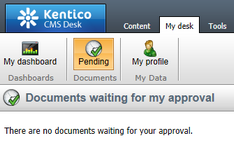
The My desk tab contains only three items.
The Tools tabs offers only the Newsletters module.

It is obvious that this UI is much easier to understand for an end user who only needs to send out newsletters and does not need to do anything else with the CMS.
To see a full overview of which parts of the UI can be hidden, please see Personalizable parts of CMS Desk.