|
Using widgets |

|

|

|

|
There are different sets of actions available for the users depending on their roles as given below:
| • | Site developer/Administrator - Determines which zones are widget zones and which ones are standard (static) web part zones. They define the default content (layout) of a widget zone. Those settings are available in CMS Desk -> Content -> Design. They also select web part properties which can be personalized (changed by the user). This can be done in Site Manager -> Development -> Widgets. The site developer or administrator also define the widgets in the administration interface. |
| • | Page editor - Defines the content of the widget zones created in the page templates by the site developer/administrator. It is accessible through CMS Desk -> Content -> Edit. |
| • | Group administrator - Defines the design of group pages (personalized properties). Group administrator adds or removes the widgets from the editor point of view and sets the widget properties. This customization can be done on community sites in CMS Desk -> Content -> Edit. |
| • | Web site user - Authenticated users of the web site define the design of their home page or another page which can be personalized on the live site. They add or remove the widgets and set the widget properties. |
The site developer makes a decision regarding the layout of page templates. This also includes the decision whether a zone will be defined as a web part zone (static) or widget zone (customizable).
To change a web part zone into a widget zone, go to the CMS Desk -> Content -> Design, and click on the Properties item in the left menu of the selected zone.
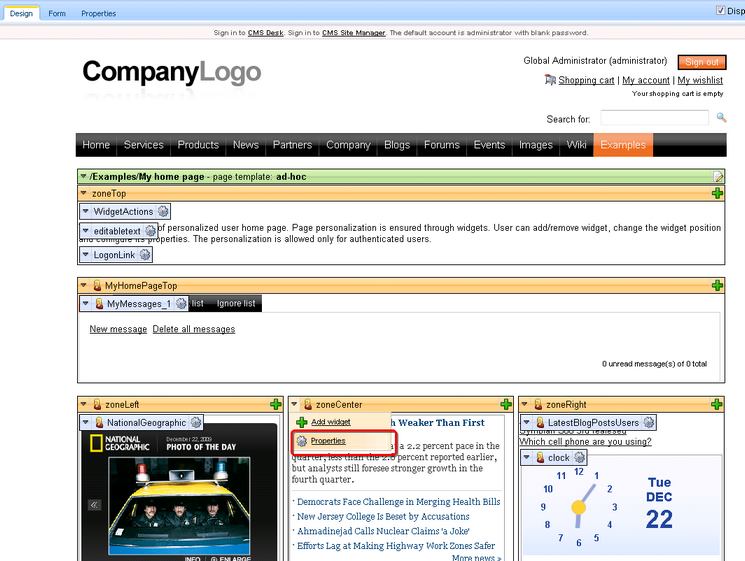
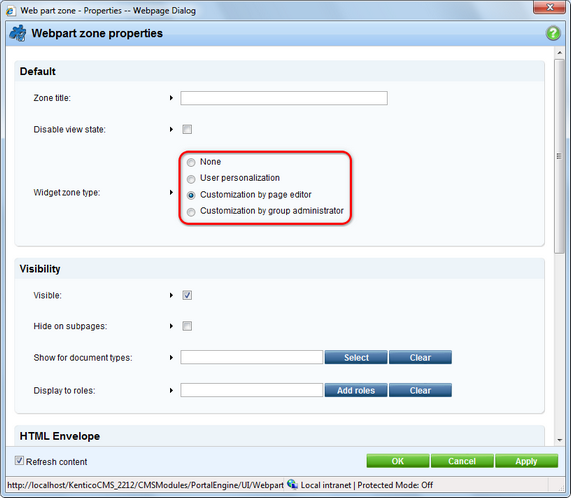
Using the Web part properties dialog you can define a widget zone type.
| • | None - a standard web part zone will be created |
| • | User personalization - the zone will be of widget type and web site users will be able to personalize that zone; these zones are marked with the User zone ( |
| • | Customization by page editor - this option allows page editors to customize the zone; page editor zones show the Editor zone ( |
| • | Customization by group administrator - the same as above for group administrators; these zones have the Group administrator zone ( |
Please, bear in mind that changing the widget zone type removes all current web parts or default widgets placed in that zone.
Having defined the zone as a widget type zone, you can now add widgets. Simply click on the Add widget (![]() ) button on the right side of the zone. You can select any widget available for the given type (User, Editor, Group administrator) of the widget zone.
) button on the right side of the zone. You can select any widget available for the given type (User, Editor, Group administrator) of the widget zone.
![]()
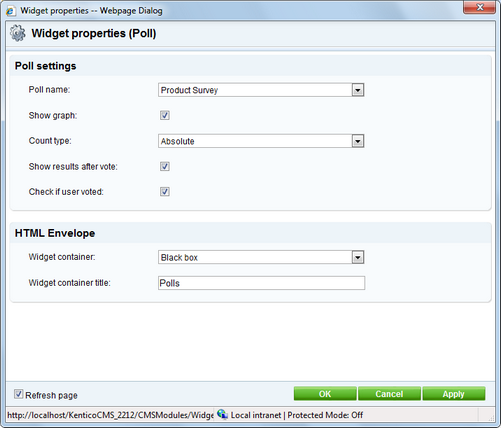
A Widget properties dialog opens, where you can change any parameters available for customization. To save the changes just click on the OK button.
As a page editor, you can add, modify or delete any widget placed in the editor type of widget zone. To add a widget just click on the Add widget (![]() ) icon in the top left corner of the editor widget zone.
) icon in the top left corner of the editor widget zone.
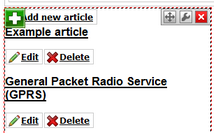
For any widget placed in a zone with page editor rights you can modify the widget by clicking on the Configure widget (![]() ) icon. You can also delete widgets using the Delete widget (
) icon. You can also delete widgets using the Delete widget (![]() ) icon. Widgets can be moved between different widget zones by clicking on the Drag widget (
) icon. Widgets can be moved between different widget zones by clicking on the Drag widget (![]() ) icon and dragging the widget to the desired place.
) icon and dragging the widget to the desired place.
Group administrators have basically the same rights as page editors. They can add, delete and configure all widgets placed in the group admin type widget zones.
Authenticated web site users can manipulate user widgets on the live site and thus personalize their home pages. In order to add a widget to the user widget zone, click on the Add widget (![]() ) icon in the top left corner of the zone.
) icon in the top left corner of the zone.
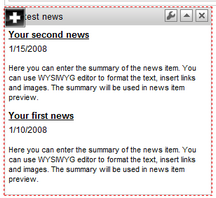
Any widget can be configured by clicking on the Configure widget (![]() ) icon. You can also delete widgets using the Delete widget (
) icon. You can also delete widgets using the Delete widget (![]() ) icon. To move the widgets between zones, click on the Drag widget (
) icon. To move the widgets between zones, click on the Drag widget (![]() ) icon and drag the widget to the new zone. Every widget can be minimized using the Minimize (
) icon and drag the widget to the new zone. Every widget can be minimized using the Minimize (![]() ) icon, or restored using the Maximize (
) icon, or restored using the Maximize (![]() ) icon.
) icon.
If there is a Widget actions web part on the page, users can add widgets or reset widgets to default setting by clicking on the appropriate links. When adding a widget using the Add widget link, the widget is placed in the first available zone. The user can drag the widget into another zone if the default placement is not suitable.
![]()
Page url: http://devnet.kentico.com/docs/devguide/index.html?using_widgets.htm