|
|

Departments |

|

|

|

|
|
Departments |
|
|

|
|
|
|
Departments |
|
|
|
|
|
Departments |
|
|
|
|
|
|
||
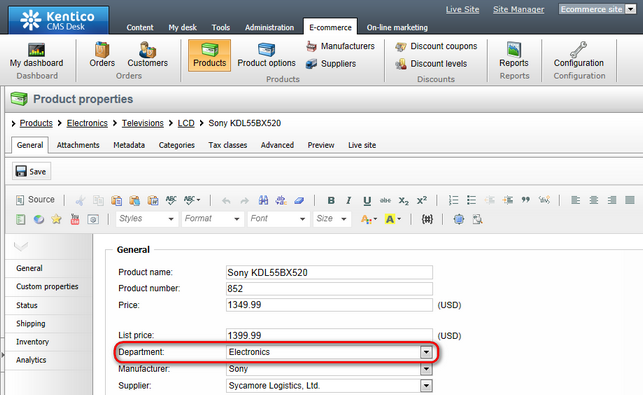
When creating a new product or editing an existing one (on the General tab), you can choose a department under which it should be placed. This can be done by using the Department drop-down list as highlighted in the screenshot below.
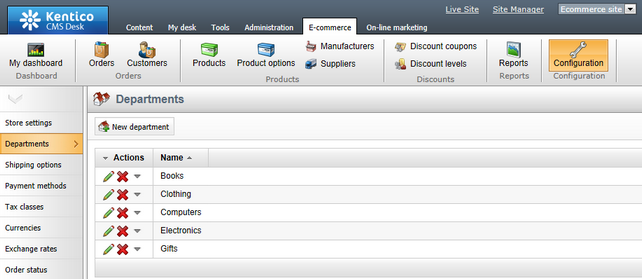
Departments can be managed in CMS Desk -> E-commerce -> Configuration on the Departments tab. In this section of the administration interface, you can see a list of all defined departments. New ones can be added to the list by clicking the ![]() New department button above the list. Properties of already defined departments can be edited by clicking the Edit (
New department button above the list. Properties of already defined departments can be edited by clicking the Edit (![]() ) icon in the Actions column. You can also delete a department by clicking the Delete (
) icon in the Actions column. You can also delete a department by clicking the Delete (![]() ) icon.
) icon.
When editing a department, the following tabs are available to specify its properties:
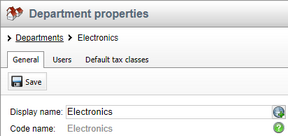
•General tab
On this tab you can edit general properties of the selected department. You need to click the confirmation button to save any changes.
•Display name - the name of the department displayed to users on the live site and in the administration interface.
•Code name - the name of the department used by developers in the code.
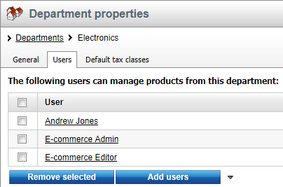
On this tab you can specify which users will be able to manage products in the current department. To add a user, click the Add users button and check the boxes next to the appropriate users in the displayed selection dialog. Users can be removed from the list at any time using the corresponding checkboxes together with the Remove selected button. You can also remove all listed items at once by clicking the ![]() icon and performing the
icon and performing the ![]() Remove all action.
Remove all action.
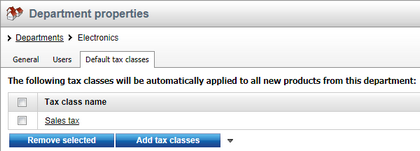
On this tab you can specify which taxes will automatically apply to all new products from the current department. To add tax classes, click the Add tax classes button and check the boxes next to the appropriate tax classes in the displayed selection dialog. Tax classes can be removed from the list at any time using the corresponding checkboxes together with the Remove selected button. You can also remove all listed items at once by clicking the ![]() icon and performing the
icon and performing the ![]() Remove all action.
Remove all action.