Saving changes |

|

|

|

|
|
Saving changes |

|

|

|

|
|
|
||
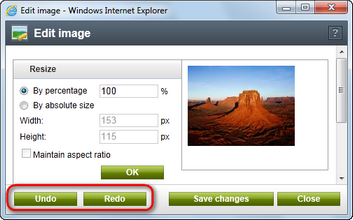
The Undo and Redo actions allow you to undo and redo up to 1000 changes made while editing the image. After each partial change, a temporary version of the image is created and stored in Application URL/App_Data/CMSTemp/ImageEditor/First two letters of image editor instance GUID/Image editor instance GUID, the database or in both; see Storing image versions. By clicking the Undo and Redo buttons, you can view the stored separate versions of the image. By clicking the Save changes button, the original image is replaced by the currently edited version of the image.

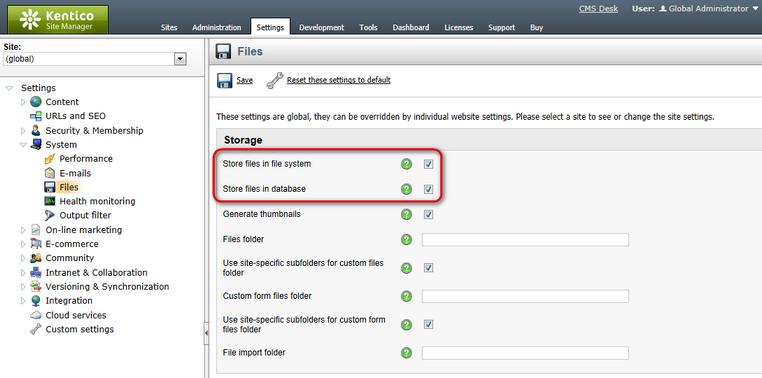
Separate image versions containing changes of the image are stored either in the database or on the disk, as set in Site Manager -> Settings -> System -> Files.

Please note that if only the storing of files in the file system is enabled and permission to write to the local disk is missing, the Undo, Redo and Save changes buttons are hidden and the changes are applied immediately to the original image.

If you decide to leave the Image editor by clicking the Close button, all image versions files from the current editing session will be deleted, regardless of their storing location. However, if you happen to finish editing in a non-standard way, e.g. by quitting the browser, the files will remain stored (both in the file system and in the database) until a global scheduled task performs their deletion.
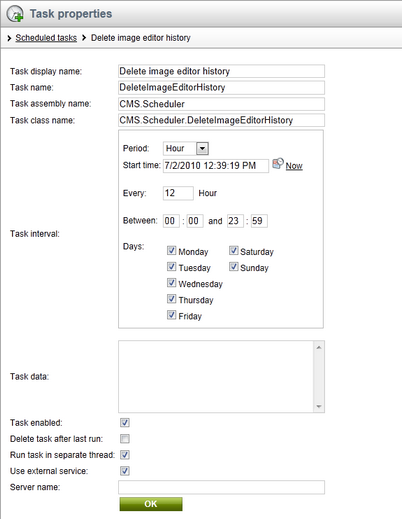
You can change the settings of this global task in Site Manager -> Administration -> Scheduled tasks. Select (global) from the Site drop-down list and choose to Edit (![]() ) the Delete image editor history scheduled task. Change the settings of the schedule as required and click OK.
) the Delete image editor history scheduled task. Change the settings of the schedule as required and click OK.

By default, this task deletes all image versions older than 24 hours. If you would like to change this, you need to alter the value in the settings key of the global task. This key is contained in the web.config file placed in your Kentico CMS installation folder.
•<add key="CMSDeleteImageEditorHistoryOlderThan" value="24"/> - the value is in hours, the default value is 24.
For more details on how to configure scheduled tasks, please refer to the Scheduler chapter in the Development section of this guide.