|
|

Importing files |

|

|

|

|
|
Importing files |
|
|

|
|
|
|
Importing files |
|
|
|
|
|
Importing files |
|
|
|
|
|
|
||
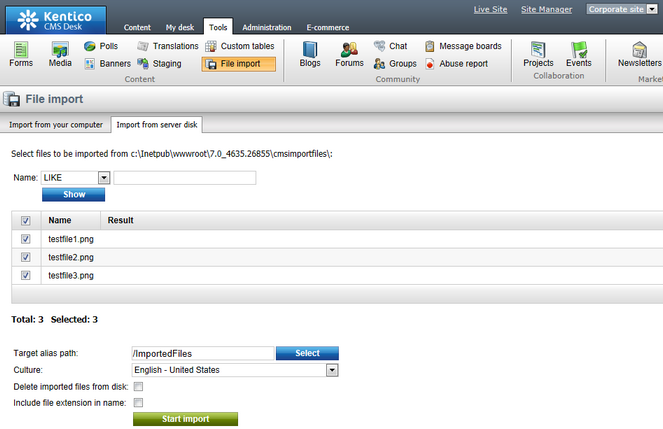
The following is a step-by-step guide through the process of importing files:
1. Copy your files into the specified import folder.
2. Go to CMS Desk -> Tools -> File import. You should see a list of files that are currently in the import folder.
3. Choose which files should be imported using the checkbox next to each file and specify the following properties:
•Target alias path: path within the content tree where the files will be imported
•Culture: culture to which the uploaded files (documents) will be assigned
•Delete imported files from disk: if enabled, files in the import folder will be deleted after a successful import
•Include file extension in name: if enabled, the file extension is included in the Document name of the newly imported files
Click Start import.
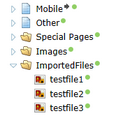
4. Now if you switch to the Content tab and locate the alias path that you specified in the previous step, you should see the files uploaded.
|
Please note
If you are importing files from your computer (on the Import from your computer tab), you need to:
1.Click the Select files button to specify the files that you wish to import. 2.Click the Upload button to upload the selected files to the Kentico CMS content repository (content tree).
|
