|
|

Assigning categories to documents |

|

|

|

|
|
Assigning categories to documents |
|
|

|
|
|
|
Assigning categories to documents |
|
|
|
|
|
Assigning categories to documents |
|
|
|
|
|
|
||
Here you will learn how to assign categories to a document.
1. To add categories to a document, you need to navigate to CMS Desk -> Content,
2. select a document from the Content tree
3. and on its Properties tab, switch to Categories. If any categories are already assigned to the document, a list of these categories is displayed, together with the Remove selected and Add categories buttons. If no categories are assigned, only the latter button is displayed.
4. Now you need to click the Add categories button and in a dialog window which pops up select the categories from the Categories tree. Only categories allowed for the current site together with personal categories of the user are displayed. Please note that the dialog window allows you not only to select categories but also perform standard categories editing tasks, as described in the Managing categories topic.
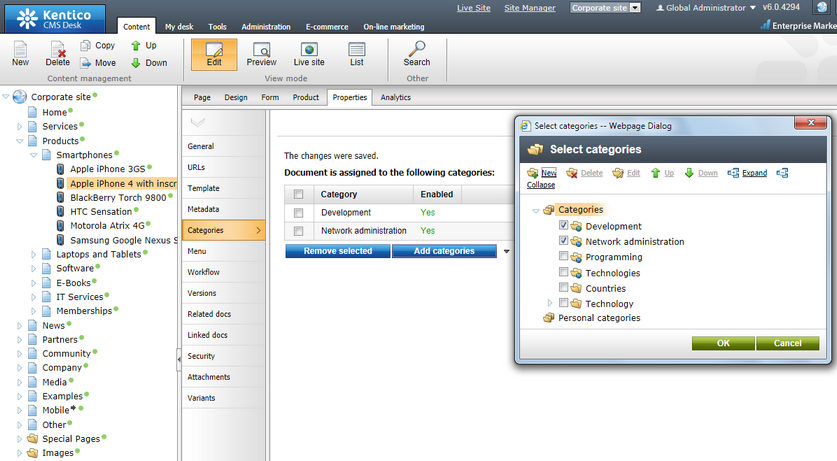
5.To save the changes, click OK.
|
Please note
The Multiple categories selector can be used also with a document type. This gives you the option to assign categories to the document in CMS Desk -> Content on the Form tab or on the live site using User contributions.
|
