Accessing modules |

|

|

|

|
|
Accessing modules |

|

|

|

|
|
|
||
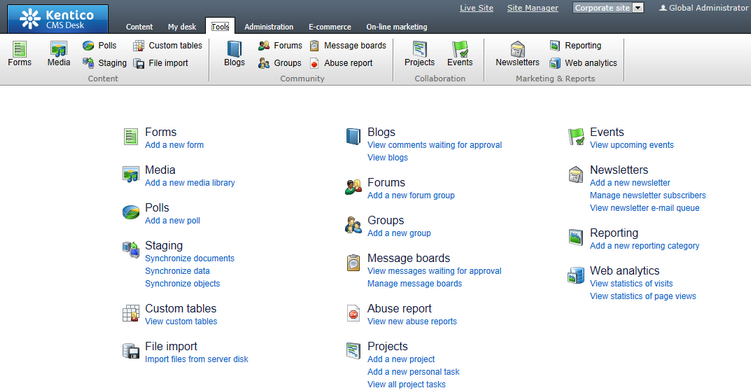
CMS Desk -> Tools is where you can easily access Kentico CMS modules. The interface consists of a ribbon and panel menu and contains links to these modules. Besides, the panel menu provides shortcuts to selected functionality of the modules. The UI is fully customizable, enabling you to access both built-in and custom modules:

To customize this user interface, you need to choose a module and for its selected functionality add a link to the panel menu. Specifically, you will create a new UI element under the chosen module, representing a shortcut to the tab where the desired functionality is available.
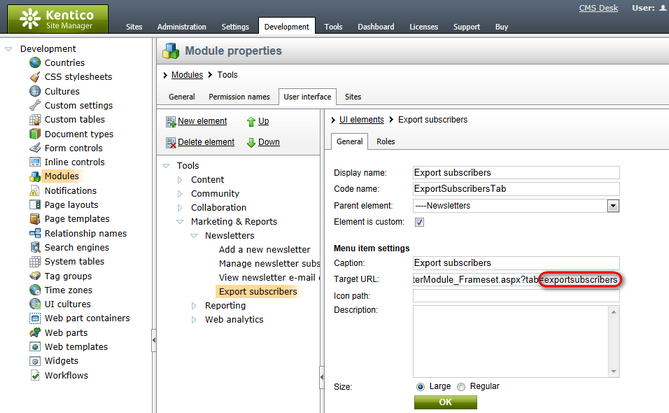
1. Sign in to Site Manager -> Developement -> Modules -> Edit (![]() ) Tools and switch to the User interface tab.
) Tools and switch to the User interface tab.
2. In the Tools UI elements tree, navigate to the module of your interest, click New element (![]() ) and proceed as described in the UI personalization chapter in the Membership, permissions and security section of this guide.
) and proceed as described in the UI personalization chapter in the Membership, permissions and security section of this guide.

|
Please note
The value of the Target URL property must contain a tab query parameter whose value is the code name of the tab to which you want to link. The code name of the tab is the same as the code name of the particular UI element.
|
3. Now you may want to manage permissions to see the new UI element. If you decide to do so, switch to the Roles tab and grant selected roles with permission to see the given UI element. For more details, please refer again to the UI personalization chapter.
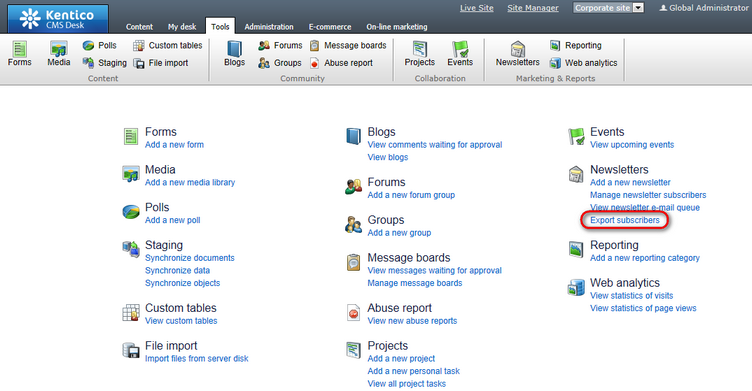
4. Finally, go to CMS Desk -> Tools. As you can see, the link you have just created is available among other links of the given module.

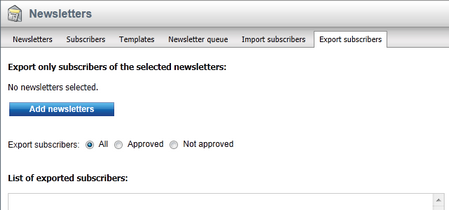
If you now click the link, you will be redirected to a tab containing the given functionality.

|
Please note
To add a new custom module to the Tools user interface, you will need to take the same steps as described in this example. However, you will need to add the new UI element directly under the Tools section. More details can be found in the Developing custom modules topic.
|