|
|

Initial steps |

|

|

|

|
|
Initial steps |
|
|

|
|
|
|
Initial steps |
|
|
|
|
|
Initial steps |
|
|
|
|
|
|
||
This topic describes the initial steps of the Kentico Import Toolkit wizard.
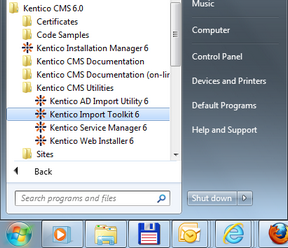
1. Kentico Import Toolkit can be launched from Windows Start menu. Its menu item is located under Kentico CMS Utilities in the Kentico CMS program group.
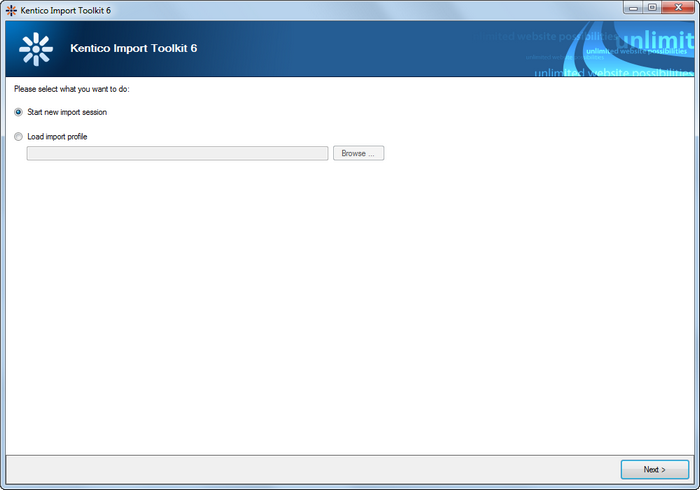
2. On the initial screen of the wizard, you can choose from the following options:
•Start new import session - starts a new import session where you can configure all options of the import.
•Load import profile - in each of the following steps, you can click the Save profile button to save configuration performed in all previous steps and in the current one into an .iprofile file. By selecting the Load import profile option, you can load such a file and have configuration contained in it pre‑filled in the following steps instead of configuring all the options manually.
Click Next to proceed when selected.
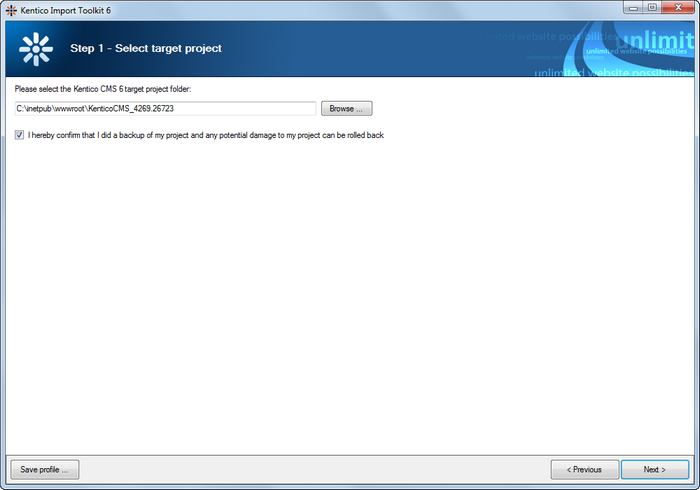
3. In Step 1, you need to choose the root folder of the project into which you want to import your data. You can do it either by entering the path manually, or by clicking Browse and searching for the folder within your file system structure. In order to proceed, you also need to tick the check-box below the field. By doing this, you confirm that you performed a backup of your project so that you can roll back any potential damage caused by the import.
When you have the folder selected and confirmed that you backed up your project, click Next to proceed to the following step.
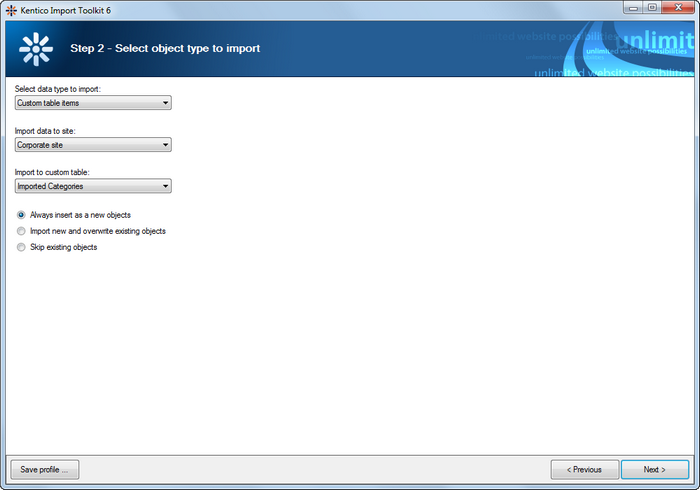
4. In Step 2, you need to select the data type that will be used to store the imported data in Kentico CMS. This can be selected from the Select data type to import drop-down list and the optional drop-down lists below it:
•Custom table items - imports the data into a custom table selected in the Import as drop-down list.
•On-line form items - imports the data as Form records of the on-line form selected in the Import as drop-down list.
•Objects - imports the data as Kentico CMS objects of a type selected in the Import as drop-down list. By default, only the most typically used objects are offered, while you can extend the selection by enabling the Show all available objects check-box.
•Object attachments (metafiles) - imports the data as metafiles of Kentico CMS objects of a type selected in the Import as drop-down list. By default, only the most typically used objects are offered, while you can extend the selection by enabling the Show all available objects check-box.
•Documents - imports the data as documents of the type selected in the Import as drop-down list. If you enable the Automatically publish documents under workflow option, imported documents will be automatically published when a workflow applies to them. By enabling the Import as products option, only product document types will be offered in the Import as drop-down list, while E-commerce products will be created together with the product documents.
•Document attachments - imports the data as attachments of a document specified in Step 6 of the wizard.
•Resource strings - imports the data as resource strings into a culture selected in the Import as drop-down list.
With data types that can be site‑related, the Import data to site drop-down list is displayed. Using this drop-down, you can select a site to which the imported objects should be assigned. Where applicable, you can also choose (global objects) from the drop-down list to import the data as global objects not bound to a specific website.
The radio buttons in the bottom part determine what will be done if the utility detects that some of the imported data already exists in Kentico CMS. Existing objects can either be detected automatically (based on code name or GUID), or by a WHERE condition specified in Step 6 of the wizard.
•Always insert as new objects/documents - all imported data will be inserted as new objects/documents, even if some of them already exist in Kentico CMS.
•Import new and overwrite existing objects/documents - all imported data will be inserted, while those that already exist in Kentico CMS will be overwritten by the newly imported equivalents.
•Skip existing objects/documents - existing objects/documents will be skipped and only new ones will be imported.
Once you have performed the selection, click Next to proceed to the following step.
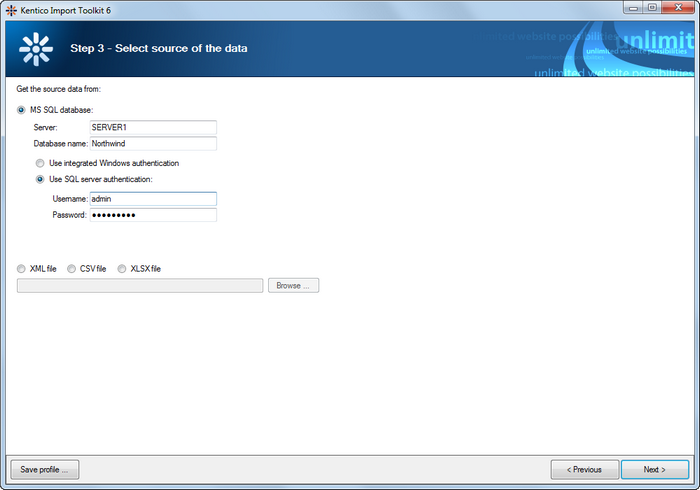
5. In Step 3, you need to specify the source of the imported data. Using the radio buttons, you can choose to import from:
•MS SQL database - imports data from a specified MS SQL database.
•Server - name of the database server containing the source database.
•Database name - name of the source database.
•Use integrated Windows authentication - the current user's Windows account will be used to log on to the database server.
•Use SQL server authentication - logon credentials filled into the Username and Password fields below will be used to log on to the database server.
•XML file - imports data from an XML file specified in the field below.
•CSV file - imports data from a CSV file specified in the field below.
•XLSX file - imports data from an Excel spreadsheet specified in the field below.
Once selected, click Next to proceed to the following step.
The rest of the wizard differs depending on the selected source of data. Click the links above to learn more about the following step when the respective source of data is selected.