In this chapter, you will learn how to create a static newsletter and author your first newsletter issue.
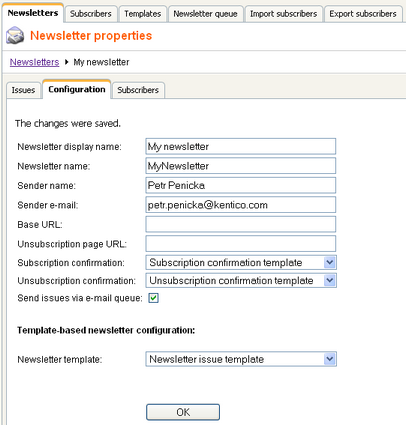
Go to CMS Desk -> Tools -> Newsletter and click New newsletter. Enter the following details:
| • | Newsletter display name: My newsletter (this is the name displayed to the users) |
| • | Newsletter name: MyNewsletter (this is the code name used in web parts and code) |
| • | Subscription confirmation: Subscription confirmation template |
| • | Unsubscription confirmation: Unsubscription confirmation template |
| • | Sender name: enter your full name |
| • | Sender e-mail: enter your e-mail address |
Choose Template based newsletter and use the Newsletter issue template. Click OK. The following three options can now be entered additionally:
| • | Base URL: the base URL of your web site used to convert relative links to absolute; It's necessary to set this property in order for the unsubscription links to work properly. It's also useful if you encounter any issues with links in newsletter e-mails - e.g. if you're using a different URL for your editing environment than for the live web site. Example: https://www.mydomain.com |
| • | Unsubscription page URL: ~/SpecialPages/Unsubscribe.aspx (the page with Newsletter unsubscription web part) |
| • | Send issues via e-mail queue - if checked, newsletter issues will be sent via the e-mail queue |
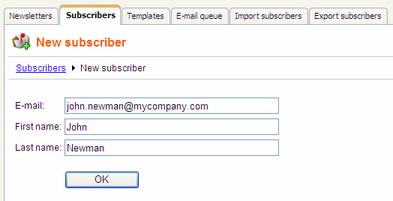
Click OK. We will create a new subscriber now. Go to the main Subscribers tab (in the top tab menu) and click New subscriber. Enter the following details:
| • | E-mail: subscriber's e-mail address |
| • | First name: subscriber's first name |
| • | Last name: subscriber's last name |
Click OK. The subscriber has been created. Now we will assign this subscriber to our previously created newsletter.
Go to the Subscriptions tab, check the My newsletter check-box and click OK.
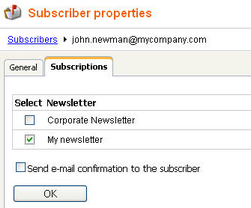
If you check the Send e-mail confirmation to the subscriber check-box, the subscriber will also receive an e-mail confirmation of her subscription.
Your newsletter is configured. Now you can create new issues.
Authoring newsletter issues
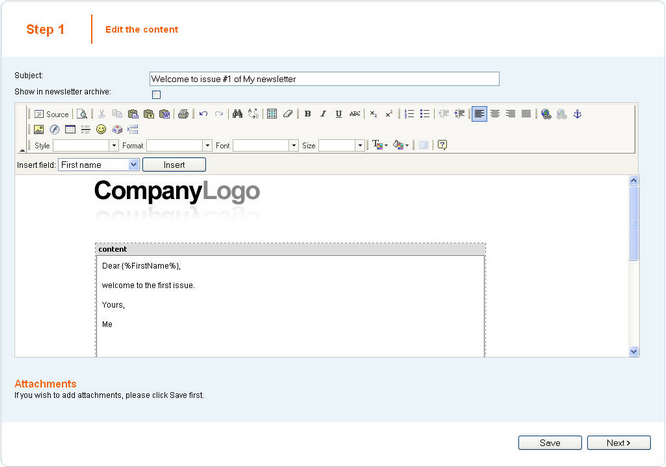
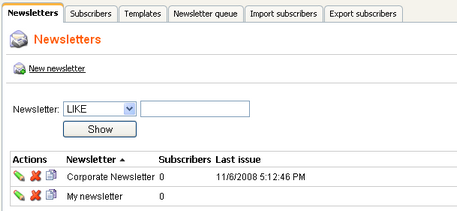
Go to Newsletters and edit My newsletter. Click New issue on the Issues tab. The wizard will guide you through the process of creating a new newsletter issue.
Enter the following subject: Welcome to issue #1 of My newsletter
Enter the following text into the body:
Dear ,
welcome to the first issue.
Yours,
Me |
place the cursor after the Dear word, choose First name value in the Insert field drop-down list and click the Insert button. The macro text {%FirstName%} is placed into the text. This macro is automatically replaced with subscriber's first name during the e-mail merge.
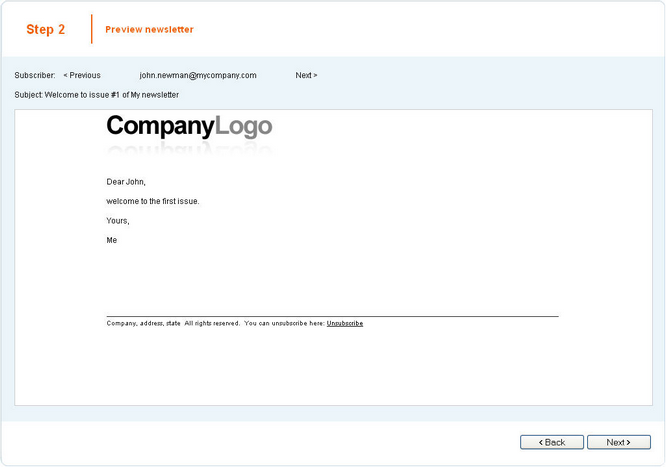
The issue now looks like this:
|
Newsletter templates
The structure of the newsletter text is defined by the newsletter issue template that can be edited in the Templates section. Templates are described in chapter Newsletter templates. |

Click Next. Now you can preview the newsletter text for each subscriber. You can click Back and modify the text.
Click Next. Now you can choose when the newsletter issue should be sent out:
| • | Send now - the newsletter issue is sent out immediately to all subscribers |
| • | Scheduled newsletter mail-out - the newsletter issue is sent out on specified date and time. |
| • | Send the newsletter manually later - the newsletter is not sent and you can decide on the mail-out time later. |
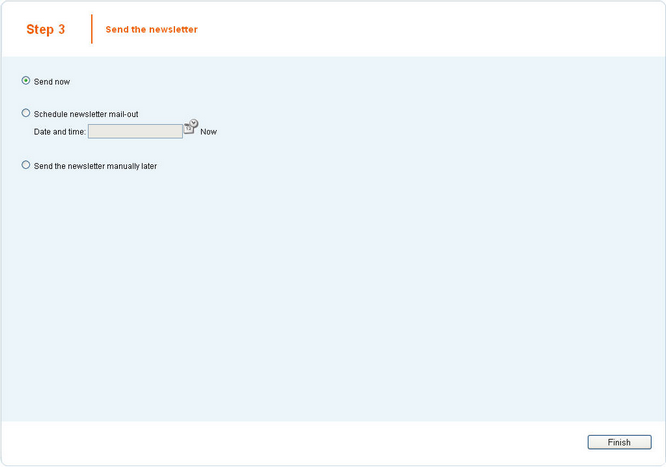
Choose Send now and click Finish. On the Issues tab, you can see how many e-mails have been already sent out and how many subscribers unsubscribed after receiving this issue:
If you do not receive the e-mail, please follow the instructions in chapter Troubleshooting the problems with e-mails.