Changing a logo in the header
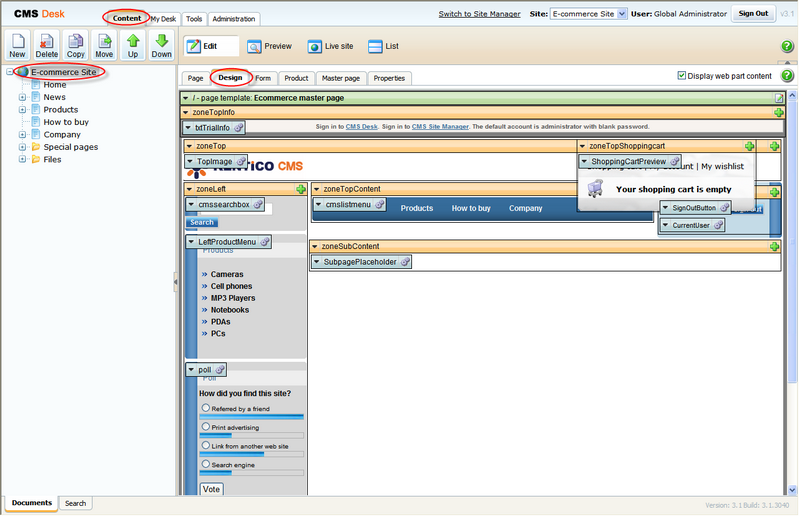
1. Go to CMS Desk -> Content -> Ecommerce site.
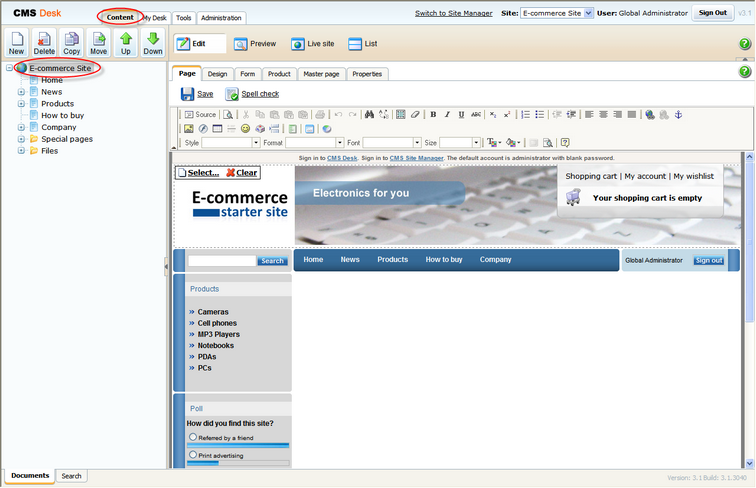
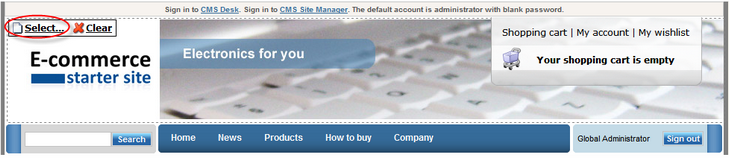
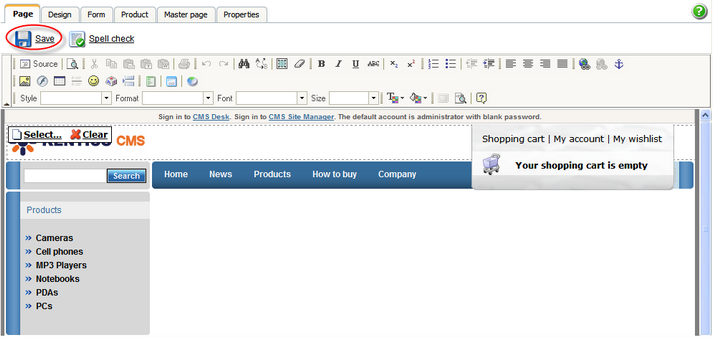
2. Click Select ... above the logo.
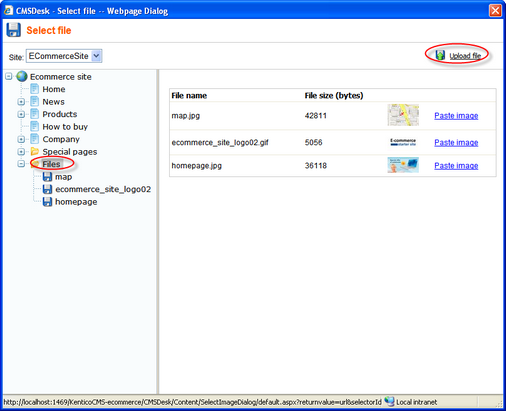
3. In the web page dialog, select Files in the content tree and click the Upload file button at the top-right.
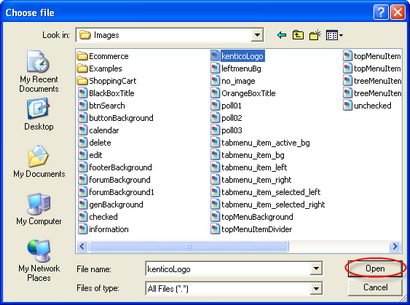
4. In the new dialog, click Browse.
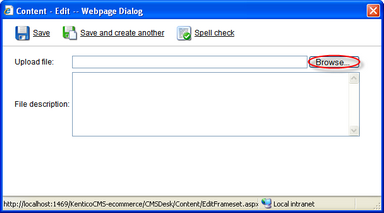
5. Find the image you want to upload and click Open.
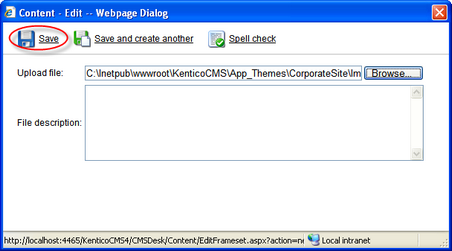
6. Click Save. Your new logo image is now ready to be posted on your web site.
7. Click Paste image right above the picture.
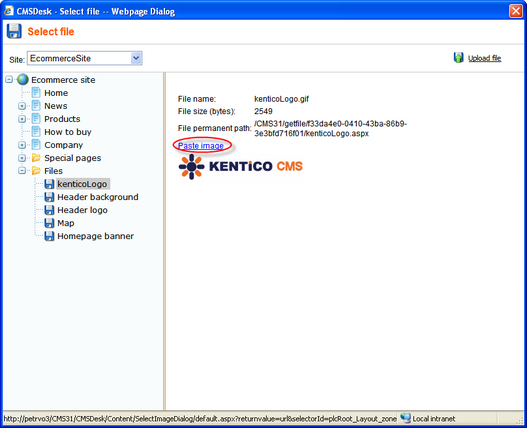
8. Now click Save.
You've just publish a new logo on your web site.
Removing the log-on bar
1. Go to CMS Desk -> Content -> Ecommerce site and switch to the Design tab.
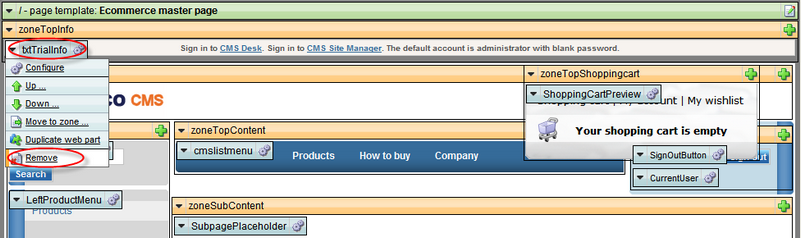
2. Right-clicked the txtTrialInfo webpart at the top-left and choose Remove.
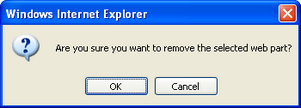
3. Click Ok to remove the bar from your website.
That's how you remove the signing-in bar from your web site.
Changing content of the menu
1. Go to CMS Desk -> Content -> Ecommerce site and switch to the Design tab.
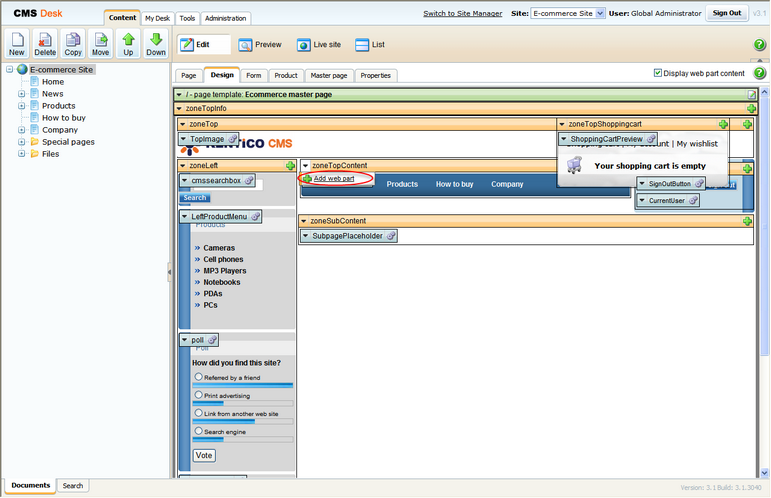
2. Click the Add web part button from the drop-down menu in zoneTopContent.
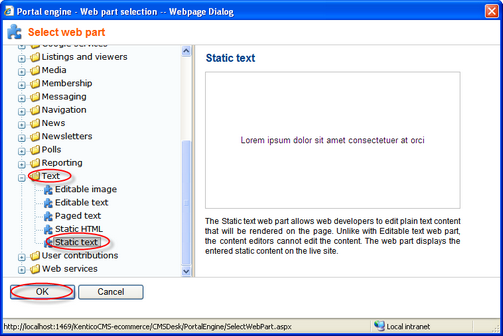
3. In the web page dialog, choose Text -> Static text and click Ok.
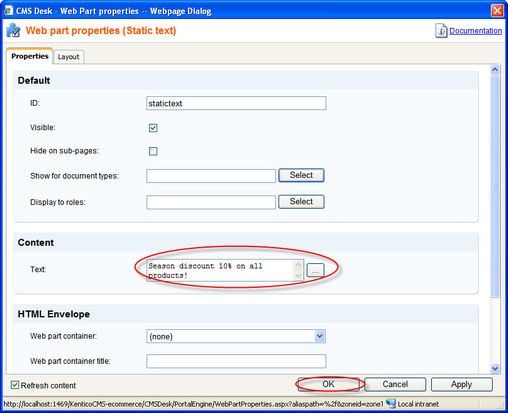
4. Enter Season discount 10% on all products! as Text and click Ok.
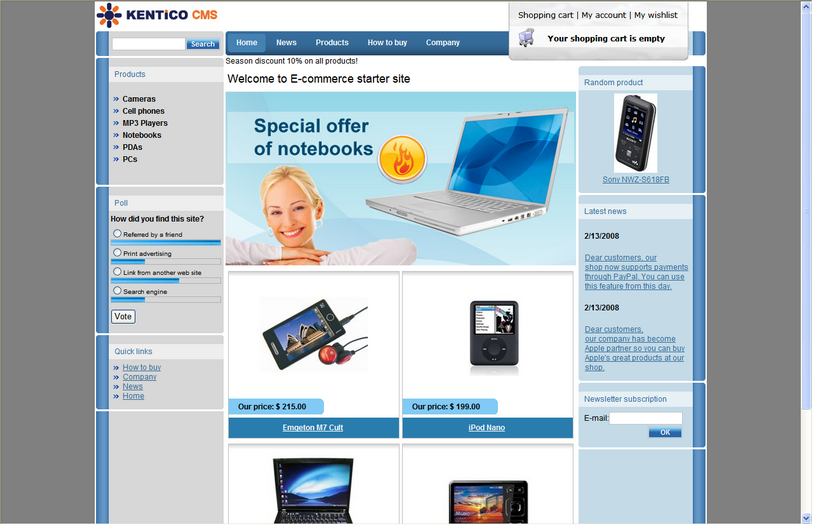
5. Now switch to the Live site viewing mode. You can see the new text bellow the main menu.
|
More information
Should you need more information about customizing your web site design, please refer to Kentico CMS Developer's Guide.
|
