Managing events |

|

|

|

|
|
Managing events |

|

|

|

|
|
|
||
Users who were assigned appropriate rights can not only read events published in this section, they can also add new events and edit and delete the existing ones.
The following examples demonstrate how the actions available to users assigned special rights can be carried out.
Here you will learn how to add a new event to the Intranet Portal.
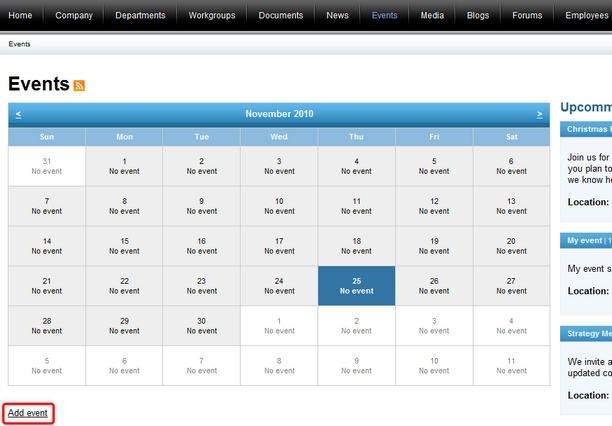
1. If you need to add an event to the Intranet Portal, access the portal and sign in. Now navigate to the Events section using the main menu and click the Add event link on the main page of the section.
2. This displays the dialog used for the creation of a new event.
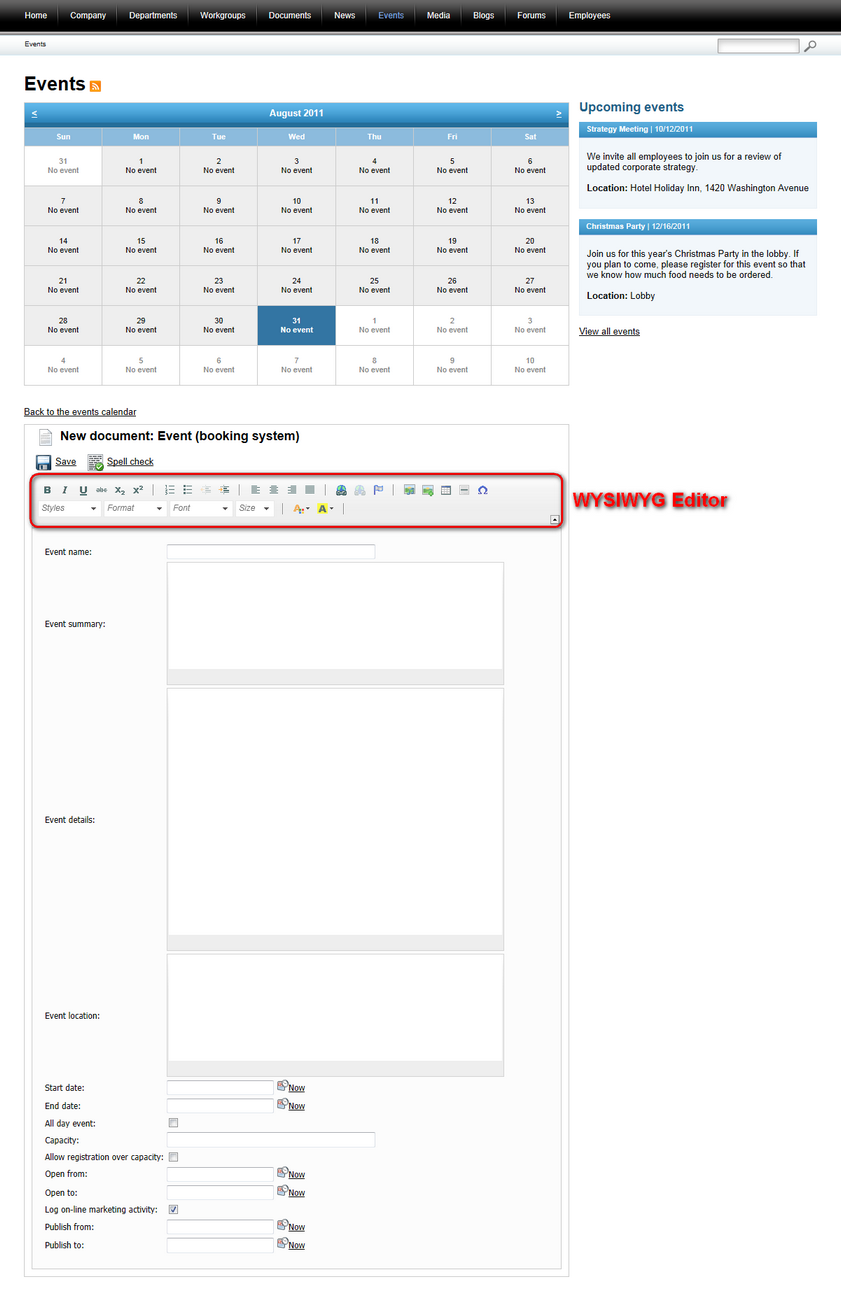
The following fields are available to define the event:
•Event name - the name of the event, it is displayed in the calendar and in the list of events; a required field.
•Event summary - the summary of the event, it is displayed in the list of events; an optional field.
•Event details - the details of the event, they are displayed after clicking on the name of the event; an optional field.
•Event location - the location of the event, it is displayed in the list of events; an optional field.
•Event date - the date of the event. It is displayed in the calendar and in the list of events; an optional field. You can click the Now link to insert the current date and time or you can click the ![]() icon to choose the date and time from the calendar.
icon to choose the date and time from the calendar.
•Capacity - the number of attendees allowed for the event; an optional field.
•Allow registration over capacity - indicates if the number of registered attendees can be higher than the capacity.
•Open from - the date and time when the registration starts. If you leave this value blank, the registration starts when the event is saved; an optional field. You can click the Now link to insert the current date and time or you can click the ![]() icon to choose the date and time from the calendar.
icon to choose the date and time from the calendar.
•Open to - the date and time when the registration ends; an optional field. You can click the Now link to insert the current date and time or you can click the ![]() icon to choose the date and time from the calendar.
icon to choose the date and time from the calendar.
•Publish from - the date and time from when the event will be published on the portal. If you leave this value blank, the event will be published right after its saving; an optional field. You can click the Now link to insert the current date and time or you can click the ![]() icon to choose the date and time from the calendar.
icon to choose the date and time from the calendar.
•Publish to - the date and time until when the event will be published on the portal; an optional field. You can click the Now link to insert the current date and time or you can click the ![]() icon to choose the date and time from the calendar.
icon to choose the date and time from the calendar.
You can use the built-in WYSIWYG editor to edit the Event summary, Event details and Event location fields. The WYSIWYG editor is used in various parts of the portal, especially in properties dialogs, and you can learn more about it in Other features -> WYSIWYG editor.
You can optionally click the ![]() Spell check button; the spell-checker will check the content of the event summary, event details and location and if it finds any mistake, you will be allowed to decide whether to ignore the word, add it to the dictionary or replace it with the suggested word.
Spell check button; the spell-checker will check the content of the event summary, event details and location and if it finds any mistake, you will be allowed to decide whether to ignore the word, add it to the dictionary or replace it with the suggested word.
When you have all values entered, click ![]() Save to save the event. You will immediately find the event in the calendar and it will also be available in the section lists.
Save to save the event. You will immediately find the event in the calendar and it will also be available in the section lists.
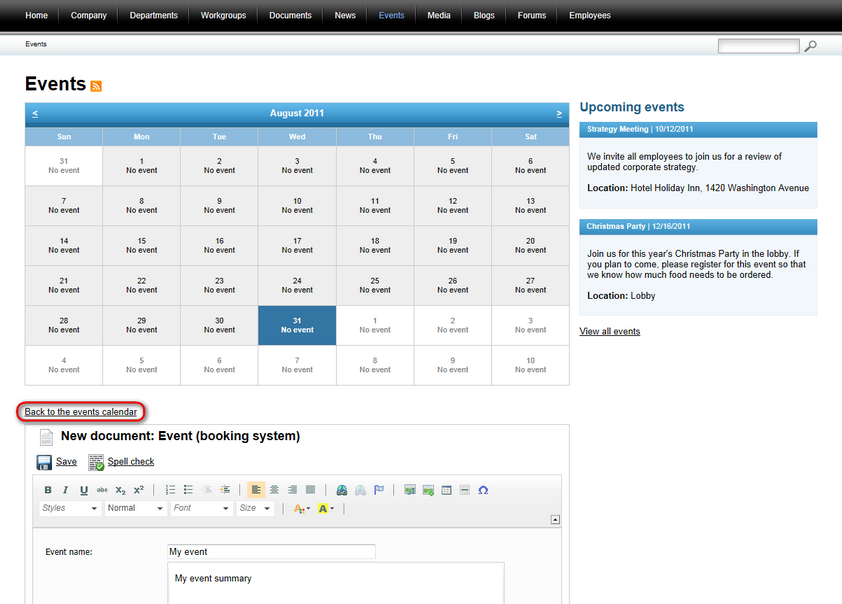
4. Finally, you can click the Back to the events calendar link to return to the main page of the Events section.
Here you will learn how to edit events on the Intranet Portal.
1. Event entries on the Intranet Portal can have been added by yourself or any other user of the portal assigned special rights. If you need to edit some of them and have the appropriate rights, access the portal and sign in. Now navigate to the Events section using the main menu and click on the name of the event either in the calendar or in the list of events - the details of the event together with the registration form will be displayed below the calendar. Now you can click the Edit link in between the details and the form.
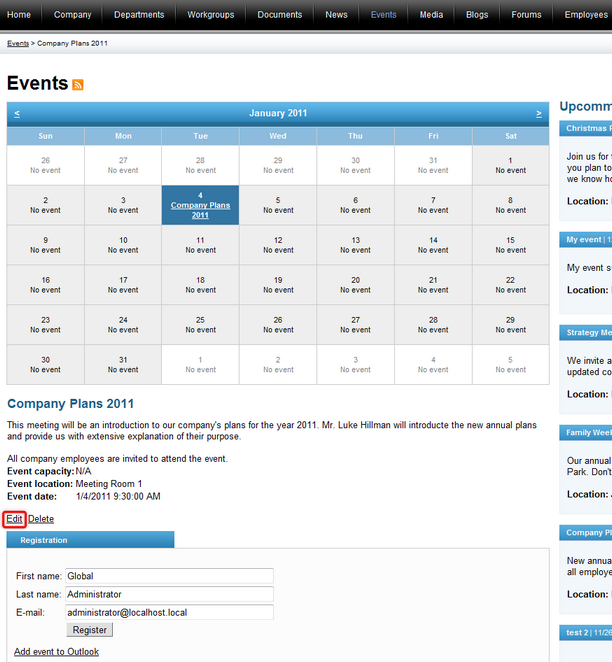
2. This displays the dialog used for the editing of an existing event.
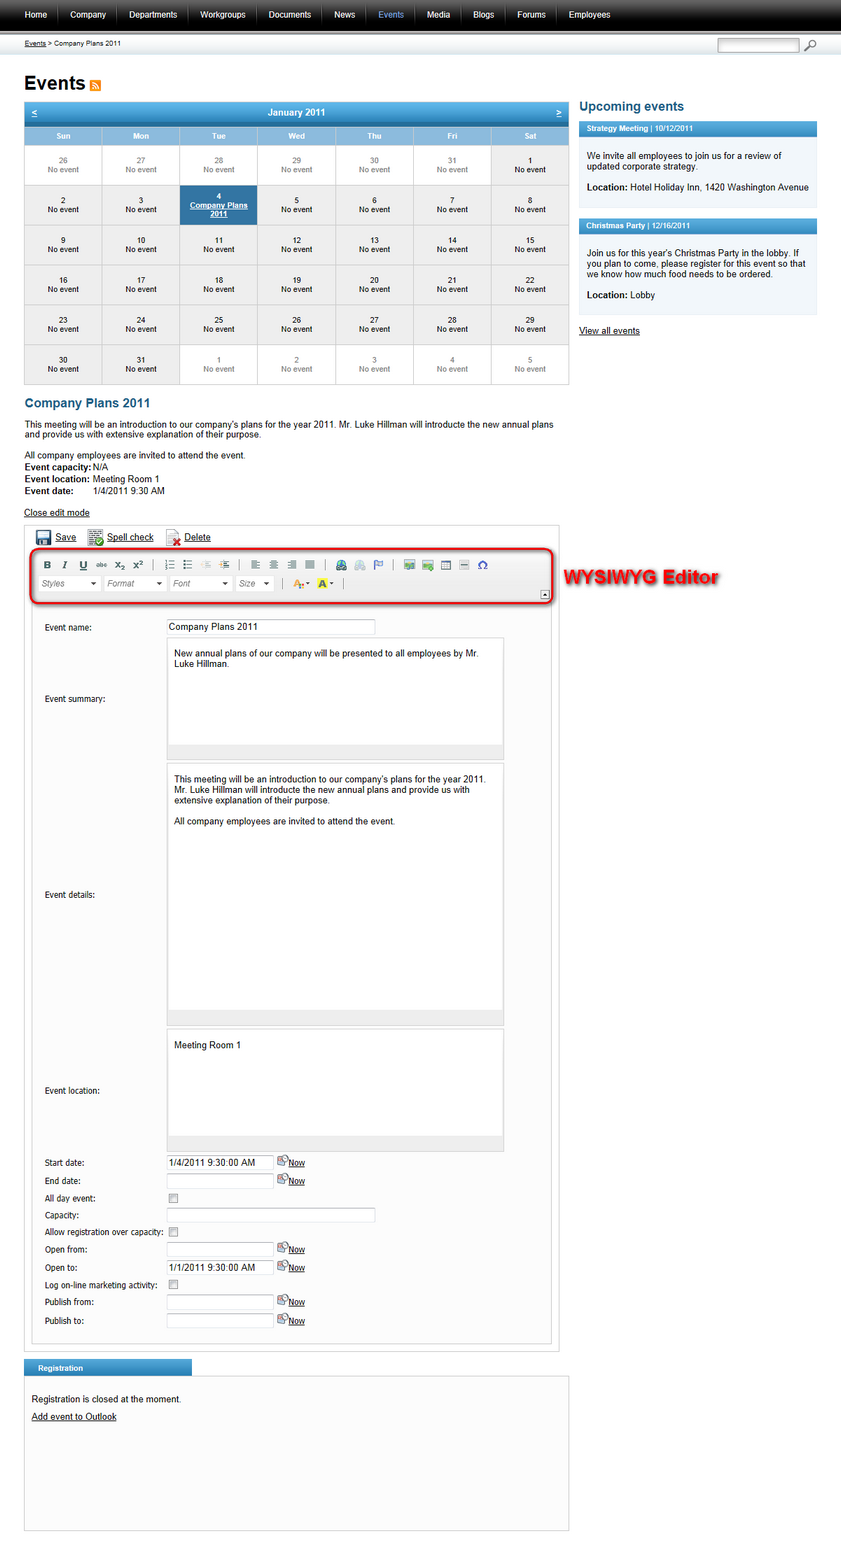
The fields available for the event, same as the spell check feature and the built-in WYSIWYG editor are described above in the Adding events section.
When you have all values entered, click ![]() Save to save the event. You will immediately find the event in the calendar and it will also be available in the section lists. Alternatively, you can delete the event using the
Save to save the event. You will immediately find the event in the calendar and it will also be available in the section lists. Alternatively, you can delete the event using the ![]() Delete link.
Delete link.
4. If you don't want to make any more changes to the event, you can finally click the Close edit mode link. When you go back to the main page of the Events section, the recently edited event will be found both in the calendar and in the section lists.
If you need to remove an event from the Intranet Portal and have the appropriate rights, access the portal and sign in. Navigate to the Events section using the main menu and click on the name of the event either in the calendar or in the list of events - the details of the event will be displayed below the calendar. Now you need to click the Delete link.
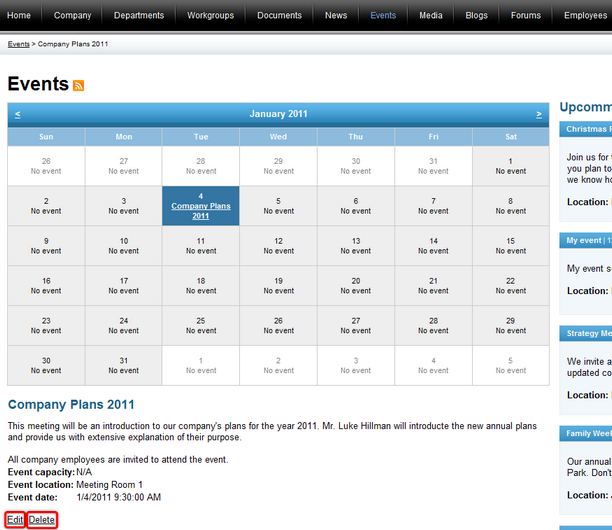
Another option to delete an event is to navigate to the event edit mode by clicking the Edit link and use the ![]() Delete link as described in the Editing events section above.
Delete link as described in the Editing events section above.
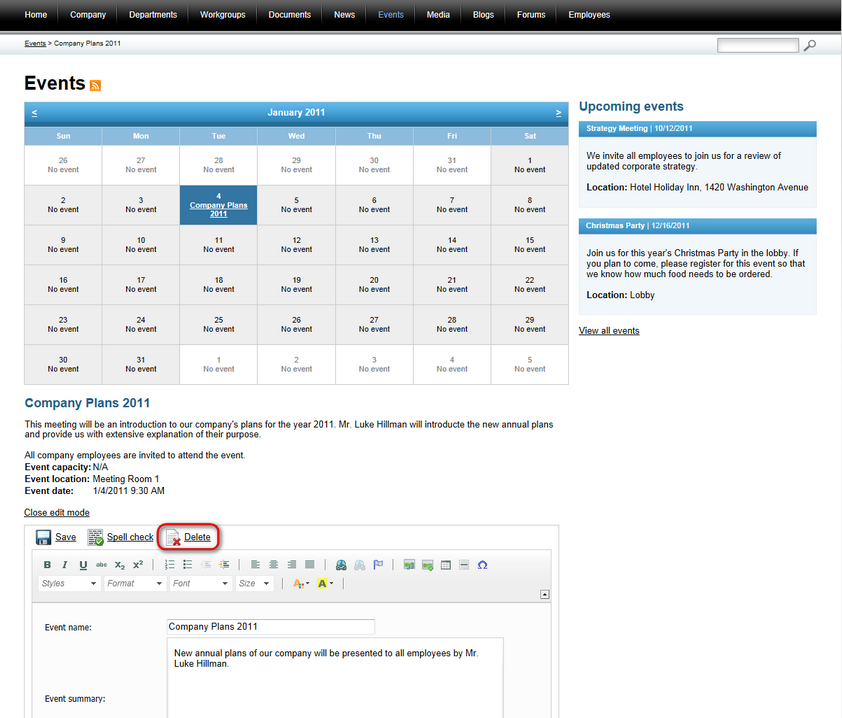
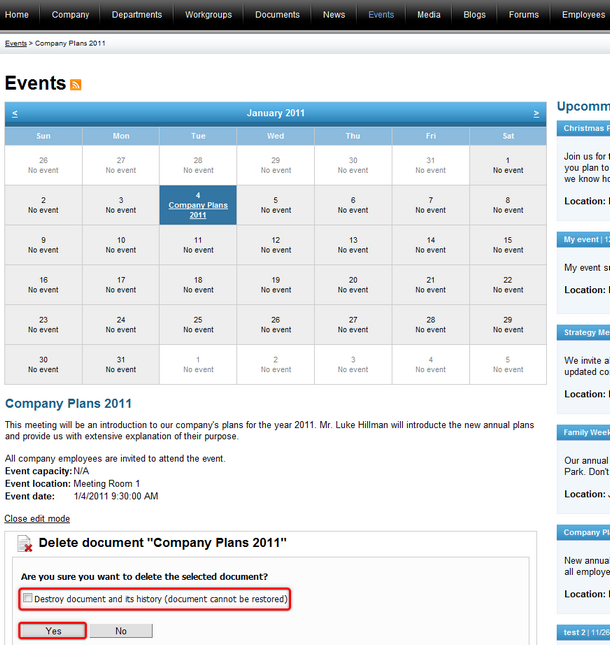
In both cases, you will be asked to confirm the removal of the event. Please note that if you set the Destroy document and its history option to true, it will not be possible to restore the deleted event. Click Yes to remove the event from the portal.
