|
|

Modifying the Home page |

|

|

|

|
|
Modifying the Home page |
|
|

|
|
|
|
Modifying the Home page |
|
|
|
|
|
Modifying the Home page |
|
|
|
|
|
|
||
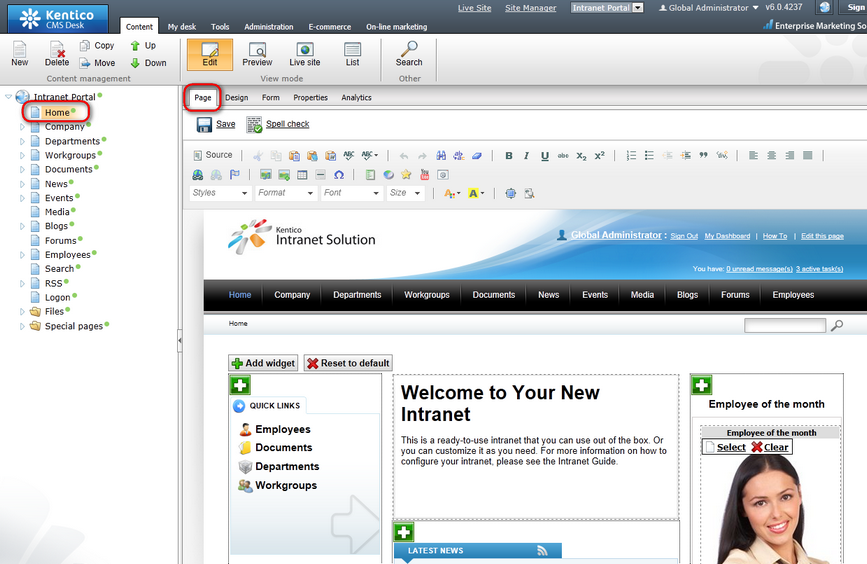
In this topic you will learn how to modify some important elements of the Intranet Portal Home page, such as the Quick links, Employee of the month and the Canteen menu widgets. You will also learn how to add other widgets to the portal main page. Widgets introduce support for the personalization of pages. They allow users and editors to edit the structure of page templates. The personalized settings are saved within the system and can be invoked from the live site by authorized users or through the CMS Desk interface in the case of website editors. If you need to modify the portal Home page, log on to CMS Desk, choose Home from the content tree and navigate to the Content -> Edit -> Page tab. You should see a page similar to the one depicted in the following screenshot.
As a content editor, you can add, modify or delete any widget placed in a widget zone. This can be used to quickly customize pages beyond simply entering content into static page templates.
To add a new widget to your portal Home page, just click the Add widget (![]() ) button in the top left corner of an editor widget zone.
) button in the top left corner of an editor widget zone.
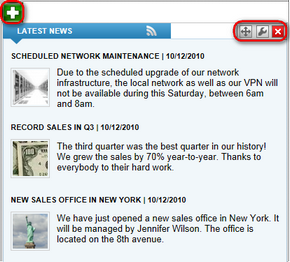
You can modify any widget placed in an editor widget zone by clicking the Configure widget (![]() ) button. You can also delete widgets using the Delete widget (
) button. You can also delete widgets using the Delete widget (![]() ) button. Widgets can be moved between different widget zones by clicking the Drag widget (
) button. Widgets can be moved between different widget zones by clicking the Drag widget (![]() ) button and dragging the widget to the desired place.
) button and dragging the widget to the desired place.
If you would like to learn more about using widgets in Kentico CMS, please refer to the Development -> Using widgets chapter in the Development section of the Developer's Guide.
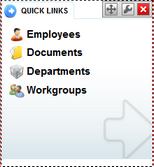
The Quick links box contains links to pages that you need to be accessible directly from the Intranet Portal Home page. If you need to modify or delete some of these links or if you need to add new ones, move the mouse over the box so that the widgets management buttons become visible.
By clicking the Configure widget (![]() ) button, you will open the Widget properties (Intranet quick links) dialog window. In the Content -> Text field you can perform all editing actions concerning your quick links using the built-in WYSIWYG editor. For more information on how to use the editor, please refer to the WYSIWYG editor chapter in the Development section of the Developer's Guide.
) button, you will open the Widget properties (Intranet quick links) dialog window. In the Content -> Text field you can perform all editing actions concerning your quick links using the built-in WYSIWYG editor. For more information on how to use the editor, please refer to the WYSIWYG editor chapter in the Development section of the Developer's Guide.
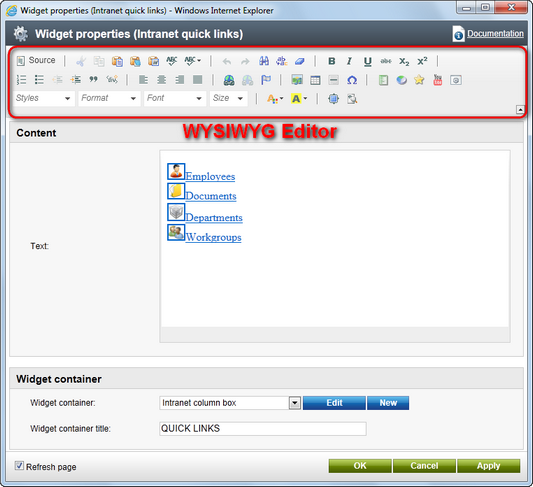
The following fields are available to define the Intranet quick links widget:
•Text - the text to be displayed in the Quick links box. All editing actions related to the actual links can be performed using the built-in WYSIWYG editor.
•Widget container - the container containing the particular widget.
•Widget container title - the title of the widget container. It is displayed only if the {%ContainerTitle%} macro is used in the container code.
When you have the values entered, click OK to save the widget new settings and close the dialog window. Or click Apply to confirm the entered value(s) and leave the dialog window open. Or click Cancel to close the dialog window. Please note that if you click the Cancel button after confirming some previously made changes, these changes will not be lost. If you set the Refresh page option value to false, the edited content will not be updated after closing the dialog window unless you either refresh the Edit mode or switch to the Preview or Live site modes.
Changing the Employee of the month
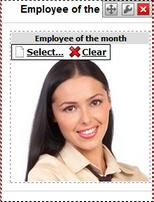
The Employee of the month box contains an image of a selected company employee together with its caption. The image is presented on the Intranet Portal Home page for the duration of one month and can be partially customized. You can select a different image from the Intranet Portal file system by clicking the ![]() Select link, or you can click the
Select link, or you can click the ![]() Clear link, which removes the selected image and replaces it with the default one. Another option to modify some basic properties of the image is to move the mouse over the box so that the widgets management buttons become visible.
Clear link, which removes the selected image and replaces it with the default one. Another option to modify some basic properties of the image is to move the mouse over the box so that the widgets management buttons become visible.
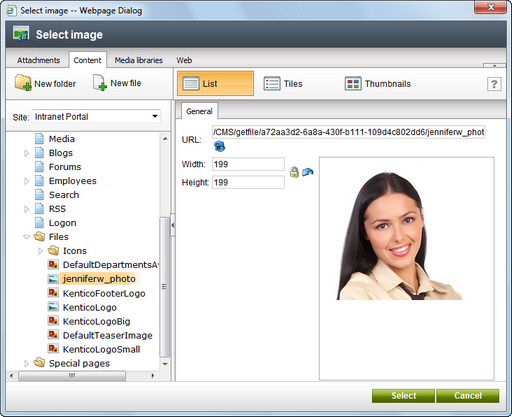
If you click the ![]() Select link, the Select image dialog window will pop up. Choose an image file from the Intranet Portal content tree and optionally adjust its width and height. You can Lock/Unlock (
Select link, the Select image dialog window will pop up. Choose an image file from the Intranet Portal content tree and optionally adjust its width and height. You can Lock/Unlock (![]() ) the image aspect ratio and you can also Reset (
) the image aspect ratio and you can also Reset (![]() ) its size. By clicking Refresh (
) its size. By clicking Refresh (![]() ) you can refresh the image URL according to the current image file settings. When you have the values entered, click Select to confirm selection and adjustment of the new image or click Cancel to discard the changes.
) you can refresh the image URL according to the current image file settings. When you have the values entered, click Select to confirm selection and adjustment of the new image or click Cancel to discard the changes.
The following fields are available if you are selecting a new Employee of the month widget image using the Select image dialog window:
•URL - URL of the image file in your Intranet Portal file system.
•Width - the width of the image in pixels. The image will be resized to this width.
•Height - the height of the image in pixels. The image will be resized to this height.
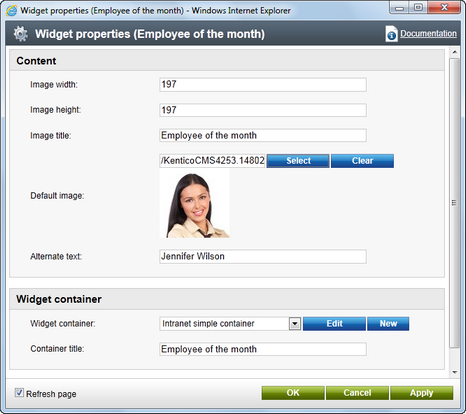
If you click the Configure widget (![]() ) button, you will open the Widget properties (Employee of the month) dialog window. This dialog window enables you to modify some basic properties of the image file. When you have the values entered, click OK to save the new widget settings and close the dialog window. Or click Apply to confirm the entered value(s) and leave the dialog window open. Or click Cancel to close the dialog window. Please note that if you click the Cancel button after confirming some previously made changes, these changes will not be lost. If you set the Refresh page option value to false, the edited content will not be updated after closing the dialog window unless you either refresh the Edit mode or switch to the Preview or Live site modes.
) button, you will open the Widget properties (Employee of the month) dialog window. This dialog window enables you to modify some basic properties of the image file. When you have the values entered, click OK to save the new widget settings and close the dialog window. Or click Apply to confirm the entered value(s) and leave the dialog window open. Or click Cancel to close the dialog window. Please note that if you click the Cancel button after confirming some previously made changes, these changes will not be lost. If you set the Refresh page option value to false, the edited content will not be updated after closing the dialog window unless you either refresh the Edit mode or switch to the Preview or Live site modes.
The following fields are available to define the Employee of the month widget:
•Image width - the width of the image in pixels. The image will be resized to this width.
•Image height - the height of the image in pixels. The image will be resized to this height.
•Image title - the title of the image region displayed on the Intranet Portal Home page.
•Alternate text - the alternate text of the image displayed on the live website. It is the value of the alt attribute of the image tag.
•Widget container - the container containing the particular widget.
•Widget container title - the title of the widget container. It is displayed only if the {%ContainerTitle%} macro is used in the container code.
|
Please note
If you need to modify the image file using the standard image editing operations, please refer to the Handling images chapter in the Content management -> File management section of the Developer's Guide.
|
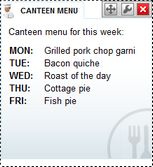
The Canteen menu box contains the company canteen menu for the period of one week, optionally together with a description. The Intranet Portal comes shipped with a canteen menu in the form of table. However, you can fully customize the menu according to your needs. If you would like to modify the canteen menu, move the mouse over the box so that the widgets management buttons become visible.
By clicking the Configure widget (![]() ) button, you will open the Widget properties (Intranet canteen menu) dialog window. In the Content -> Text field you can perform all editing actions concerning your canteen menu using the built-in WYSIWYG editor. For more information on how to use the editor, please refer to the WYSIWYG editor chapter in the Development section of the Developer's Guide.
) button, you will open the Widget properties (Intranet canteen menu) dialog window. In the Content -> Text field you can perform all editing actions concerning your canteen menu using the built-in WYSIWYG editor. For more information on how to use the editor, please refer to the WYSIWYG editor chapter in the Development section of the Developer's Guide.
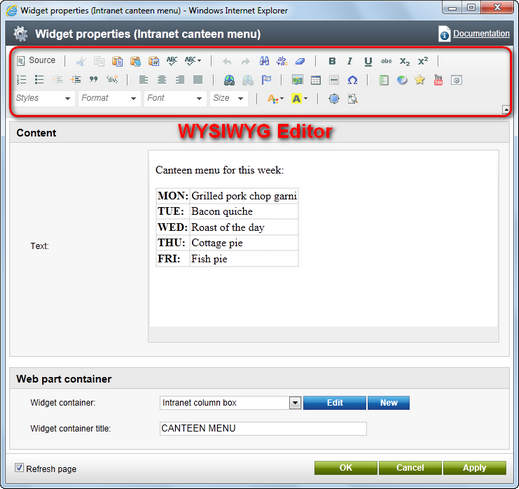
The following fields are available to define the Intranet canteen menu widget:
•Text - the text to be displayed in the Intranet canteen menu box. All the editing actions related to the text can be performed using the built-in WYSIWYG editor.
•Widget container - the container containing the particular widget.
•Widget container title - the title of the widget container. It is displayed only if the {%ContainerTitle%} macro is used in the container code.
When you have the values entered, click OK to save the widget new settings and close the dialog window. Or click Apply to confirm the entered value(s) and leave the dialog window open. Or click Cancel to close the dialog window. Please note that if you click the Cancel button after confirming some previously made changes, these changes will not be lost. If you set the Refresh page option value to false, the edited content will not be updated after closing the dialog window unless you either refresh the Edit mode or switch to the Preview or Live site modes.
|
Please note
If you switch to the Edit -> Design tab, you can modify the layout of the page. However, special permissions are needed to perform this task. Please refer to the Portal engine development model chapter in the Development section of the Developer's Guide for more details.
|

