|
|

Creating a simple ASPX page template |

|

|

|

|
|
Creating a simple ASPX page template |
|
|

|
|
|
|
Creating a simple ASPX page template |
|
|
|
|
|
Creating a simple ASPX page template |
|
|
|
|
|
|
||
This topic describes how to create a new ASPX page template. We will create a new page with two columns that contain editable regions.
1. Open the web project in Visual Studio. You can open it either through the WebProject.sln file or using the File -> Open Web Site option in the menu.
2. Right-click the CMSTemplates/CorporateSite folder in the Solution Explorer and select Add New Item.
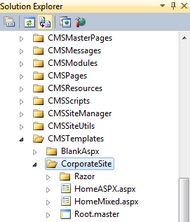
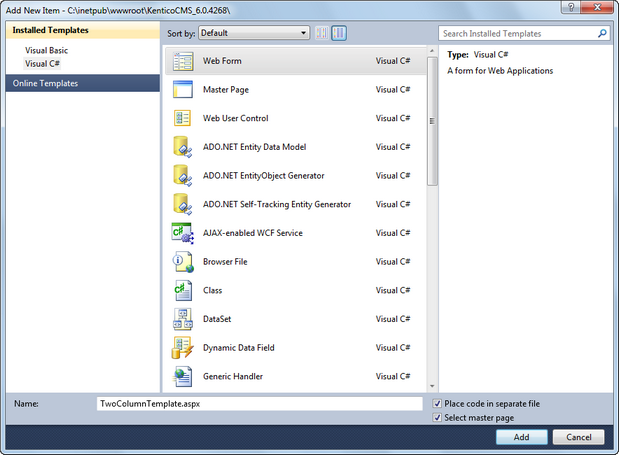
3. Create a new Web form named TwoColumnTemplate.aspx, check the Select master page box and click Add.
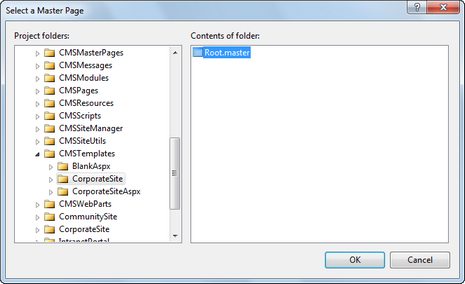
The Select a Master Page dialog opens.
4. Choose the CMSTemplates/CorporateSite folder, select the Root.master file and click OK.
5. Open the Source view of the newly created ASPX page and add the following code inside the <asp:Content> control:
<table width="100%"> |
The <asp:Content> control allows you to use the standard ASP.NET concept of master pages. When the system renders the page, it loads the content of the control into the assigned master page (as defined in the Root.master file).
The CMSEditableRegion control defines an editable region that the page displays as an HTML editor on the Content -> Edit -> Page tab of CMS Desk. On the live site, the control renders the content entered into the editor.
|
Note
This example uses a table layout. If you prefer a CSS layout, replace the surrounding HTML code with <DIV> elements. You have full control over the content.
|
6. Switch to the code behind file (TwoColumnTemplate.aspx.cs) and add a reference to the following namespace:
[C#]
using CMS.UIControls; |
7. Modify the class definition so that it inherits from the TemplatePage class:
[C#]
public partial class CMSTemplates_CorporateSite_TwoColumnTemplate : TemplatePage |
Inheriting from this class allows you to use the web form as a page template in Kentico CMS.
Keep in mind that the name of the class must be identical to the value of the Inherits attribute of the <%@ Page %> directive on the ASPX page. This is case sensitive.
Now that we have created a new ASPX page, we need to register it in Kentico CMS as a page template, so that it can be used by content editors.
1. Sign in to Site Manager and go to Development -> Page templates.
2. Select the Corporate Site/Examples folder, click ![]() New template and type Two column template into the Template display name field.
New template and type Two column template into the Template display name field.
3. Click ![]() Save. The system creates the template and displays its General tab.
Save. The system creates the template and displays its General tab.
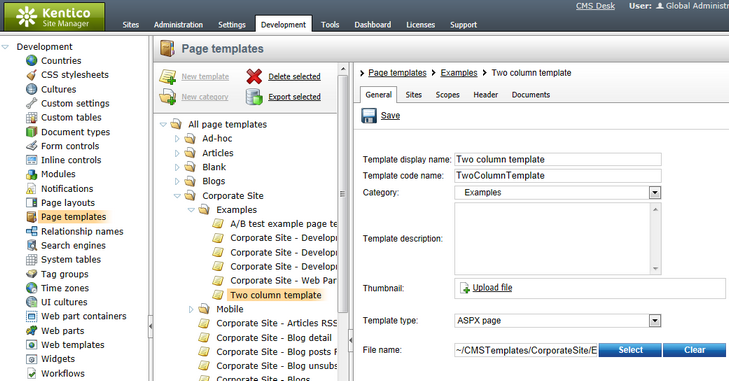
4. Set the following values on the General tab:
•Template type: ASPX page
•File name: ~/CMSTemplates/CorporateSite/TwoColumnTemplate.aspx
This is the virtual path of the ASPX page. Alternatively, you can click the Select button and manually select the file.
5. Click ![]() Save.
Save.
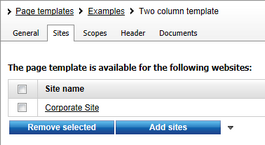
6. Switch to the Sites tab and click the Add sites button. Choose the sites where you wish to use the page template and click OK.
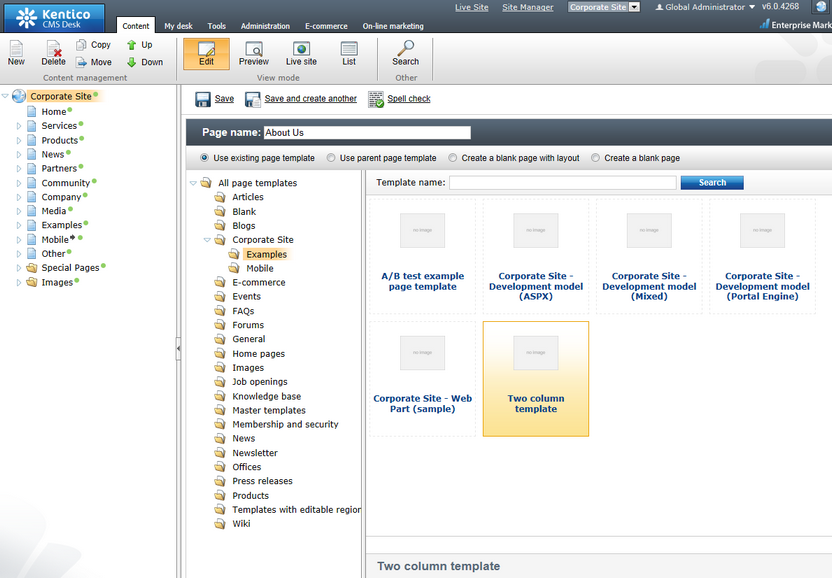
1. Go to Kentico CMS Desk -> Content.
2. Select Corporate Site (the root of the content tree) and click New in the main menu of the Content section.
3. Choose the Page (menu item) document type.
4. Type About Us into the Page name field and choose the Use existing page template option. Select the Corporate Site/Examples category and the Two column template page template.
5. Click ![]() Save to create the new page.
Save to create the new page.
On the Page tab, you can see the page and its editable regions.
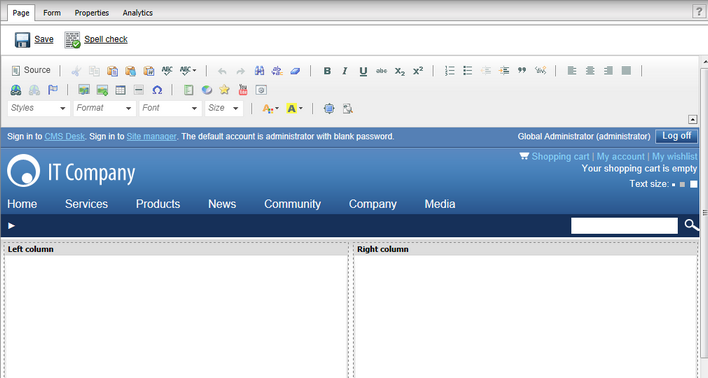
You have just created your first page based on an ASPX page template. Now you can enter some text and click ![]() Save to store the content.
Save to store the content.
|
Moving pages
If you want to move the About Us page to another position in the menu, you can either use the Up and Down arrows on the main toolbar or drag the page to the desired location in the content tree.
|
