Web application installation |

|

|

|

|
|
Web application installation |

|

|

|

|
|
|
||
The Kentico Web installer opens. If it has not started automatically, you can always run it from Start menu -> All Programs -> Kentico CMS -> Kentico Web Installer.
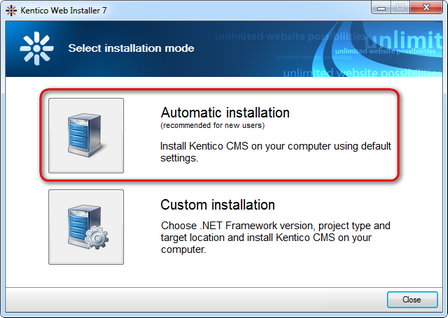
1. In the installer, select the Automatic installation option.

Note that Automatic installation chooses .NET framework based on the framework that is available in your system, first checking for .NET 4.0, .NET 4.5 and finally 3.5. Web site project and default IIS inetpub\wwwroot installation folder are selected. If you want to make these selections yourself, refer to Developer's guide -> Installation and deployment -> Installation procedure -> Web installer for more information on the Custom installation option.
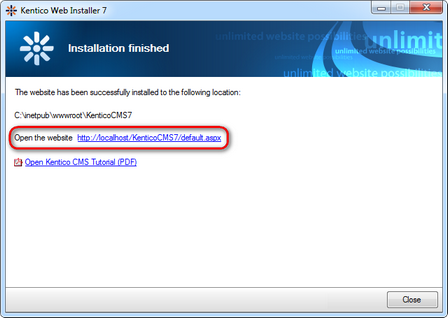
2. Once the installer copies the necessary files, click the Open the website link.

3. Continue to the Database setup topic.