|
|

Creating new page templates |

|

|

|

|
|
Creating new page templates |
|
|

|
|
|
|
Creating new page templates |
|
|
|
|
|
Creating new page templates |
|
|
|
|
|
|
||
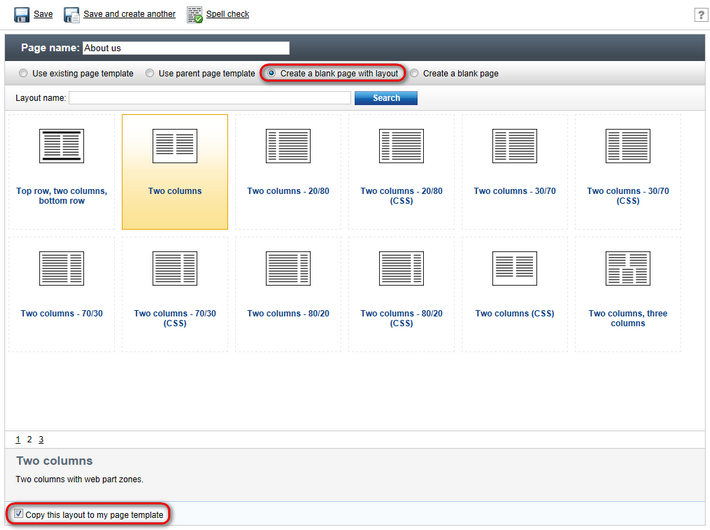
Now you will learn how to create a new page from scratch without using a pre-defined page template. We will create a new About Us page with two columns that will contain editable regions.
1. Click the root in the content tree and click New. Choose to create a new Page (menu item).
2. Type About us as the Page name and choose to Create a blank page with layout using the Two columns layout (found on the second page). Make sure that the Copy this layout to my page template box is checked — it ensures that your page template uses a modified version of the pre‑defined layout without changing other pages.
3. Click ![]() Save to create the new page. The page cannot be edited now since it doesn't contain any editable regions. We will add an editable image region on the left and two editable text regions on the right
Save to create the new page. The page cannot be edited now since it doesn't contain any editable regions. We will add an editable image region on the left and two editable text regions on the right
4. Switch to the Design tab and click the Add web part (![]() ) icon on the right of the zoneB web part zone.
) icon on the right of the zoneB web part zone.
5. Choose the Text & Images -> Editable image web part and click OK.
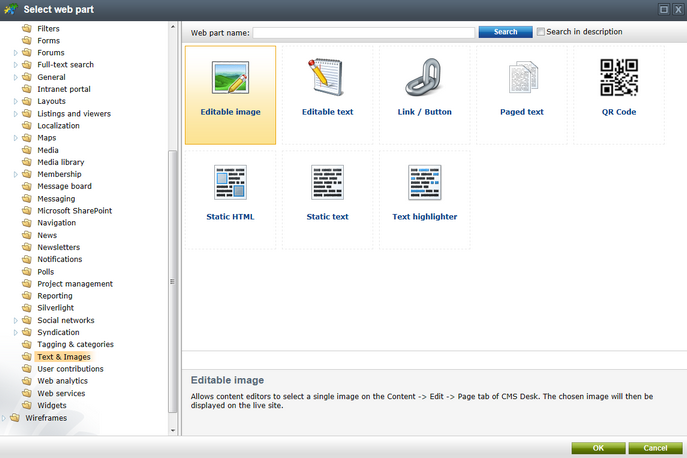
Set the following values:
•Web part control ID: LeftImage
•Image title: Left image
•Content before: <h1>
•Content after: </h1>
Click OK.
6. Add another web part to the zoneC zone: Choose the Text & Images -> Editable text web part and click OK. Set the following property values:
•Web part control ID: HeaderText
•Editable region title: Header
•Editable region type: Text box
•Content before: <h1>
•Content after: </h1>
Click OK.
7. Add another Editable text web part to the right web part zone and set the following properties:
•Web part control ID: MainText
•Editable region title: Main text
•Editable region type: HTML Editor
•Editable region width: (leave empty)
•Editable region height: 400
Click OK.
Switch to the Page tab and you will see a page with editable regions like this:
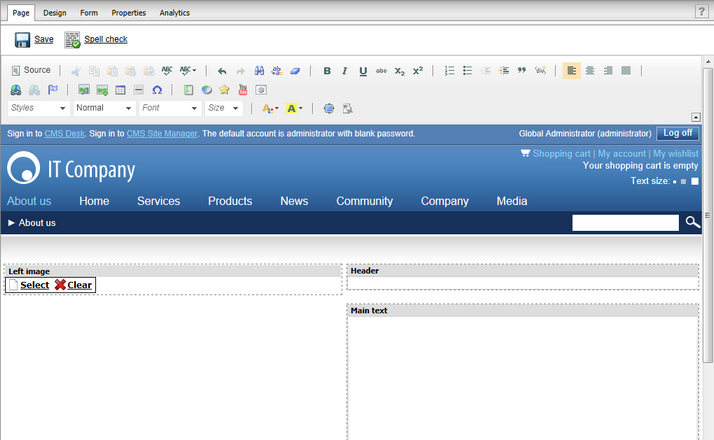
Now you can type in some text content and choose an image using the Select button. Click ![]() Save and view the page in the Live site mode:
Save and view the page in the Live site mode:
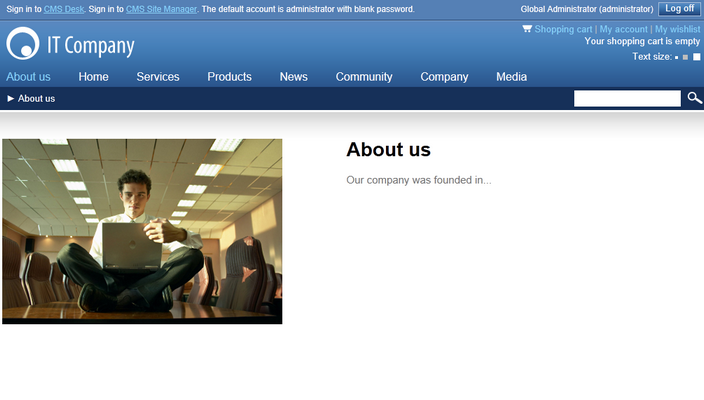
Congratulations, you have just created your first page template using web parts.