|
|

Developing web parts |

|

|

|

|
|
Developing web parts |
|
|

|
|
|
|
Developing web parts |
|
|
|
|
|
Developing web parts |
|
|
|
|
|
|
||
In cases where the web parts included in Kentico CMS by default do not meet the requirements of your specific scenarios, it is possible to develop new ones and register them in the system. This way, you can add any type of custom content or functionality to your pages through the portal engine.
All web parts are implemented as user controls. Standard web parts must inherit the CMSAbstractWebPart class from the CMS.PortalControls namespace. An exception to this rule are web parts that provide content editable on the Page tab of CMS Desk and in On-site editing mode (such as the default Editable text and Editable image), which need to inherit from the CMSAbstractEditableWebPart class instead.
The following example will guide you through the process of creating a very simple "Hello world" web part that displays a label and a button. When the button is clicked, the current time will be displayed by the label.
1. Open the web project in Visual Studio (or Visual Web Developer) using the WebProject.sln (or WebApp.sln) file or using File -> Open -> Web site... in Visual Studio.
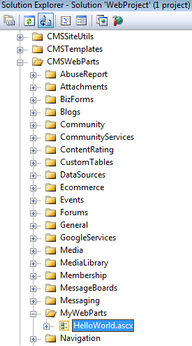
2. Right-click the CMSWebParts folder in the Solution Explorer window and choose New Folder. Name the folder MyWebParts.
3. Right-click the MyWebParts folder and choose Add New Item.
4. Create a new Web User Control named HelloWorld.ascx.
5. In the Control declaration, enter the full relative path of the control's code behind file into the CodeFile attribute (CodeBehind attribute on web application installations).
<%@ Control Language="C#" AutoEventWireup="true" CodeFile="~/CMSWebParts/MyWebParts/HelloWorld.ascx.cs" Inherits="CMSWebParts_MyWebParts_HelloWorld" %> |
6. Switch to the Design view and drag the following controls onto the form from the toolbox:
•Button
•Label

7. Double-click the Button control and add the following code to the Button1_Click method:
[C#]
Label1.Text = DateTime.Now.ToString(); |
[VB.NET]
Label1.Text = DateTime.Now.ToString() |
8. Add the following line to the beginning of the code:
[C#]
using CMS.PortalControls; |
[VB.NET]
Imports CMS.PortalControls |
9. Change the following line:
[C#]
public partial class CMSWebParts_MyWebParts_HelloWorld : System.Web.UI.UserControl public partial class CMSWebParts_MyWebParts_HelloWorld : CMSAbstractWebPart |
[VB.NET]
Partial Class CMSWebParts_MyWebParts_HelloWorld Inherits System.Web.UI.UserControl
to
Partial Class CMSWebParts_MyWebParts_HelloWorld Inherits CMSAbstractWebPart |
This ensures that the user control inherits from the correct base class and behaves as a web part.
10. Add the following code to the Page_Load method:
[C#]
Button1.Text = (string)this.GetValue("ButtonText"); |
[VB.NET]
(Visual Basic.NET doesn't create the Page_Load method automatically, so you need to add the whole method:)
Protected Sub Page_Load(ByVal sender As Object, ByVal e As System.EventArgs) Handles Me.Load Button1.Text = CType(My.GetValue("ButtonText"), String) End Sub |
This code sets the button text to the value configured for the web part through its ButtonText property in Kentico CMS Desk (this property will be defined later in the example). Please notice the use of the GetValue method (inherited from the parent class), which allows you to dynamically load values of the web part's properties. The method's parameter must match the Column name of the property that you wish to retrieve.
11. Save all changes. If your Kentico CMS project was installed as a web application, you must Build the project.
1. Open Site Manager -> Development -> Web parts.
2. Select the root of the tree (All web parts) and click ![]() New category.
New category.
3. Enter My web parts into the Category display name field, MyWebParts into the Category name field and click ![]() Save.
Save.
4. Select the new category and click ![]() New web part.
New web part.
5. Choose to Create a new web part and enter the following values:
•Display name: Hello world
•Code name: HelloWorld
•File path: ~/CMSWebParts/MyWebParts/HelloWorld.ascx
•Generate the code files: false (the web part's source files were prepared in the previous steps, so there is no need to generate them)
6. Click ![]() Save.
Save.
7. Switch to the Properties tab and add (![]() ) the following property:
) the following property:
•Column name: ButtonText
•Attribute type: Text
•Attribute size: 100
•Field caption: Button text
•Form control: Text box
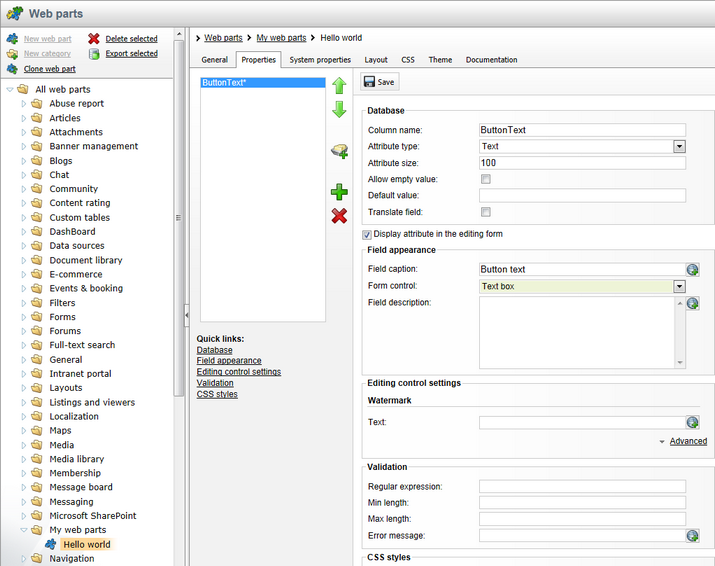
8. Click ![]() Save.
Save.
1. Switch to CMS Desk.
2. Create a new blank page using the Simple layout (or any other layout) under the root and switch to the Design tab.
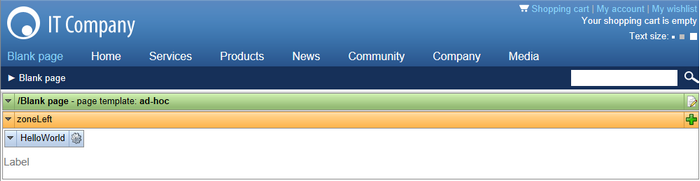
3. Click Add web part (![]() ) in the upper right corner of the web part zone and choose to add the Hello world web part:
) in the upper right corner of the web part zone and choose to add the Hello world web part:
4. The Web part properties dialog of the HelloWorld web part will be displayed. Set the value of the Button text field to: Hello world!
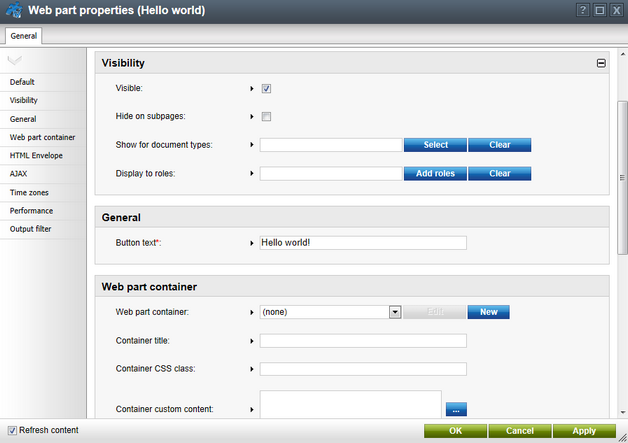
5. Click OK.
Now switch to the Live site mode using the button in the main toolbar. You will see the button with text Hello world! When you click it, the label displays the current date and time:
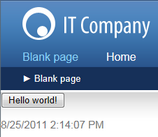
You have learned how to create a simple web part. Please keep in mind that in many cases, it may be easier to achieve your goal by altering or extending one of the default web parts rather than developing an entirely new one. The Modifying web parts sub-chapter covers several ways how this can be done.
|
Tip: Displaying content in web parts
You can also use Kentico CMS Controls in your web parts (in the code of their ASCX control) to display content from Kentico CMS in a customized format. |
|
Storing files related to web parts
If your web part consists of several files (such as other ASCX controls, images, js scripts, etc.), you should place these files in a sub‑folder under the folder where your main web part ASCX file is placed. If the code name of the web part is MyWebPart, the sub‑folder's name must be MyWebPart_Files. This will ensure that the additional files are included in the web part's export package and imported correctly when you move your website or distribute the web part to other developers. |
|
Initializing Kentico CMS controls in your custom web parts
If you are using Kentico CMS controls in your web parts, it is recommended to initialize their properties using a combination of the OnContentLoaded and SetupControl methods. This is the way it is handled in all Kentico CMS web parts. You can view the code of any of the web parts located in <project folder>/CMSWebParts and use it as an example.
If you are using standard .NET controls or third party controls, this can be handled in the PageLoad method.
If a problem occurs (e.g. on postback), try loading the control dynamically. This can be achieved by converting the web part to a standard control and loading using the General -> User control web part). |
|
Error message "The control collection cannot be modified during DataBind, Init, Load, PreRender or Unload phases."
If you get this error message you may need to modify the code of your web part, so that it doesn't display any content on the Design tab - for example:
|

