Quick start |

|

|

|

|
|
Quick start |

|

|

|

|
|
|
||
This topic will show you how to enable your website visitors to chat with each other in a few steps.
This step-by-step guide consists of two parts - first, you will create chat rooms, then you will place web parts on a page to enable the chat on the live site.
For basic information about the Chat module, refer to the Basics topic.
First, you need to create rooms that users will chat in. Follow these steps to create a chat room:
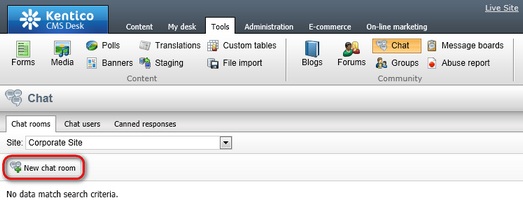
1. Log in to CMS Desk and navigate to Tools -> Chat.
2. Click ![]() New chat room.
New chat room.
3. Fill in the Display name and Description.
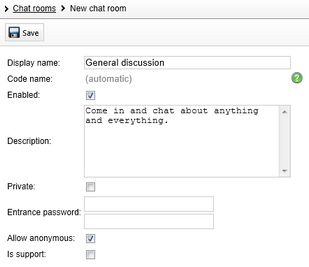
The other settings determine the type of the room. You can leave them unchanged. To learn more, refer to the Chat room types and Configuring rooms topics.
4. Click ![]() Save to create the room.
Save to create the room.
5. Click Chat rooms to be redirected to the list of existing rooms, which now contains the room you just created.

You have created a room, which users can join and chat with others. Repeat the procedure any number of times to create other rooms.
To learn more about chat room management, refer to the Managing chat rooms chapter.
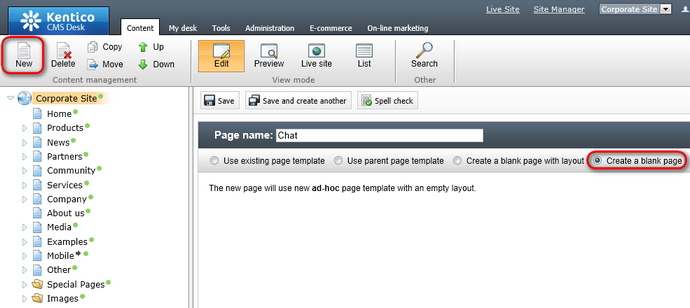
1. In CMS Desk, switch to Content.
2. Create a new document of type Page (menu item). Choose to Create a blank page.
3. Search for "Chat" in the web part toolbar and drag the Chat web part into the zoneMain web part zone.
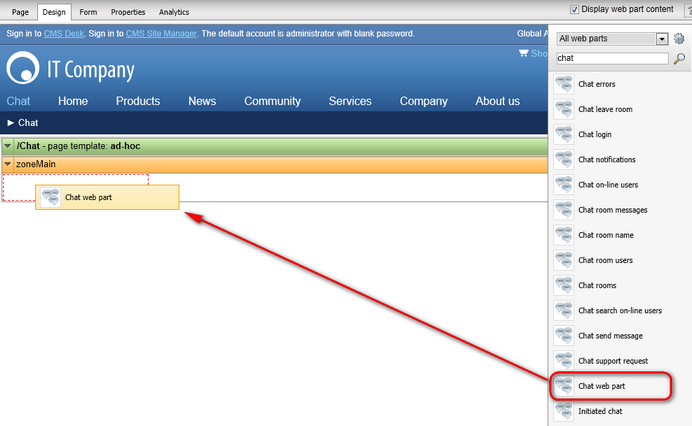
4. In the Web part properties dialog, leave all the settings at their default values and click OK. Chat should now be correctly configured.
5. Switch to the live site and navigate to the Chat page.
6. Click Enter chat.
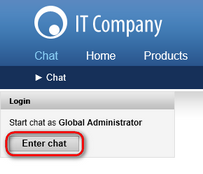
You can now click a room in the list of Available rooms and start chatting with other users in that room.
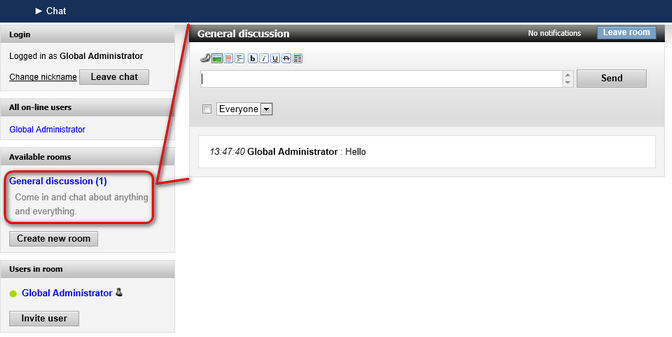
To learn how to use the chat, refer to the Using chat chapter.
For information on how to manage users of the chat, refer to the Managing chat users chapter.
If you wish to learn about other ways of setting up the chat or customize the looks and behavior of the chat, refer to the Setting up chat on site chapter.