|
|

Web installer |

|

|

|

|
|
Web installer |
|
|

|
|
|
|
Web installer |
|
|
|
|
|
Web installer |
|
|
|
|
|
|
||
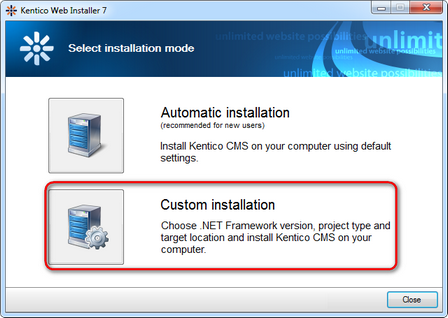
To create a new Azure web project, run the Kentico CMS Web Installer. You can either do that directly after completing the initial setup wizard or by running WebInstaller.exe from the Bin folder of your installation directory.
1. Once the installer opens, choose Custom installation as the Installation mode.
2. In Step 1 of the installer, choose the Windows Azure project option, which will create a web application suitable for deployment to the Windows Azure platform. You are allowed to choose .NET Framework 4.0 or 4.5 for the installation of Windows Azure project.
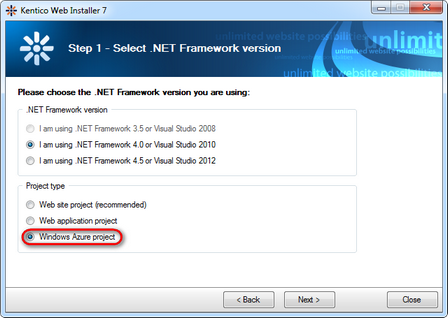
Click Next.
3. You can then select from the following two installation types:
•I want to use built-in web server in Visual Studio - creates a new clean installation of the Kentico CMS Azure project.
•I want to modify an existing Kentico CMS installation - you can use this option to change an existing Azure project installation on the local machine (i.e. add or remove its components).
4. Next, you will need to enter a target location for the project on your local disk.
5. In Step 4, you can choose whether you want to perform a Full installation including all optional components or a Custom installation where you can select which components should be installed.
6. The installer will then copy the project files to the specified folder. Once this is complete, open the solution in Visual Studio using the displayed link.

Continue on to Application structure and configuration, where the Kentico CMS Azure solution is described.