|
|

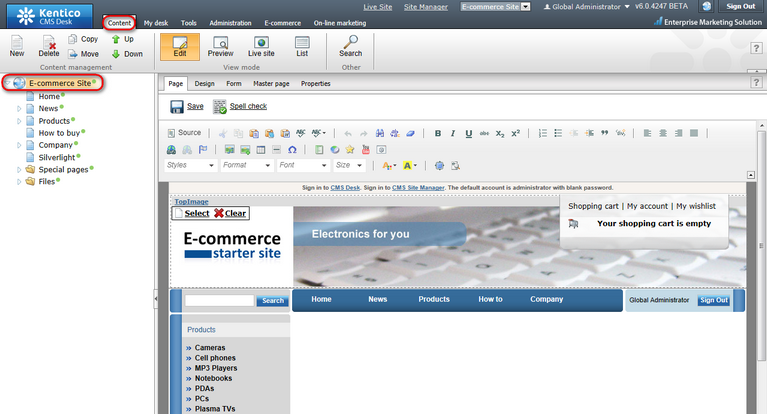
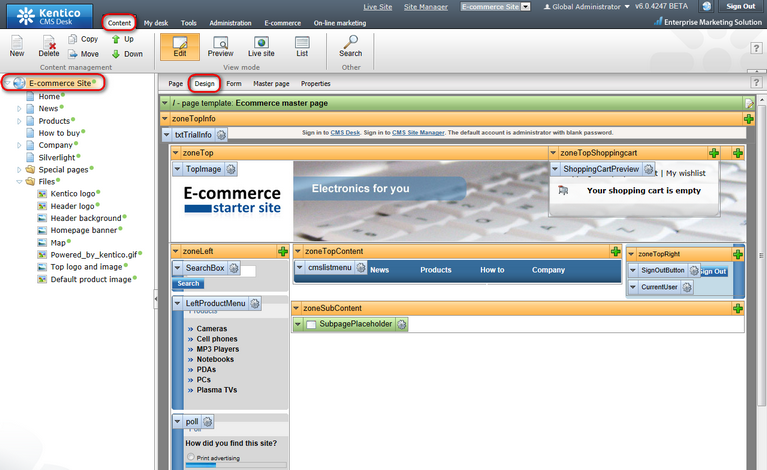
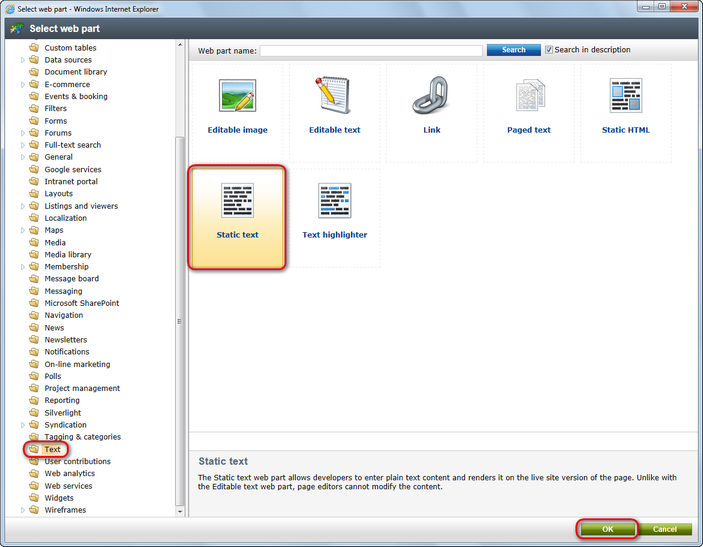
Changing header and menu (master page) |

|

|

|

|
|
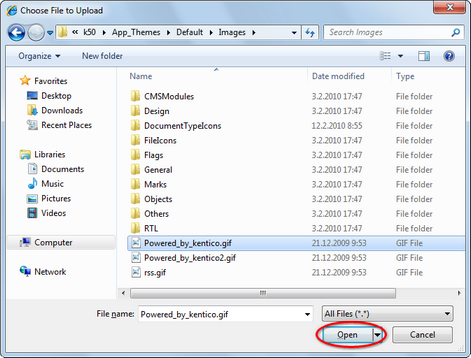
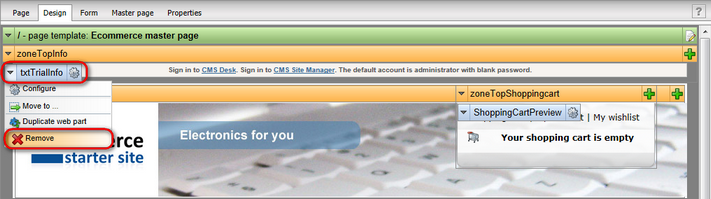
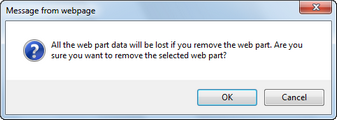
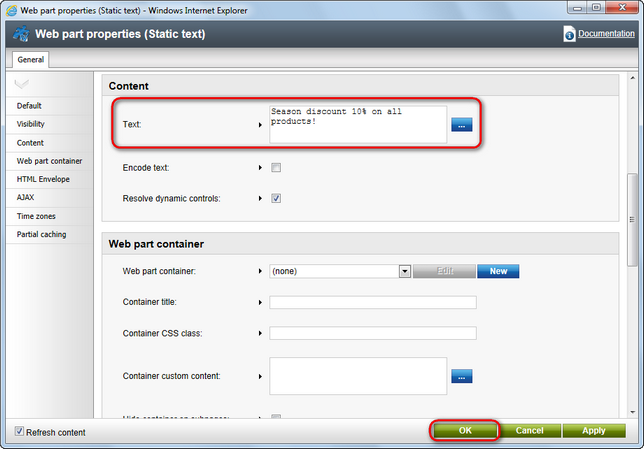
Changing header and menu (master page) |
|
|

|
|
|
|
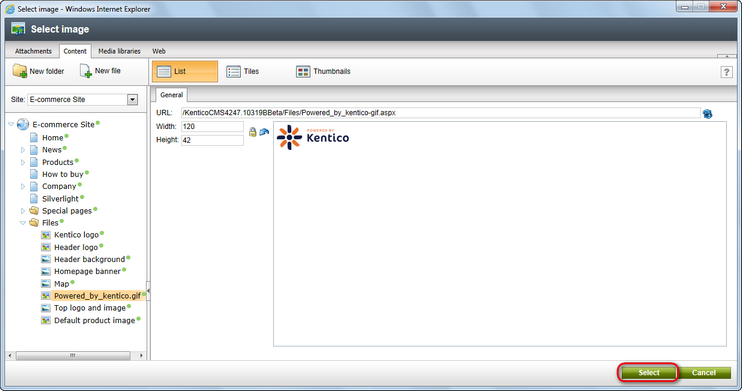
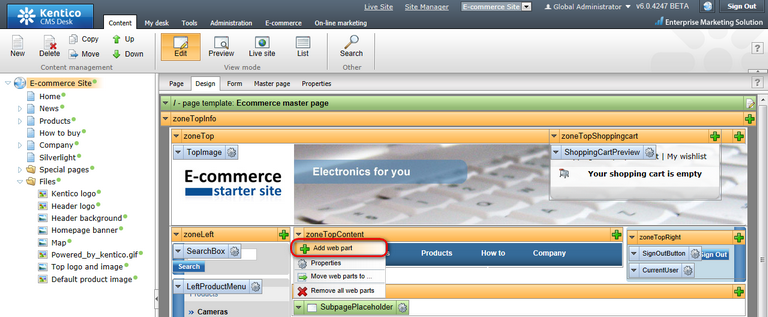
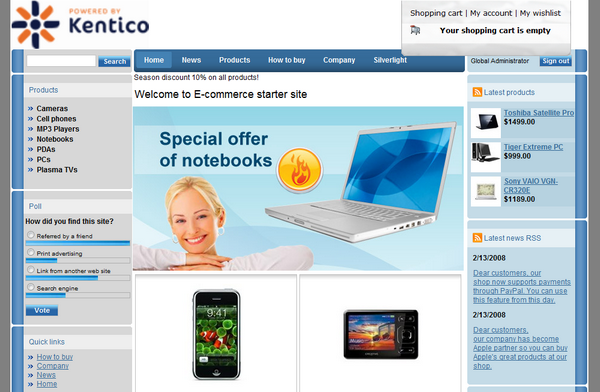
Changing header and menu (master page) |
|
|
|
|
|
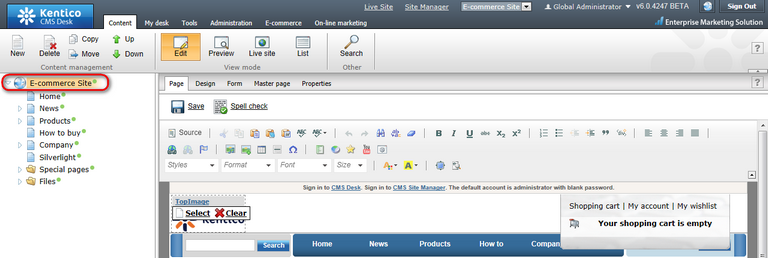
Changing header and menu (master page) |
|
|
|
|
|
|
||


|
More information
Should you need more information about customizing your website design, please refer to Kentico CMS Developer's Guide.
|
