|
File sources |

|

|

|

|
|
File sources |
|
|
|
|
Using the four tabs at the top part of the dialog window, you can choose where the image or media should be inserted from. The following tabs are available:
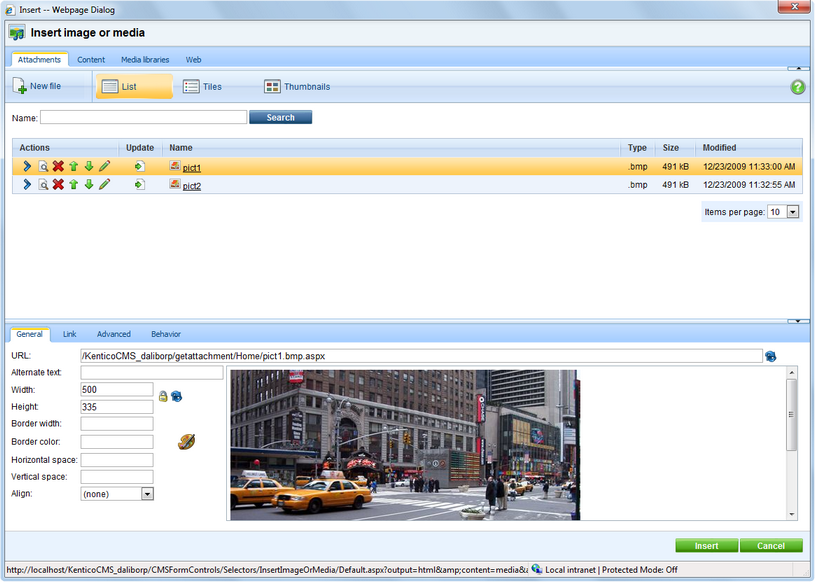
Attachments
This tab is available only when the WYSIWYG editor is placed on some document (e.g. Form tab, user contributions, ...) so that the attachments of the current document can be offered. In other parts of the CMS, the tab is not displayed.
You can insert the document's unsorted attachments into the text from this tab. You can filter the listed attachments by Name using the filter above the list. For more information about document attachments, please refer to the Document attachments chapter of this guide.
You can select an attachment using the Select (![]() ) icon or by simply clicking the appropriate line (or tile/thumnail in the other view modes).
) icon or by simply clicking the appropriate line (or tile/thumnail in the other view modes).
You can upload new attachments to the document via this dialog using the New file (![]() ) button. The following actions can be performed with the listed attachments:
) button. The following actions can be performed with the listed attachments:
| • | After clicking the View ( |
| • | Using the Delete ( |
| • | Using the Move up ( |
| • | Images have also the Edit ( |
| • | Using the Update ( |
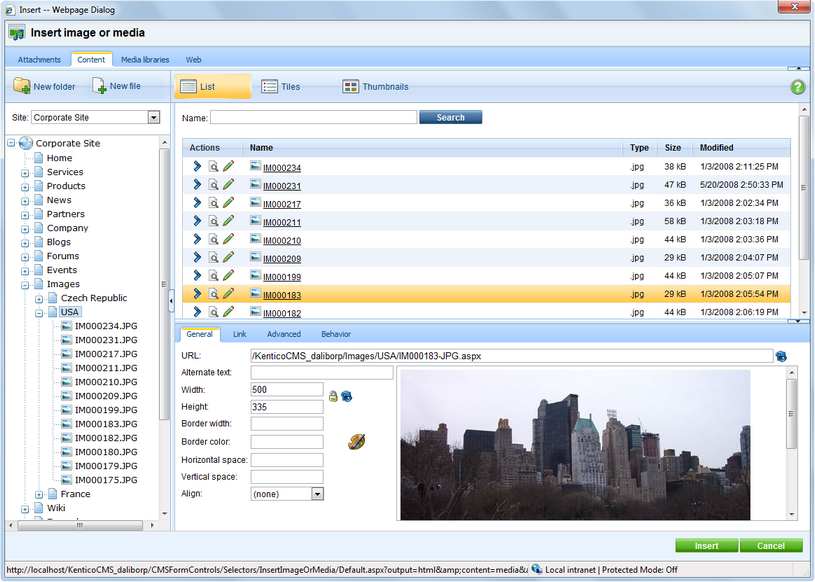
Content
From this tab, you can insert files stored in the content tree of any of the sites running in the system. The site to insert from can be selected using the Site drop-down list, while its content tree will be displayed below. You can define which sites will be available and the starting alias path of the displayed content tree when defining the field in field editor, as described here.
If you select a node of the content tree, all insertable files stored under it will be listed in the main area. You can filter the listed files by Name using the filter above the list.
You can select a file using the Select (![]() ) icon or by simply clicking the appropriate line (or tile/thumbnail in the other view modes).
) icon or by simply clicking the appropriate line (or tile/thumbnail in the other view modes).
New folders (cms.folder documents) can be created in the content tree via this dialog using the New folder (![]() ) button. You can also upload new files (cms.file documents) into the content tree using the New file (
) button. You can also upload new files (cms.file documents) into the content tree using the New file (![]() ) button. You can also perform the following actions with the listed files:
) button. You can also perform the following actions with the listed files:
| • | After clicking the View ( |
| • | Images have also the Edit ( |
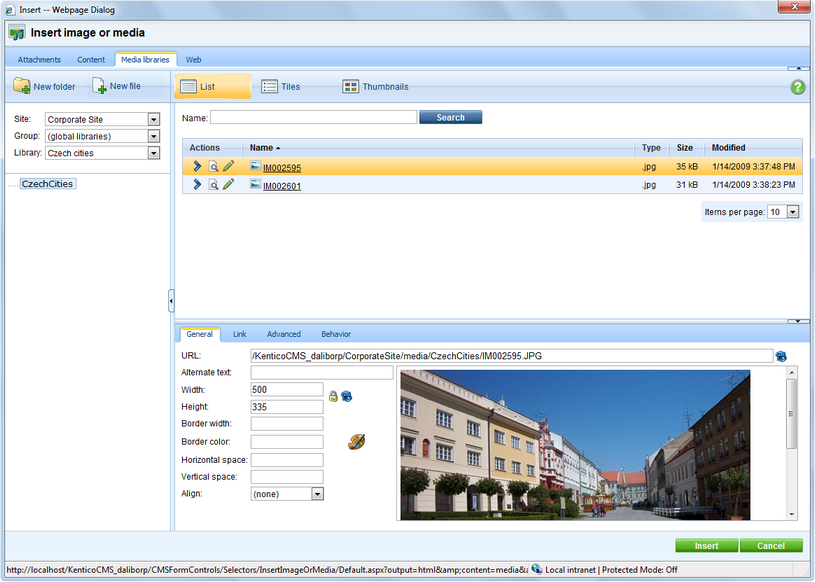
Media libraries
From this tab, you can insert files stored in a media library. Depending on the settings described here, you can select a library using the set of three drop-down lists - Site, Group and Library - in the top right part of the dialog.
More information about Kentico CMS Media libraries can be found in this chapter.
When the library is selected, its folder structure is displayed below the drop-downs. After selecting a folder, its content will be offered in the main area. You can filter the listed files by Name using the filter above the list.
You can select a file using the Select (![]() ) icon or by simply clicking the appropriate line (or tile/thumbnail in the other view modes).
) icon or by simply clicking the appropriate line (or tile/thumbnail in the other view modes).
You can also perform the following actions with the listed files:
| • | After clicking the View ( |
| • | Images have also the Edit ( |
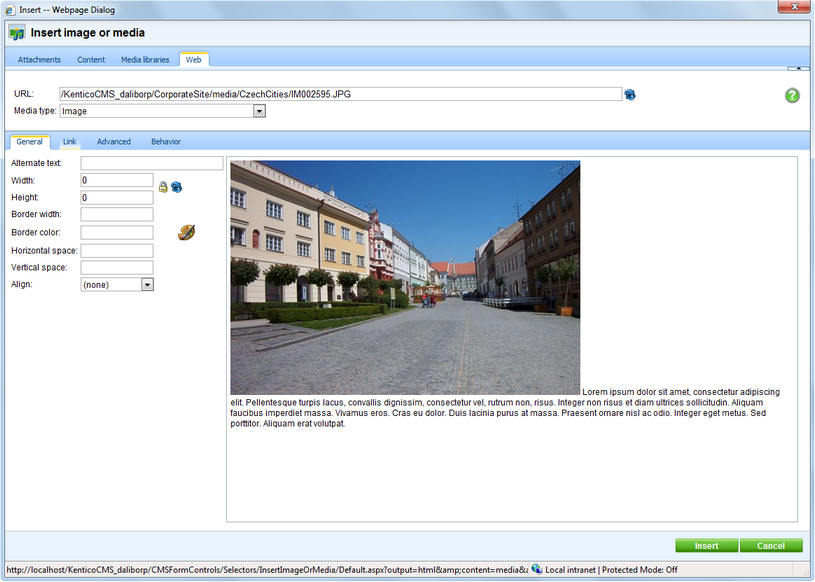
Web
From this tab, you can enter an image, audio, video or flash from the Web by entering its URL. More information on how to use this tab can be found in this chapter.
Page url: http://devnet.kentico.com/docs/5_5r2/devguide/index.html?wysiwyg_file_sources.htm

