|
Publishing first blog post |

|

|

|

|
|
Publishing first blog post |
|
|
|
|
In the following example, you will learn how to create a new blog post with Windows Live Writer and publish it to the Kentico CMS blog registered in the previous example.
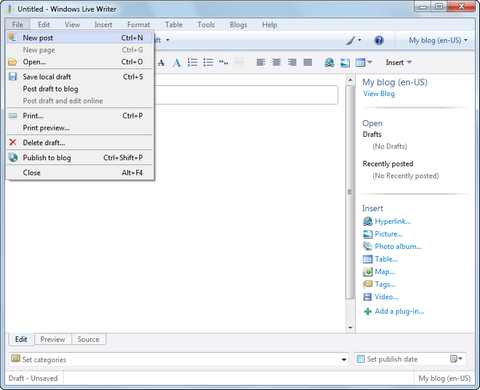
1. Open Windows Live Writer and select New post from the File menu (or click Ctrl+N).
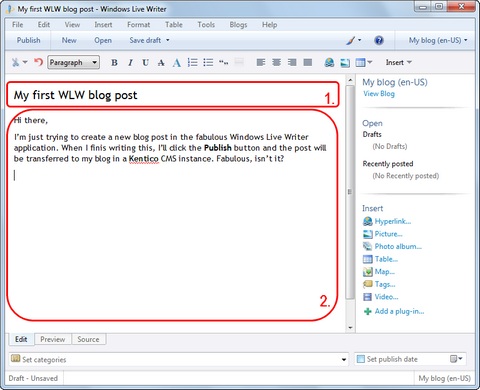
2. The gray rectangle at the top (1.) is where you enter the title of the blog post. What you enter here will be used as a value of the Post title field in your Kentico CMS blog post.
The text area below (2.) is where you enter the text of the blog post itself. This will be used for the Post text field, and in case you enabled the automatic summary (learn here how to do it), its beginning will be used for the Post summary field too.
Enter some title and blog post text.
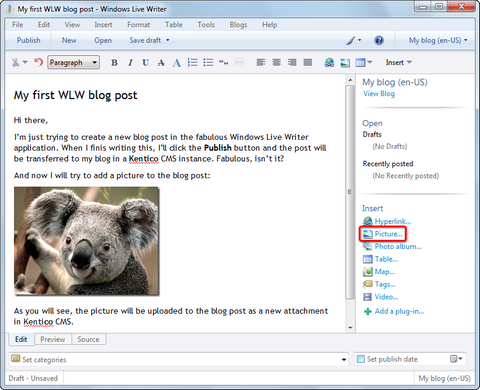
3. Now let's try adding an image. It is quite easy with Windows Live Writer, just click the Picture... option in the Insert menu on the right and select some image from your local disk. You should achieve that your blog post looks somewhat similar to the screenshot below.
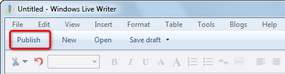
4. Now that your blog post is ready, we can publish it to the live site. Click the Publish button in the top toolbar.
5. When the publishing finishes, your blog will be displayed in your browser and you will see the new post published.
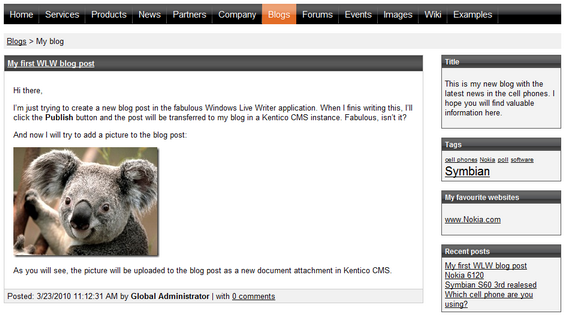
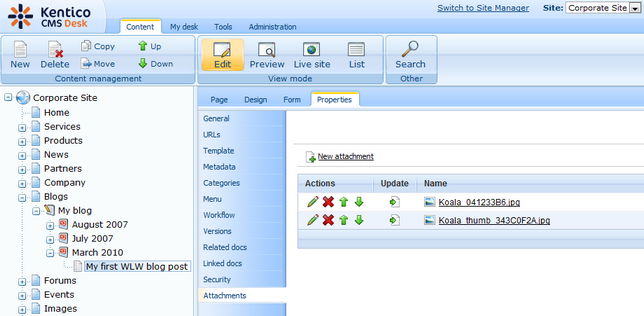
6. If you view the blog post in CMS Desk and switch to its Properties -> Attachments tab, you will see that the image has been uploaded as an attachment of the post. There are two versions of the image - the first one is the original full-size image, while the second one is its thumbnail used in the post text (e.g. in the screenshot above).