|
Installing the site |

|

|

|

|
|
Installing the site |
|
|
|
|
To get started, you need to have the sample Community Site installed. There are two ways how this can be achieved:
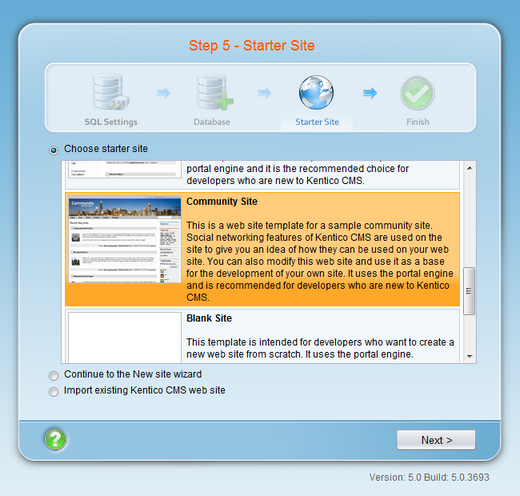
1. If you are performing a new installation, you can choose the site in the Starter Site step of the Database Setup (the number of the step may vary). Select the Choose starter site radio-button and choose the Community Site from the list of starter sites. Click Next to finish the setup procedure.
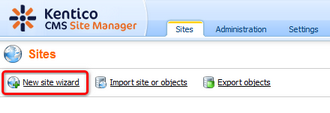
2. If you already have Kentico CMS installed, but without the Community Site, you can easily add the site in Site Manager -> Sites.
a) Click the New site wizard link at the top left corner of the page.
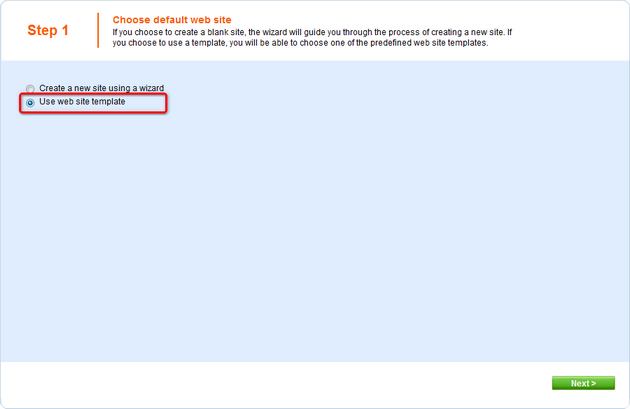
b) In Step 1, choose Use website template and click Next.
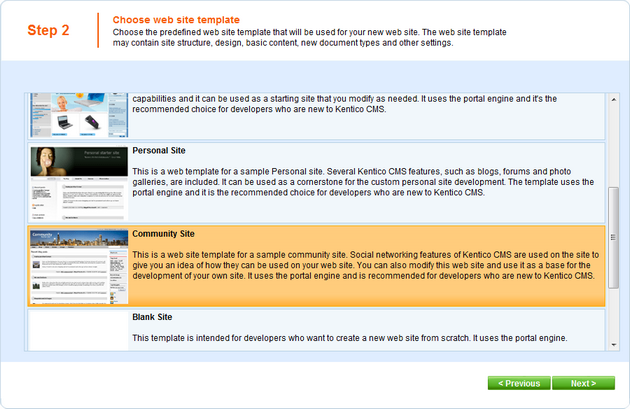
c) In Step 2, choose Community Site form the list of available website templates and click Next.
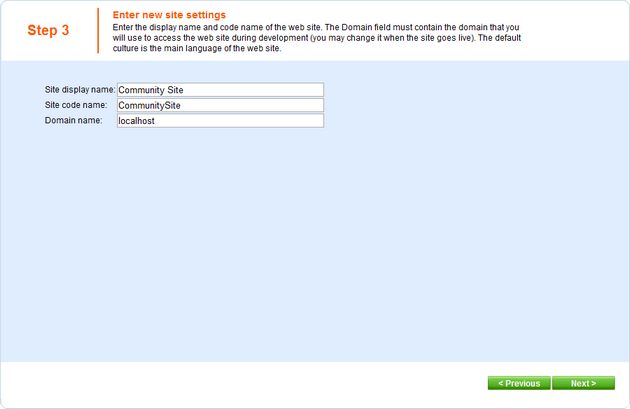
d) In Step 3, specify the display name, code name and domain name of your site and click Next.
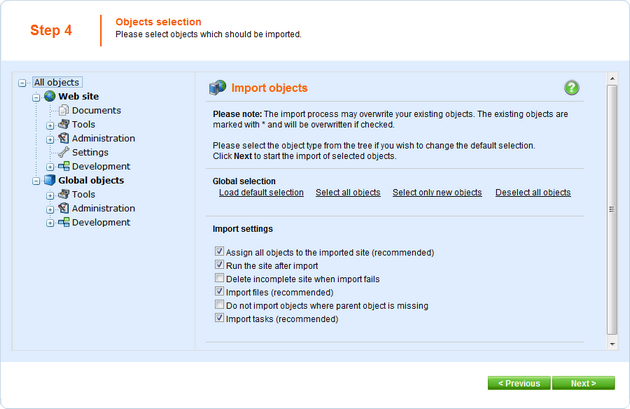
e) In Step 4, leave the settings at their default values and click Next.
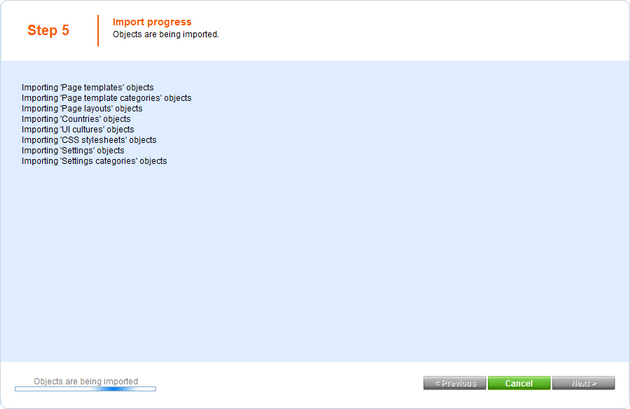
f) Wait until the end of site import process, you will be redirected to the following step of the wizard.
g) In the last step, you can click the Edit your new website link to go to CMS Desk, where you can start editing the site immediately.
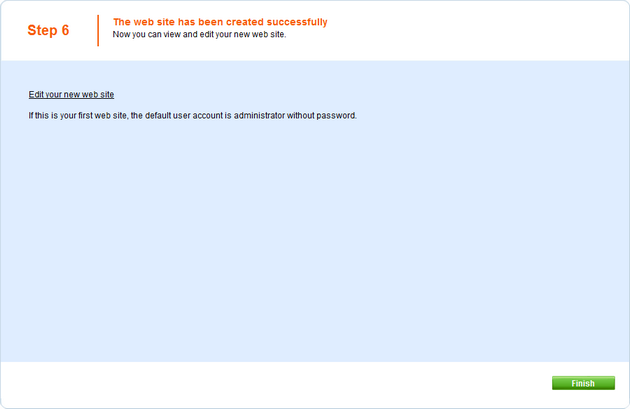
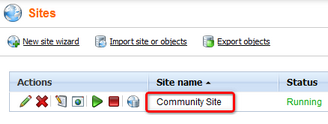
You can also click the Finish button to go back to Site Manager -> Sites, where the site should be listed with the name specified in Step 3.
Page url: http://devnet.kentico.com/docs/5_5r2/communitysiteguide/index.html?installing_the_site.htm

