|
Changing the header image |

|

|

|

|
|
Changing the header image |
|
|
|
|
Changing the header image is a procedure of a few clicks. You only need an image of the same width as the original image, which is 960 pixels. For the purpose of this example, you may use the community_header02.gif. The file can be found in the attached files package that can be found at http://www.kentico.com/Downloads/CommunityGuide/CommunitySiteGuide_files.zip. Once you have the image prepared, follow these steps:
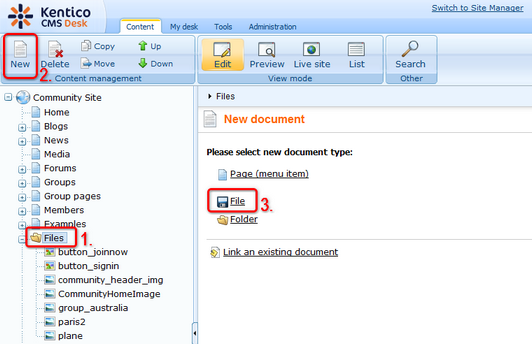
1. Go to CMS Desk, select the Files folder from the content tree and click New. Choose the File document type.
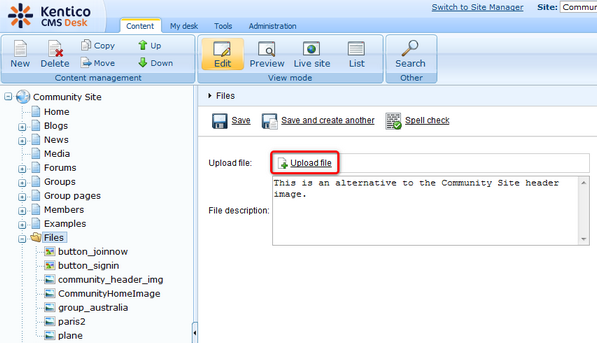
2. Click the Upload file (![]() ) link and browse for your file on your local drive. Enter some text describing the image if you like and click Save.
) link and browse for your file on your local drive. Enter some text describing the image if you like and click Save.
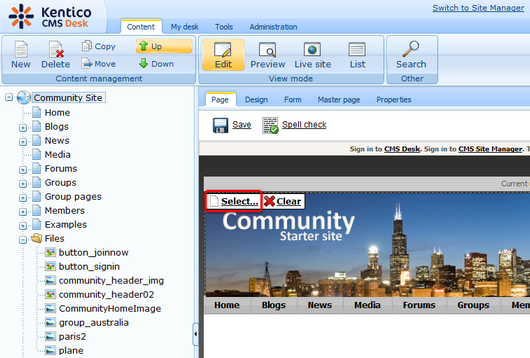
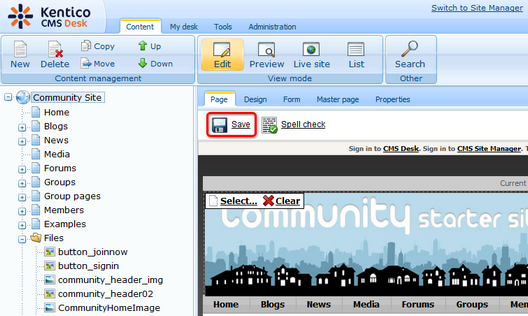
3. The image is now uploaded, so let's use it on the master page. Select the root of the content tree in Page tab and click the Select... button at the top left corner of the header image.
4. In the pop-up dialog which opens, select your previously uploaded image from the content tree and click Select.
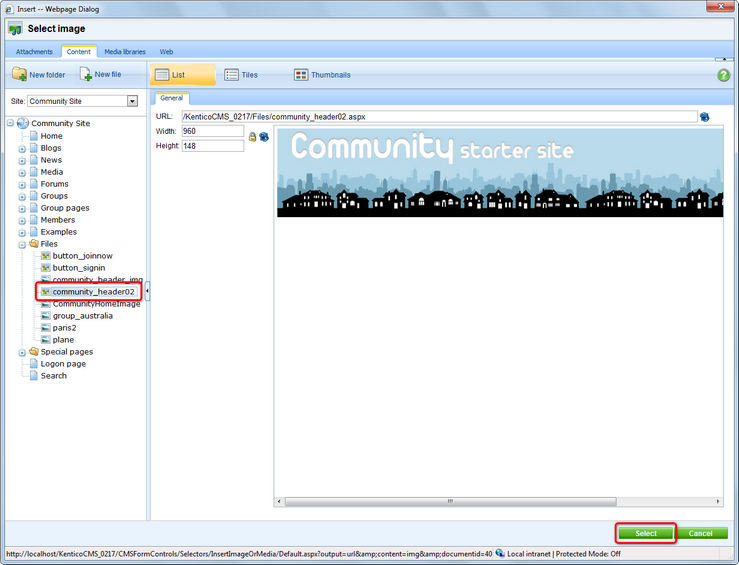
5. Finally, click Save to save the changes made to the master page.
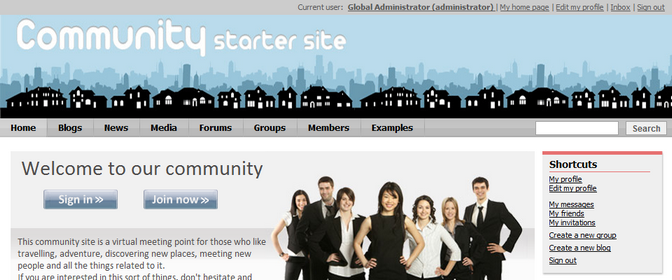
6. If you switch to the live site now, you should see the new header image in its full beauty.
Further steps: You have learned how to change the header image on the master page. As you will probably not be satisfied with this level of customization, you can try modifying the site's CSS stylesheet. Like that, you will be able to fully customize the site's design according to your needs. In the next chapter, you can find a simple example showing how the site's CSS stylesheet can be modified.
Page url: http://devnet.kentico.com/docs/5_5r2/communitysiteguide/index.html?changing_the_header_image.htm

