|
Adding Kentico CMS Controls to the Toolbox |

|

|

|

|
|
Adding Kentico CMS Controls to the Toolbox |
|
|
|
|
Before you start using Kentico CMS Controls in your ASP.NET project, you need to add the controls to the Toolbox:
| 1. | Open the web site project in Visual Studio and open some ASPX page. |
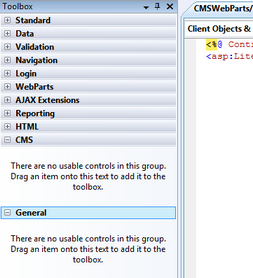
| 2. | Right-click the Toolbox and choose Add tab from the context menu. |
| 3. | Type the name of the new tab (e.g. CMS) and press Enter: |
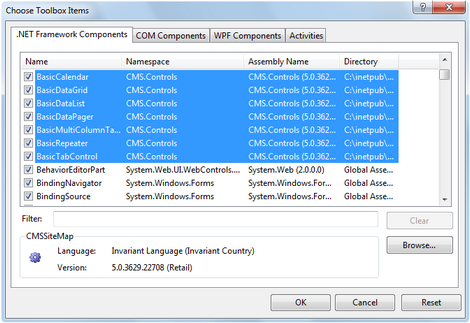
| 4. | Right-click the new tab and choose Choose items... from the context menu. |
| 5. | In the Choose Toolbox Items dialog, click Browse and locate the CMS.Controls.DLL library in the bin folder under your web site. Click Open and then click OK. |
| 6. | The controls are now added to the Toolbox: |
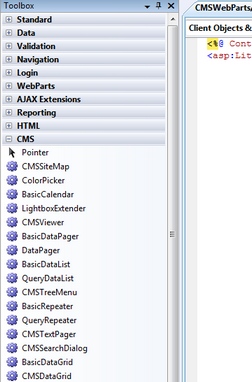
| 7. | Now you can easily drag and drop the controls on your Web form. |
Page url: http://devnet.kentico.com/docs/devguide/index.html?adding_kentico_cms_controls_to_the_toolbox.htm

