Now we will create a new site section for services. This site section will contain a left tree menu and a single editable region.
Go to Visual Studio and choose to create a new ASPX page in folder CMSTemplates\MySite. Call the page LeftMenuRightText.aspx and check the box Select master page:

Choose the CMSTemplates\MySite\MyMaster.master page on the next dialog:

Now enter the following HTML layout code inside the <asp:content> elements of the newly created page:
<table width="100%"> <tr valign="top"> <td width="20%">
</td> <td width="80%">
</td> </tr> </table> |
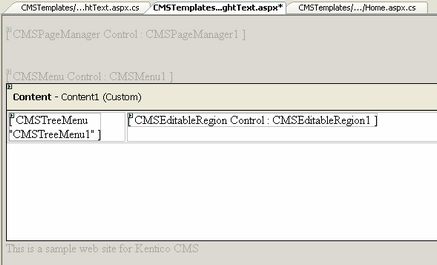
Switch to the Design tab and you will see a preview of the page, including the inherited master page.
Drag and drop the CMSTreeMenu control to the left column and the CMSEditableRegion control to the right column:
Set the following properties of the controls:
CMSTreeMenu1:
| • | Path: /{0}/% (this means that the menu starts from the second level) |
| • | MenuItemImageURL: ~/app_themes/mysite/images/bullet.gif |
| • | MenuItemOpenImageURL: ~/app_themes/mysite/images/bullet.gif |
(the ~ character represents the root of the web site and it ensures that the image will be displayed correctly whether you run the web sites in the root or in a virtual directory)
CMSEditableRegion1:
| • | RegionType: HTMLEditor |
| • | Height: 400 |
| • | RegionTitle: Main Text |
Switch to the code behind and add reference to the CMS.UIControls namespace:
[C#]
using CMS.UIControls; |
[VB.NET]
Imports CMS.UIControls |
You also need to change the class definition so that it inherits from the TemplatePage class:
[C#]
public partial class CMSTemplates_MySite_LeftMenuRightText : TemplatePage |
[VB.NET]
Partial Class CMSTemplates_MySite_LeftMenuRightText Inherits TemplatePage |
Save all changes.
Now we need to register our new page template. Go to CMS Site Manager -> Development -> Page Templates and click My Web Site and click New template. Enter the following values:
| • | Template display name: Left menu with right text |
| • | Template code name: LeftMenuWithRightText |
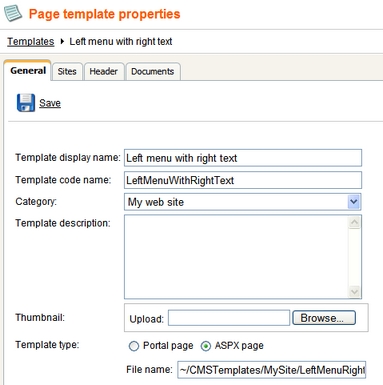
Click OK. Enter the following values on the General tab:
| • | Template type: ASPX page |
| • | File name: ~/CMSTemplates/MySite/LeftMenuRightText.aspx |
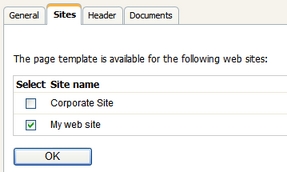
Switch to the Sites tab and assign the template to your web site:
Now that we created the page template, we can start adding new pages based on this template. Go to CMS Desk -> Content, click the root and click New. Choose to create a new Page (menu item) and enter the following values:
| • | Page name: Services |
| • | Use page template: My web site/Left menu with right text |
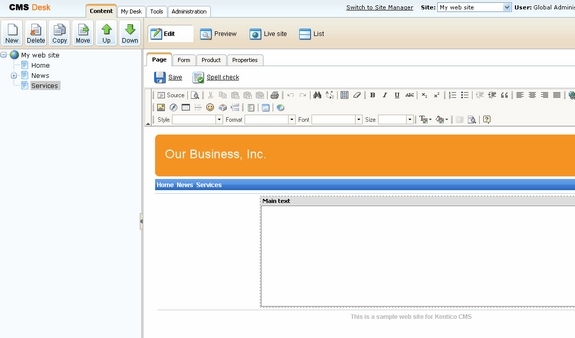
Click Save.
Now you are redirected to the Page tab and you can enter some content on the Services page:
Adding sub-pages
Click New in the main toolbar and choose to create a new page under the /Services page. Call the page Service 1 and choose to use page template My web site/Left menu with right text. Click Save. Enter some text into the editable region and click Save.