In Kentico CMS, product options can be defined for each product. With specified product option for the given product, you can offer your customers greater variability in choosing the right product and boost your sales as well.In this chapter, you will learn how to set up a new product option for the product which hasn't had any product option specified so far.
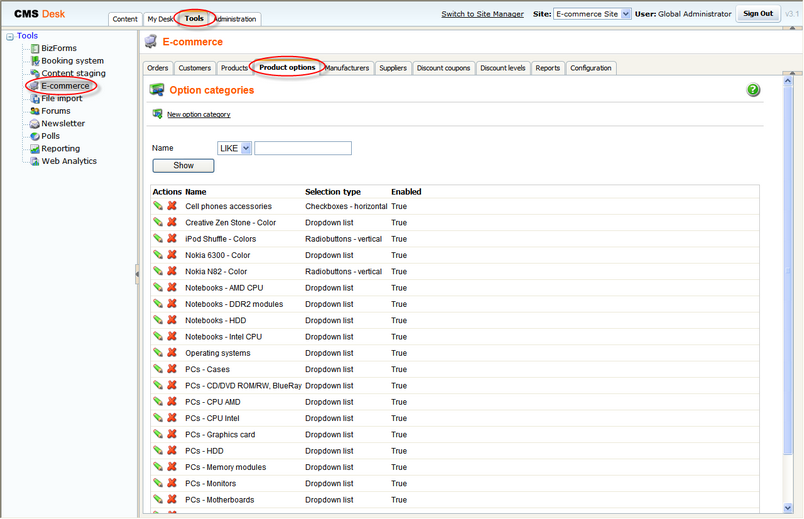
1. Go to CMS Desk -> Tools -> E-commerce -> Product options.
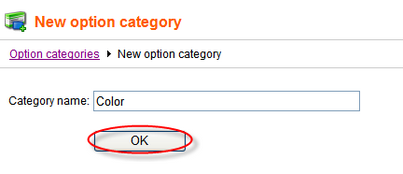
2. Click New option category. ![]()
3. Enter Color into the Category name text box and click Ok.
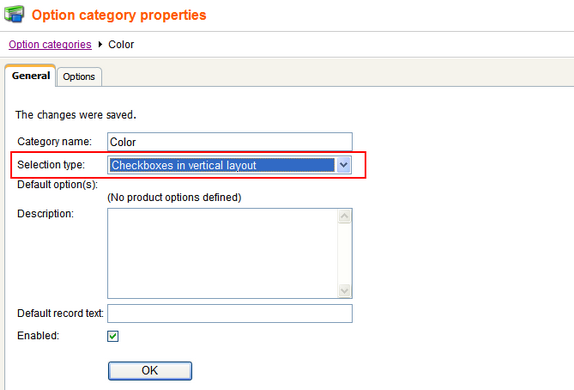
4. Select Checkboxes in vertical layout from the Selection type drop-down menu.
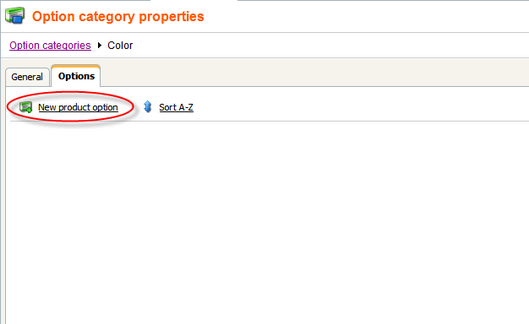
5. Switch to the Options tab and click New product option.
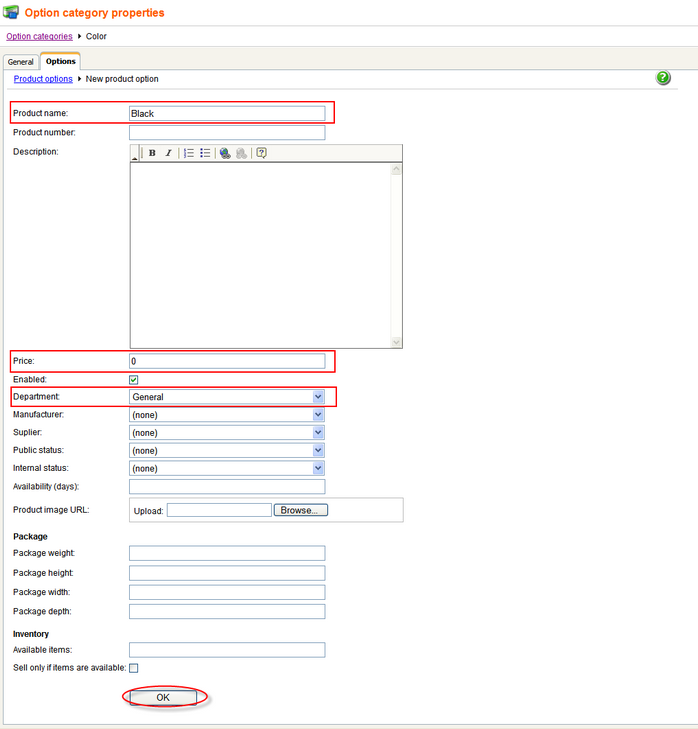
6. Enter Black into the Product name text box, 0 into the Price text box and choose General from the Department drop-down menu. Then click Ok at the bottom.
6. Click the Options tab and then click New product option again.
7. Now enter Silver as Product name, 10 as Price and choose General as Department. Then click Ok.
8. Click the Options tab and New product option again.
9. Enter Green as Product name, -10 as Price and choose General as Department. Then click Ok.
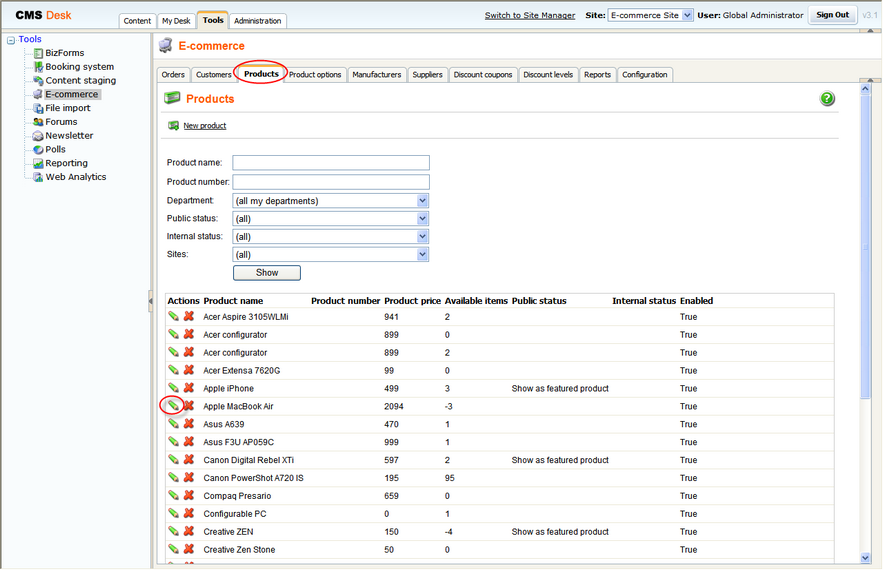
10. Now switch to Products tab and click the Edit button next to the Apple MacBook Air product name.
11. Switch to the Options tab, check the Select checkbox next to the Color option category and click Save.
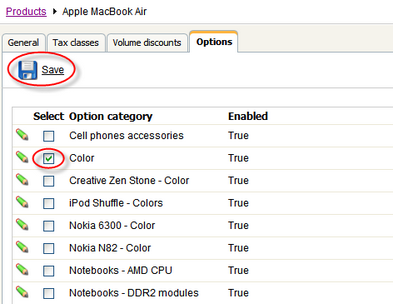
The new product option has been added to the Apple MacBook Air product.
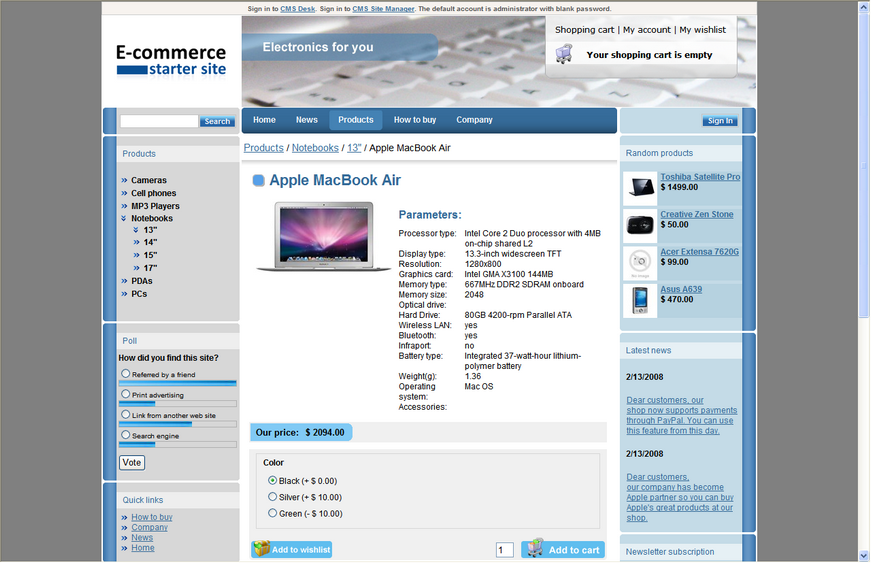
For information how to display product options in product detail please refer to the Adding items to the shopping cart chapter.