|
|

E-commerce user interface |

|

|

|

|
|
E-commerce user interface |
|
|

|
|
|
|
E-commerce user interface |
|
|
|
|
|
E-commerce user interface |
|
|
|
|
|
|
||
Once you have Kentico CMS and the sample E-commerce Site installed, it is a good idea to get familiar with the parts of Kentico CMS user interface where the E-commerce solution features are located.
1. To get started, log on to CMS Desk. This can be done either by clicking the CMS Desk link in the header of the sample E-commerce Site ...

... or by directly entering an address in the following format into your browser's address bar: http://<website domain>/cmsdesk
![]()
2. Once in CMS Desk, navigate to the E-commerce tab, which is the main E-commerce solution user interface encapsulating all its main features. You can access the features, i.e. Orders, Customers, Products, etc., using the ribbon at the top of the screen.

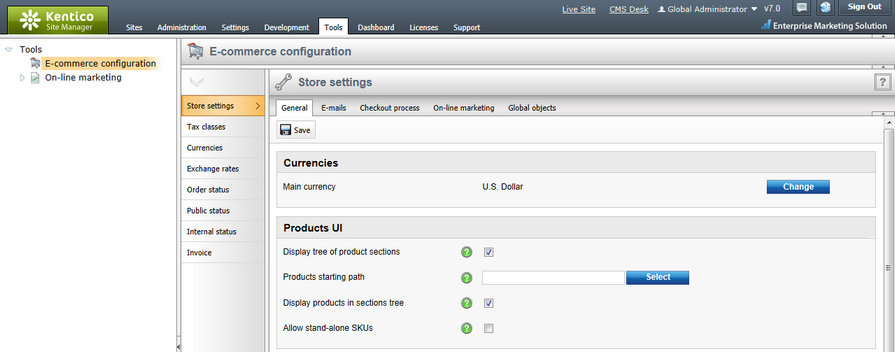
3. The above mentioned interface is site-specific, which means that it provides functionality related only to the website currently edited in CMS Desk. However, in Site Manager -> Tools -> E-commerce configuration you can perform global configuration of the whole E-commerce solution. Please refer to the Multisite store chapter for more details.
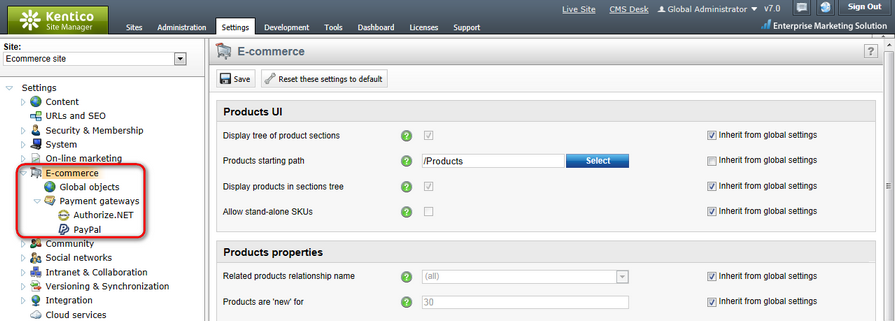
4. Besides, there are a number of settings that can modify behavior of the E-commerce solution features. These settings can be adjusted in Site Manager -> Settings and are located under the E-commerce settings category highlighted in the screenshot below.
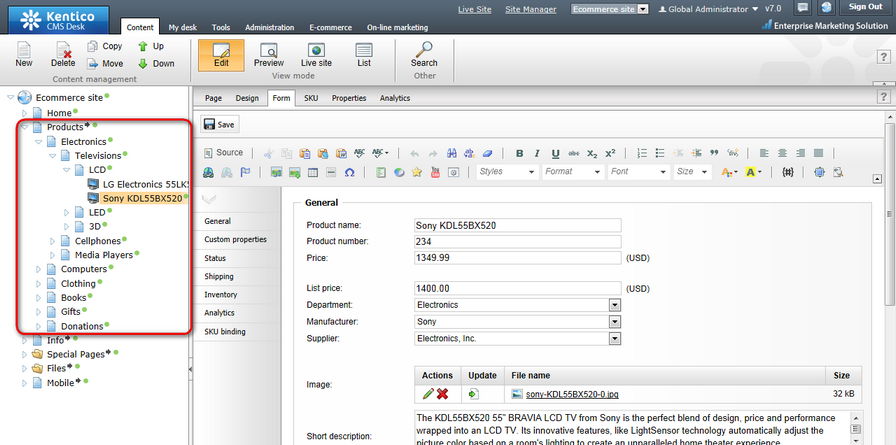
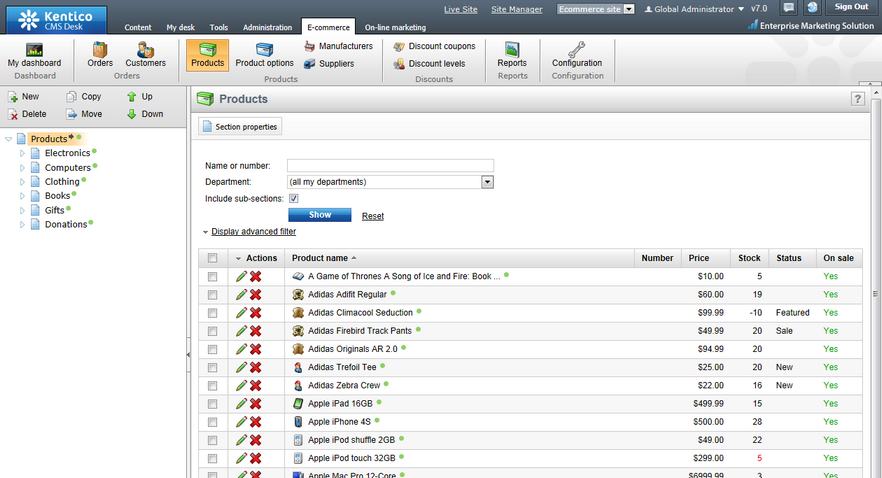
5. Now go to CMS Desk, switch to the E-commerce tab and click the Products button. This is where all products defined in your on-line store are listed. If you need to manage any of them, click the Edit (![]() ) icon on the corresponding line.
) icon on the corresponding line.
6. Finally, navigate to CMS Desk -> Content -> Edit and expand the content tree. As you can see, the Products section's structure corresponds to the structure depicted in the previous screenshot. This means that you can edit the products offered in your on-line store also in this part of the administration interface.