|
|

Managing web parts |

|

|

|

|
|
Managing web parts |
|
|

|
|
|
|
Managing web parts |
|
|
|
|
|
Managing web parts |
|
|
|
|
|
|
||
This topic describes how you can work with instances of web parts when editing page templates through the portal engine.
Navigate to CMS Desk -> Content and make sure Edit mode is selected from the View mode selection. Select any page document from the content tree (for example Home) and switch to the Design tab. This tab allows you to view the structure of the page's template in design mode and modify its web part content as required.

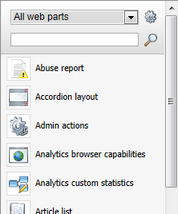
The most direct way to add a new web part to the template is provided by the web part toolbar, which is displayed on the right side of the tab by default. Because there is a large number of web parts available, you can choose which ones should be listed in the toolbar by selecting an appropriate category from the drop-down list at the top. It is also possible to look up specific web parts by entering their name or its part into the search textbox (![]() ).
).
Once you find the web part that you wish to add, simply drag it from the toolbar and drop it into the desired location in one of the template's web part zones. You can also remove existing web part instances from the page template by dragging them into the trash bin area (![]() ) of the toolbar.
) of the toolbar.
You can configure the toolbar according to your preferences. The settings can be accessed directly on the toolbar by clicking the Settings (![]() ) button next to the category selector and you can also find the same options by going to CMS Desk -> My Desk -> My profile -> Details.
) button next to the category selector and you can also find the same options by going to CMS Desk -> My Desk -> My profile -> Details.
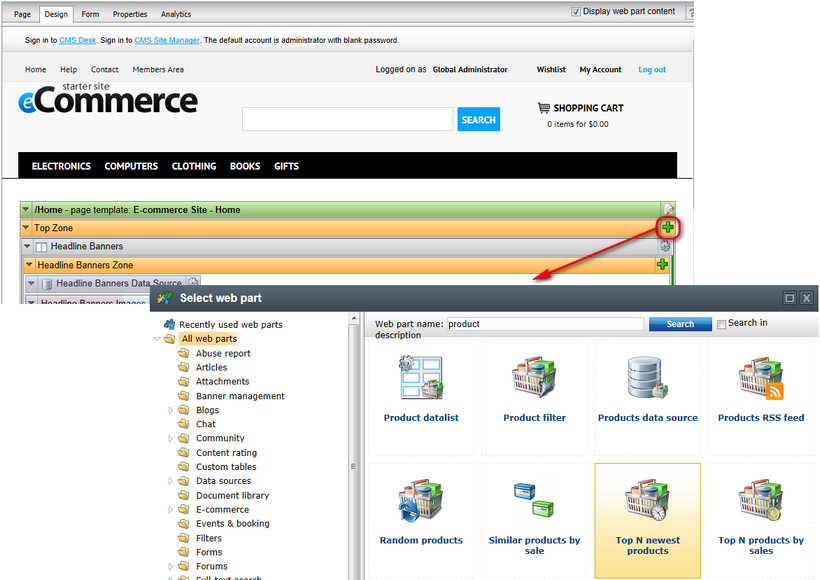
If you do not wish to use the toolbar, you can instead click the Add web part (![]() ) icon in the top-right corner of the zone where you want to insert the web part. This opens the Select web part dialog, which contains a catalog of all available web parts. You can locate a specific web part by browsing through the category tree and then confirm your selection by clicking OK.
) icon in the top-right corner of the zone where you want to insert the web part. This opens the Select web part dialog, which contains a catalog of all available web parts. You can locate a specific web part by browsing through the category tree and then confirm your selection by clicking OK.
When a new web part instance is added into a zone, using either the toolbar or the zone action buttons, the Web part properties dialog opens (unless the given web part is configured to skip the action). Here you can set up and finetune the behavior of the web part by entering appropriate values for its properties.
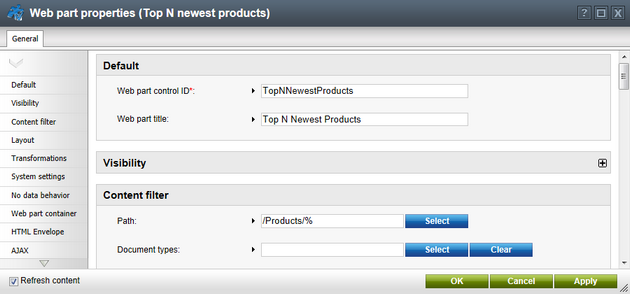
The same configuration dialog can be opened for existing web part instances at any time by clicking the Configure (![]() ) button in their header on the Design tab. You can also use the drag-and-drop functionality to relocate web parts to different positions or other zones.
) button in their header on the Design tab. You can also use the drag-and-drop functionality to relocate web parts to different positions or other zones.
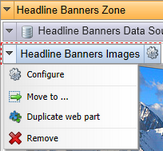
Additionally, every web part has a context menu that can be opened by right-clicking its header or using the arrow icon (![]() ). The actions in this menu provide an alternative way to perform common tasks, i.e. Configure (
). The actions in this menu provide an alternative way to perform common tasks, i.e. Configure (![]() ), Move to... (
), Move to... (![]() ), Duplicate web part (
), Duplicate web part (![]() ) and Remove (
) and Remove (![]() ).
).
A similar menu is available also for entire web part zones. This allows you to configure the zone's properties or carry out actions for all contained web parts.
All web part modifications are applied immediately and reflected on the live site. Page templates are not connected to workflow, but it is possible to use object versioning to keep track of the changes made to a template, including its web part content (and roll back to previous versions if necessary). More details can be found in the Object versioning chapter in the Development section of the Developer's Guide.
|
Configuring web parts via on-site editing
Although on-site editing is primarily intended for modifying basic page content and managing documents, users with design permissions may use it also to directly configure the properties of web parts while browsing the website. Please refer to the On-site editing chapter in the Content management section of the Developer's Guide for more details.
|
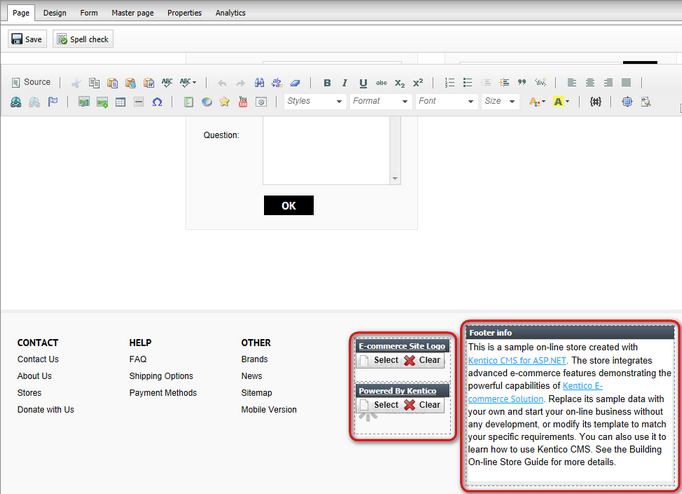
These two web parts provide an editable text / image region that you can use to enter page content. Content editors can thus edit the region in CMS Desk -> Content -> Edit on the Page tab or while viewing the page in the On-site editing mode.