|
|

Adding a poll to your site |

|

|

|

|
|
Adding a poll to your site |
|
|

|
|
|
|
Adding a poll to your site |
|
|
|
|
|
Adding a poll to your site |
|
|
|
|
|
|
||
Here you will learn how to create a new poll and publish it on a page of your website. Please note that in this example, we will be creating a global poll. However, you would proceed analogically if you needed to create a site poll.
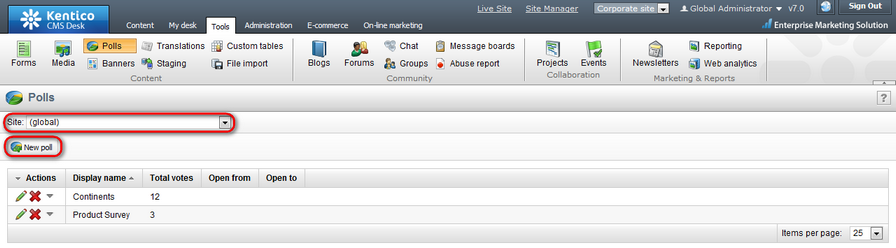
1. First go to CMS Desk -> Tools -> Polls, set the Site property to (global) and click ![]() New poll.
New poll.
2. Enter the following information for the new poll.
•Display name: Services poll
•Code name: ServicesPoll
•Title: Services poll
•Question: Do you like our services?
Click OK to save the changes. If you switch back to the CMS Desk -> Tools -> Polls tab, the poll you have just created will be displayed in the list.

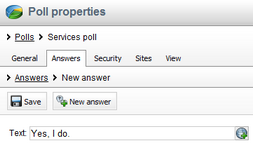
3. Now you need to define some answers for your new poll. Choose to Edit (![]() ) the poll, in the Poll properties dialog switch to the Answers tab and click
) the poll, in the Poll properties dialog switch to the Answers tab and click ![]() New answer. Enter Yes, I do. into the Text text box and click
New answer. Enter Yes, I do. into the Text text box and click ![]() Save.
Save.
To make the answer available on the live site, check the Enabled check box. Besides, you can also enter the initial value for votes. For the purpose of this example, enter 7 and ![]() Save the changes.
Save the changes.

Repeat this step entering No, I don't. as an alternative answer and 3 as its initial value for votes. Optionally you can define more answers for your poll.
4. Now you are ready to publish your new poll on the website. Go to CMS Desk -> Content, navigate to the page where you want to add your poll and switch to the Design tab. Click Add web part (![]() ) in one of the available web part zones
) in one of the available web part zones
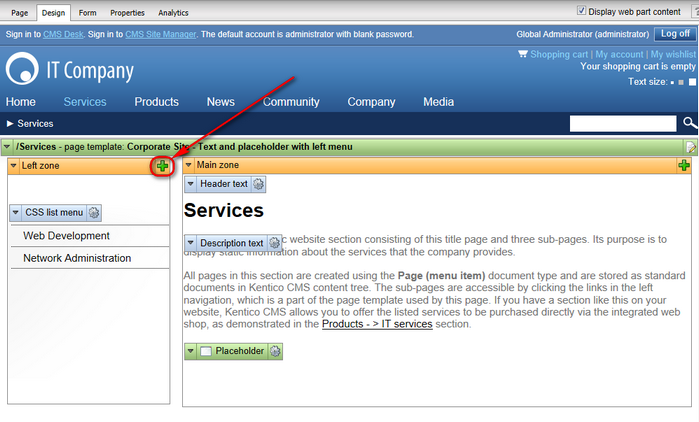
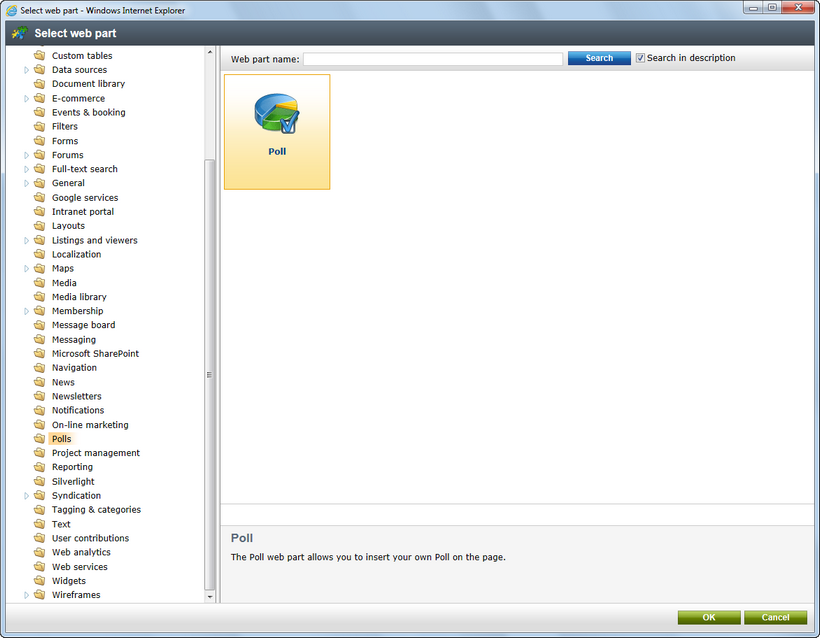
and in the Select web part dialog choose the Polls -> Poll web part.
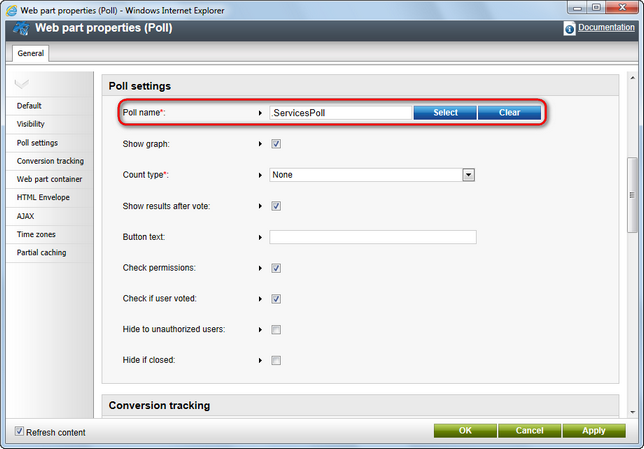
5. In the Web part properties (Poll) dialog, make sure .ServicesPoll is selected as Poll name and click OK. Please note that in this dialog you can configure also some additional settings of the poll; this is described in more detail in the Kentico CMS Web Parts reference.
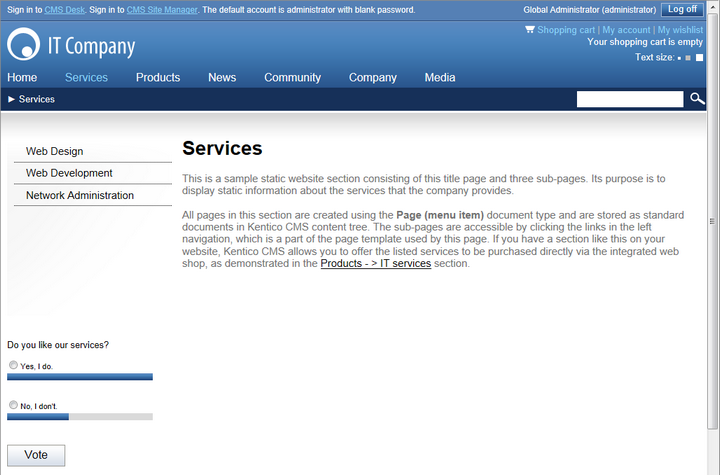
If you now switch to the live site, you will see that the page you have just finished editing contains your poll.
|
Please note
You can also add a poll to your web page using the built-in WYSIWYG editor as described in more detail in the Publishing polls topic. However, this option gives you fewer possibilities of further adjustment of your poll.
|
