Transformations |

|

|

|

|
|
Transformations |

|

|

|

|
|
|
||
Transformations are pieces of code that determine how Kentico CMS documents, or certain parts of them, are rendered by listing web parts and controls. They take raw data from the Kentico CMS database and transform it into the form you wish it to appear in. This makes them a crucial tool when displaying documents and document related data on the pages of your website.
Their functionality is very similar to that of templates used by standard ASP.NET list controls such as the Repeater, which can be defined within the tags of a control through various ItemTemplate properties. The main difference is that our transformations are stored separately in the database and can easily be used repeatedly. They are assigned to web parts or controls through the appropriate TransformationName properties. The use of transformations is supported by all web parts that display document data, as well as by those listing controls that are designed to work directly with Kentico CMS documents, such as those in the CMS Controls -> Listings and viewers section of this guide.
There are several different approaches that can be used to write transformations. You can choose how a transformation's code should be rendered by setting the appropriate type. The following are available:
•ASCX - with this option, the code of the transformation will support ASCX markup, i.e. the same syntax that you would use to edit a standard web form or user control, including inline code, embedded controls, standard ASP.NET data binding expressions and special methods designed for use in transformations. Document fields can be accessed using expressions in format: <%# Eval("ColumnName") %>
•Text/XML - the code will only be processed as basic HTML. This means that any ASCX markup, such as controls or inline code, will not be functional when the transformation is rendered. You may use Kentico CMS Macro expressions and methods to insert dynamic values into the content. Expressions in the following format allow you to easily get the values of the given document's fields: {%ColumnName%}
•HTML - works the same way as the Text/XML option, but editing is done through the WYSIWYG editor. The rendered output of HTML code will be shown inside the editor.
•XSLT - this option can be selected for transformations that use XSL elements to render the data. The code must be in valid XML format.
Please note that for security reasons, the code of ASCX type transformations may only be edited by users who have the Edit ASCX code permission for the Design module. This permission can only be assigned by global administrators.
Since text‑based transformations (Text/XML or HTML types) are only processed as basic HTML, they cannot be used to compromise the security of the website. Another advantage of these transformation types is that they do not need to be compiled, which means they may be used and modified even if the Virtual path provider is not available, such as in a precompiled or medium trust environment.
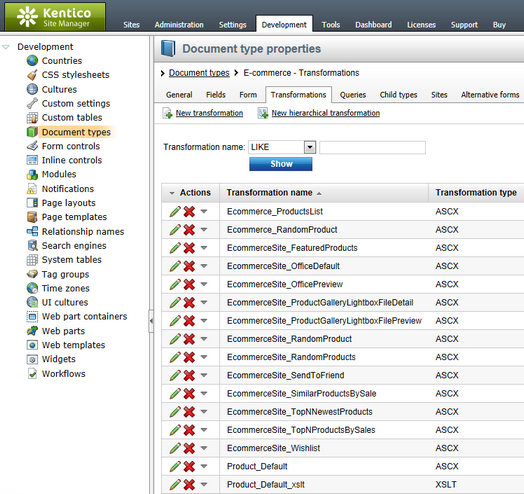
Transformations are categorized under the document types or custom tables that they are supposed to display. They can be managed in the Kentico CMS administration interface at Site Manager -> Development -> Document types or Custom tables -> ... Edit (![]() ) document type or custom table ... -> Transformations. Some document types do not represent an object but serve only as a container for transformations and queries.
) document type or custom table ... -> Transformations. Some document types do not represent an object but serve only as a container for transformations and queries.

The sample sites include many transformations for all document types and you can modify them or write new transformations to suit any of your requirements.
For more information about transformations and document types, please refer to Developer's Guide -> Development -> Document types and transformations.
The code of an ASCX transformation used to display a list of products could look like this:
<div class="ProductPreview"> |
When this transformation is assigned to a listing control or web part that has products (SKUs) in its data source, the output code of individual products will contain the values returned by the methods and data binding expressions, like in the following example:
<div class="ProductPreview"> |
The final output of this product on the website will then look like this:

|
Please note
The CSS stylesheet used by the page is applied to the output of the transformation. This example uses the classes from the default Corporate Site stylesheet.
|