Secured section for partners |

|

|

|

|
|
Secured section for partners |

|

|

|

|
|
|
||
Kentico CMS allows you to create secured site sections that can be accessed only by users who have a valid user name and password. We will create a simple page for partners that can be accessed only by registered users.
Go to CMS Desk -> Content, select the root and click New. Choose to create a new Page (menu item). Enter Partners as the page name and choose to use the Templates with editable regions -> Simple text page template. Click ![]() Save. Click the Down arrow in the main toolbar until you move the Partners page to the end of the list.
Save. Click the Down arrow in the main toolbar until you move the Partners page to the end of the list.
Click the Page tab and enter the following text: This is a secured page for partners.
Click ![]() Save.
Save.
Click Properties -> Security. In the Access section of the dialog, select Yes in the Requires authentication field and click OK. This will ensure that the page can be accessed only by authenticated users.
Now we need to create the logon page. We will use a pre-defined page template that you can further customize if necessary. Click root and click New. Choose to create a new Page (menu item). Enter Logon as the page name and choose the Membership and security -> Log-on page with registration form page template. Click ![]() Save.
Save.
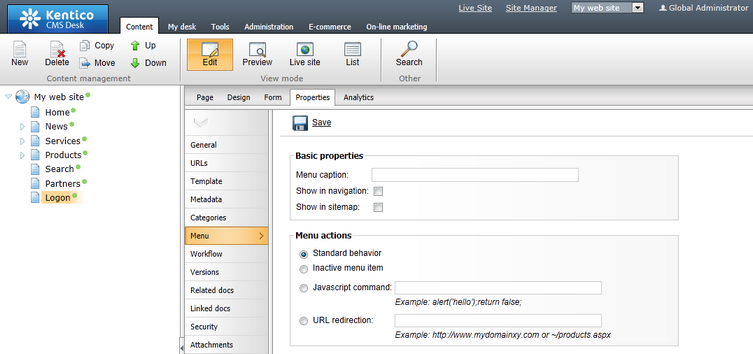
Click Properties -> Menu and uncheck the Show in navigation and Show in sitemap boxes. Click ![]() Save and use the Down button to move the Logon page to the end of the document list in the content tree.
Save and use the Down button to move the Logon page to the end of the document list in the content tree.

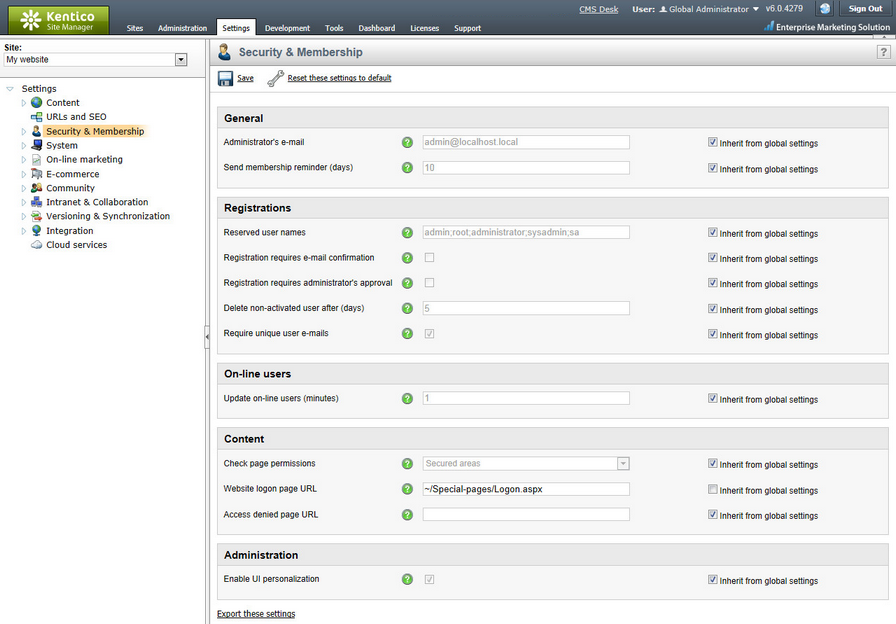
You will also need to configure the system so that it uses the new logon page. Go to Site Manager -> Settings, choose My website in the drop-down list, click Security & Membership, clear the Inherit from global settings checkbox for the Website logon page URL field and set its value to ~/logon.aspx, which is the relative URL of the logon page (from the web application root). Click ![]() Save.
Save.

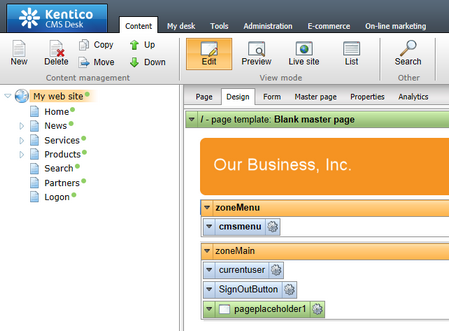
Go to CMS Desk -> Content -> select the root document -> Design, add the following web parts to the zoneMain web part zone and set their properties:
Membership -> Current user
•Content before: <div style="text-align:right">
Membership -> Sign out button
•Content after: </div>
Then sort the web parts in the zoneMain zone in the following order (you can drag and drop web parts using mouse):
•Current user
•Sign out button
•Page placeholder

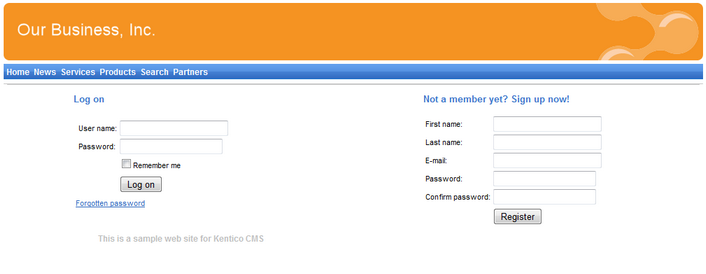
Sign out of CMS Desk. Click Partners in the main menu. You will be redirected to the logon page:

Now you need either to sign in as the administrator or register as a new user. After you sign in successfully, you will see the content of the Partners page together with the Sign out button:

You have learned how to secure a part of the website so that it's only accessible for registered users.
|
Displaying personalized content based on a user's permissions
Kentico CMS also allows you to display personalized content based on the read permissions of users. You can e.g. grant the Read permission for the Gold partners section to gold partners and then only the gold partners will see the given menu item and page content.
You can find more details on personalized content in Developer's Guide -> Membership, permissions and security. |
You have just finished the sample website.